FX Trading School
A structured path from your first candlestick to professional execution — 99 lessons, tagged by level so you land at the right depth fast. Grounded, honest, no get-rich-quick nonsense. Every example uses real FCA-regulated brokers (Pepperstone, IG). 28 beginner · 25 intermediate · 24 pro · 22 advanced.
Module 1 · The basics
 Beginner
What Is the Forex Market and How Does It Work?
What is the forex market? A plain-English beginner lesson on how currency trading actually works, who's in it, and how to trade honestly.
 Beginner
Base and Quote Currency Explained (With Examples)
Base and quote currency explained in plain English, with real pair examples using Pepperstone and IG, so you can read any FX quote confidently.
 Beginner
What Is a Pip in Forex? How to Count Pips Simply
What is a pip in forex trading? Learn the definition, how to count pips in any pair, and why it matters for cost and risk. Beginner FX School lesson.
 Beginner
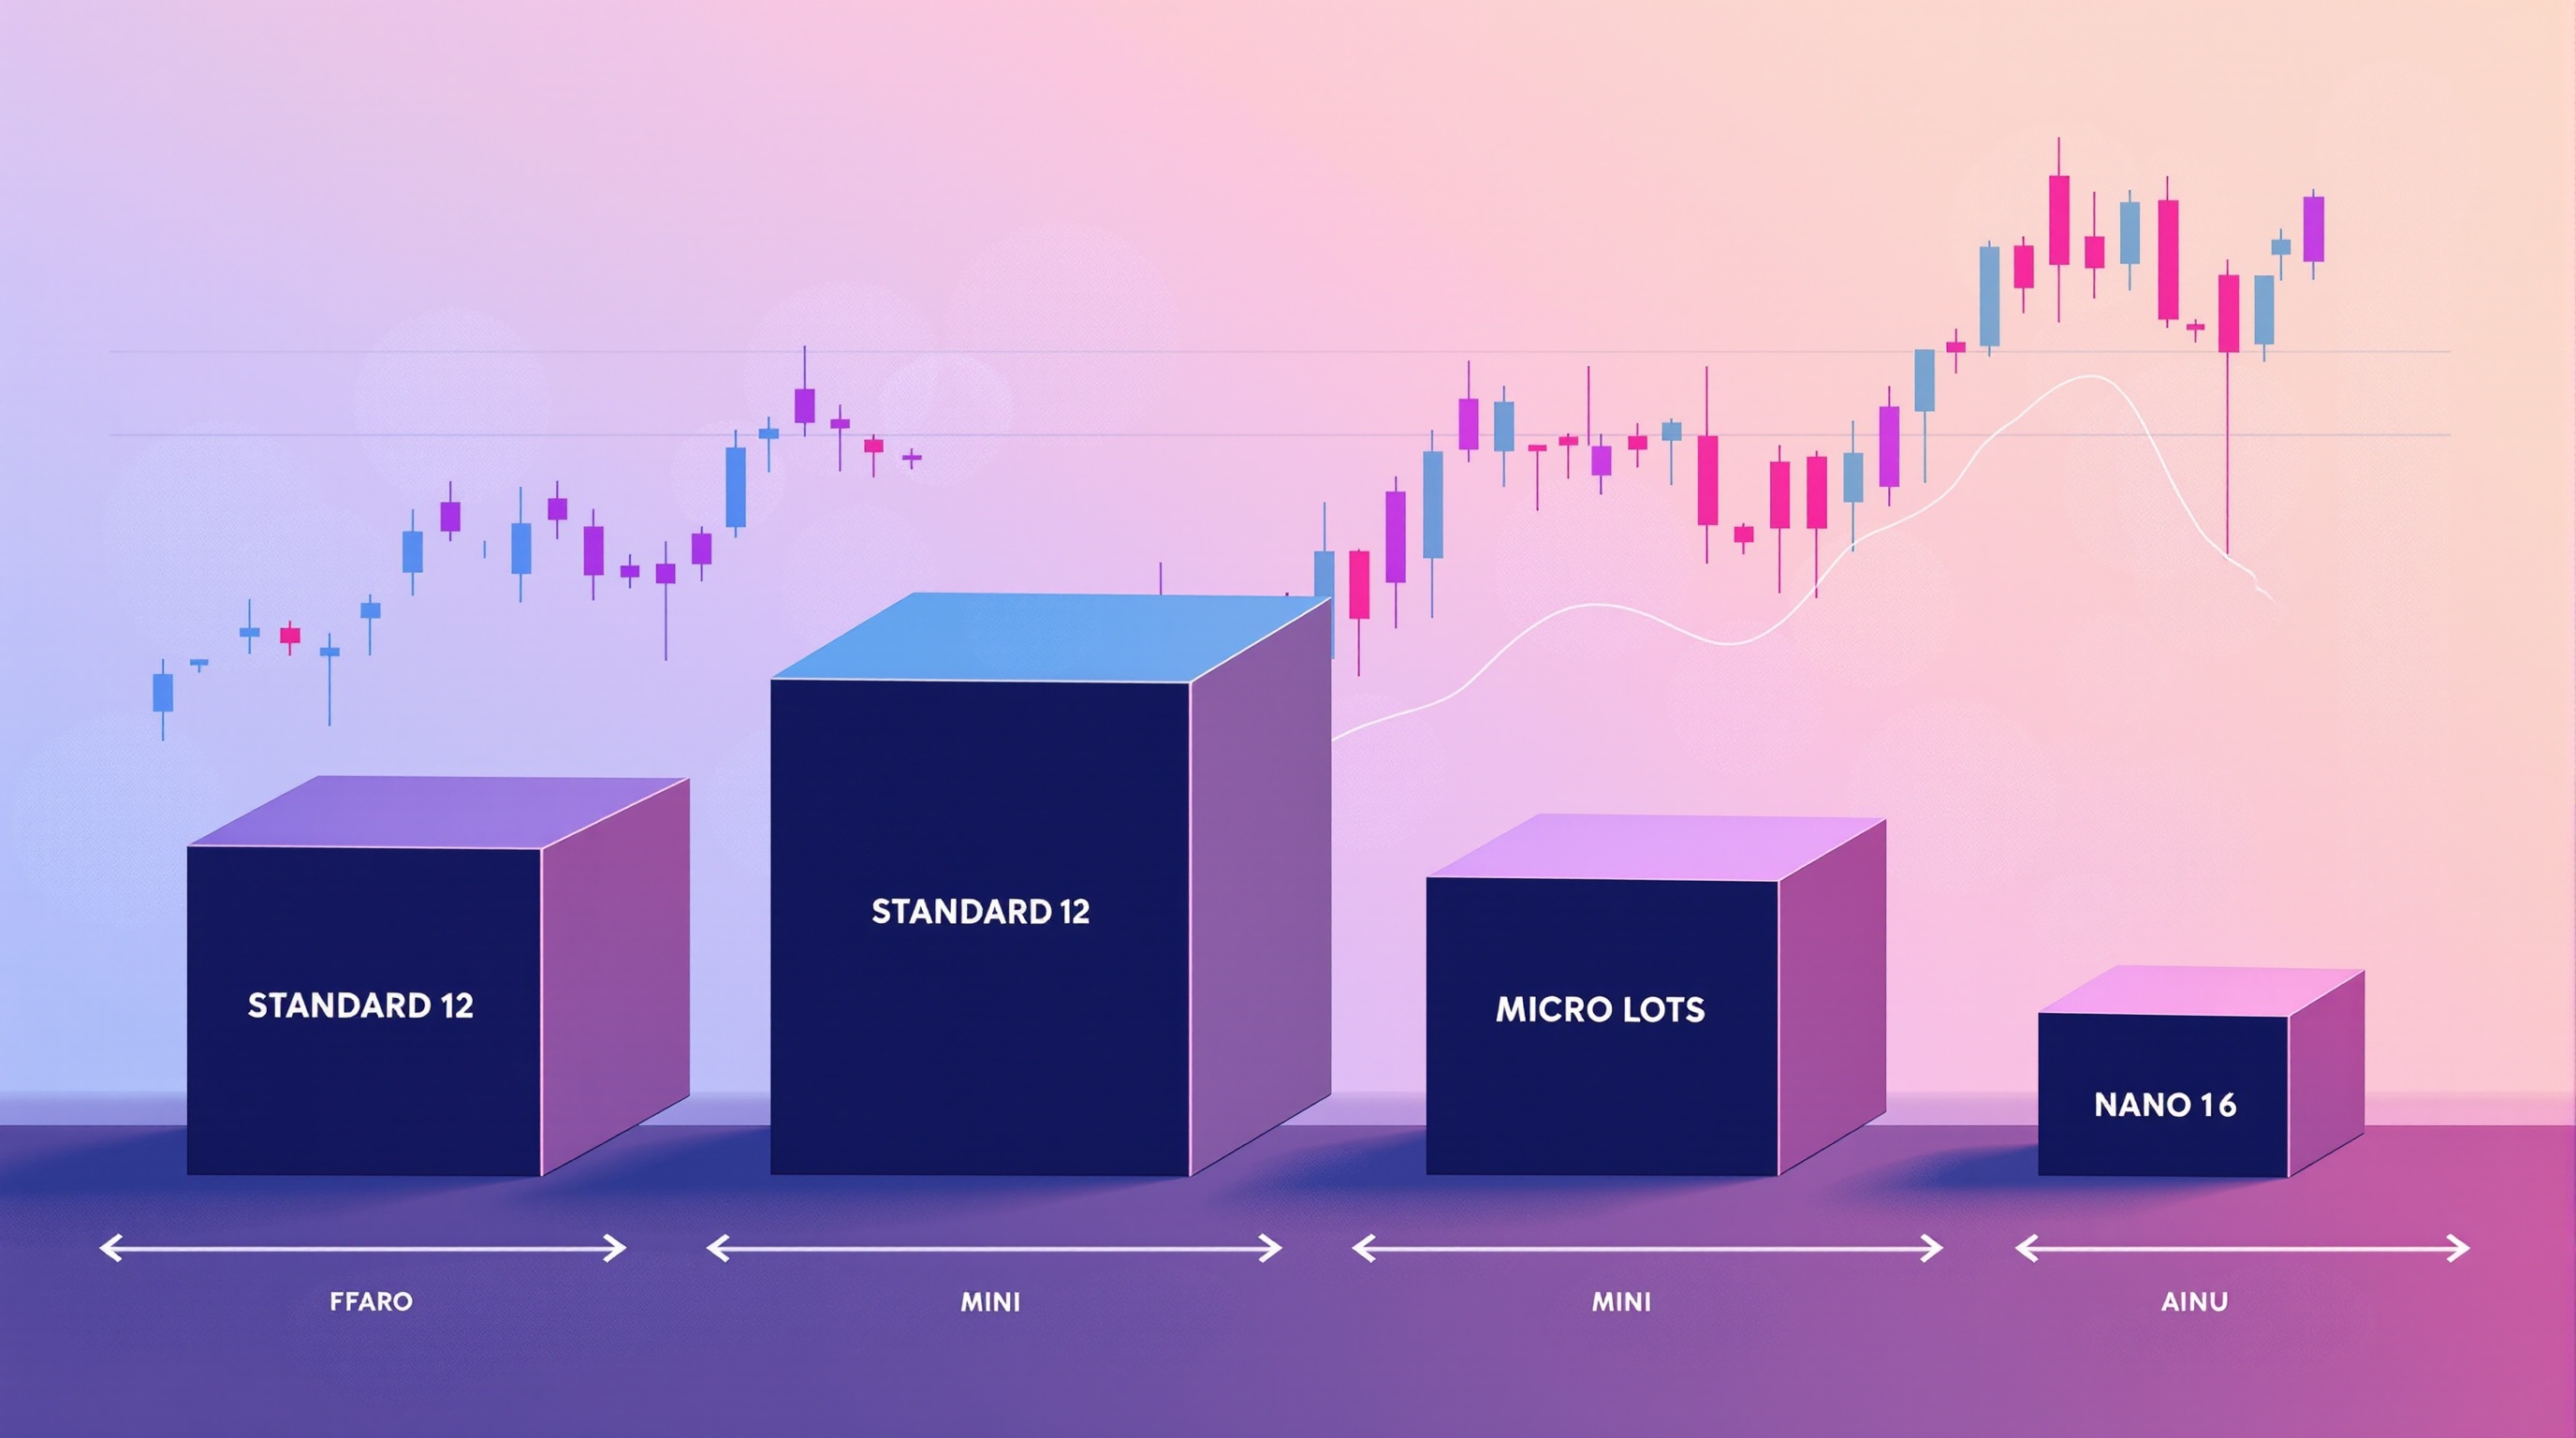
Lots, Units and Contract Sizes Explained
Lots, units and contract sizes explained simply for beginners: what a standard, mini, micro and nano lot means and how to size trades correctly.
 Beginner
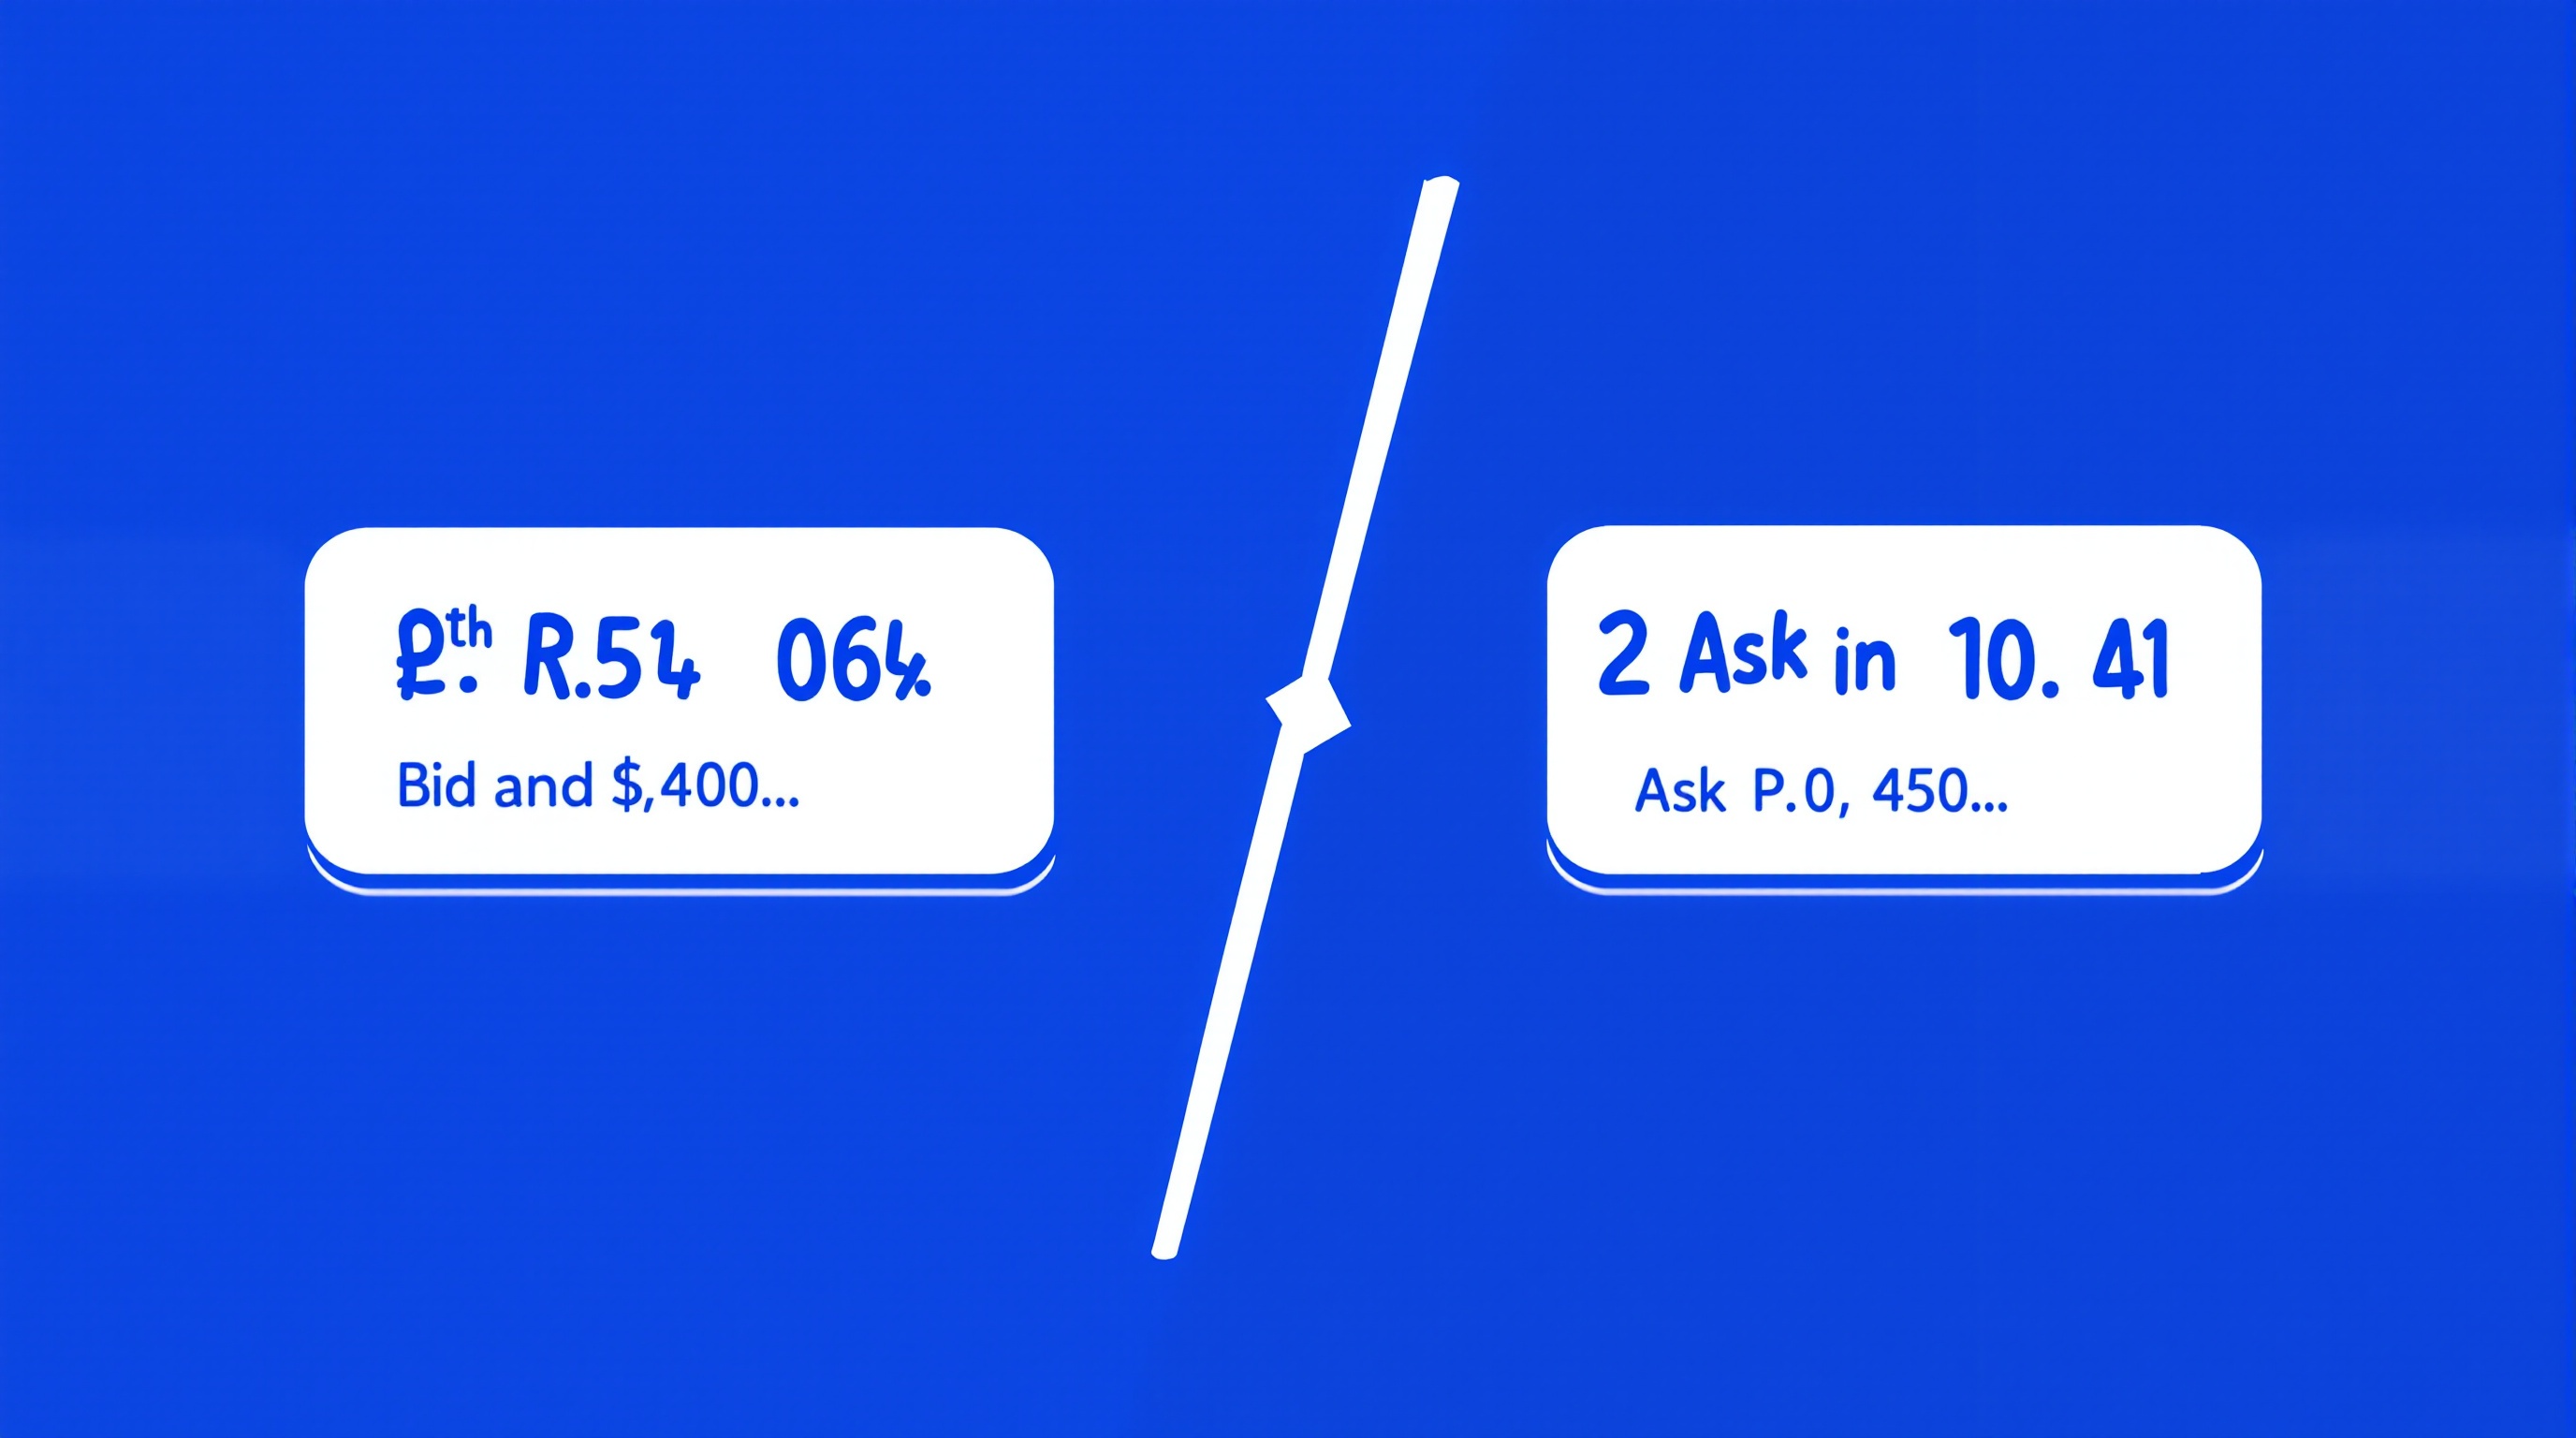
Bid, Ask and the Spread: What You Actually Pay
The bid ask spread is your real trading cost. Learn how it works, how to read it, and how to check it before you trade.
 Beginner
Leverage and Margin for Beginners
Leverage and margin explained for beginners: how they work, real margin call risks, and how to size positions safely. Module 1 of the PipTax FX School.
 Beginner
What Is a CFD? Forex CFDs Explained for UK Beginners
What is a CFD? A plain-English guide to how forex CFDs work in the UK, the costs involved, and the risks every beginner needs to understand first.
 Beginner
Going Long vs Going Short Explained Simply
Going long vs going short explained simply for beginners: what each position means, how profit and loss work, and the real risks and costs.
Module 2 · Charts & orders
 Beginner
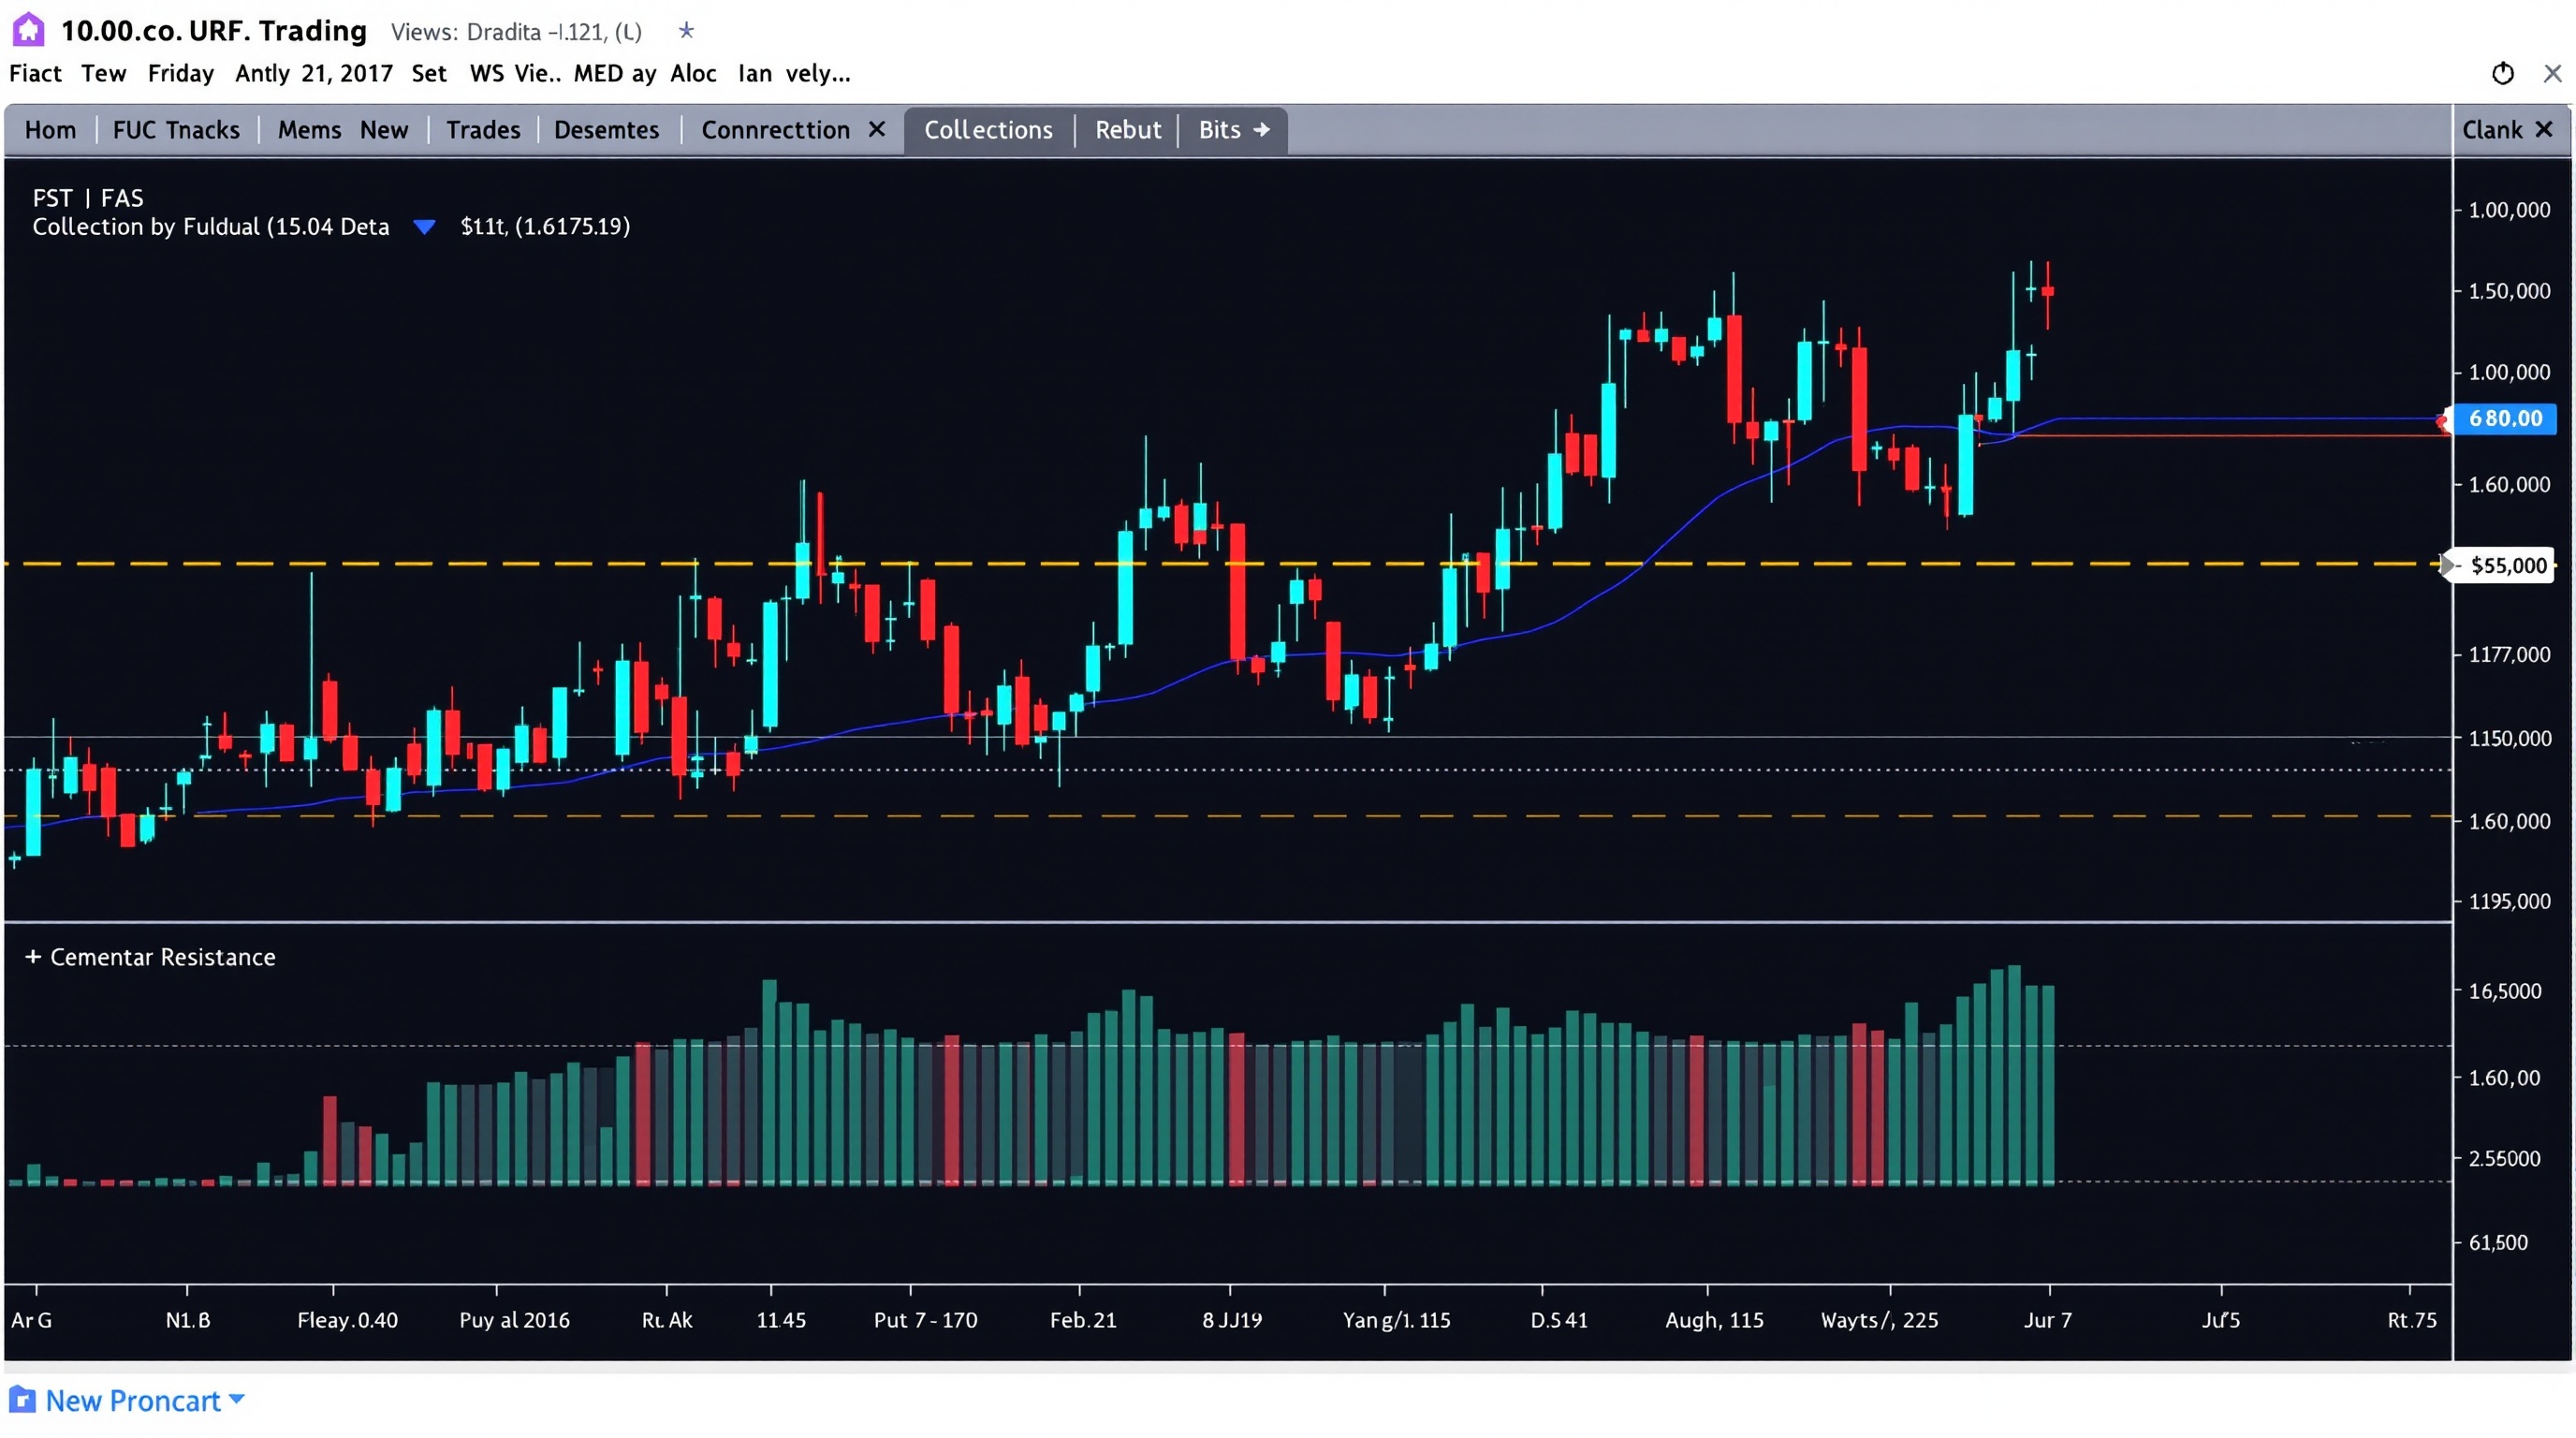
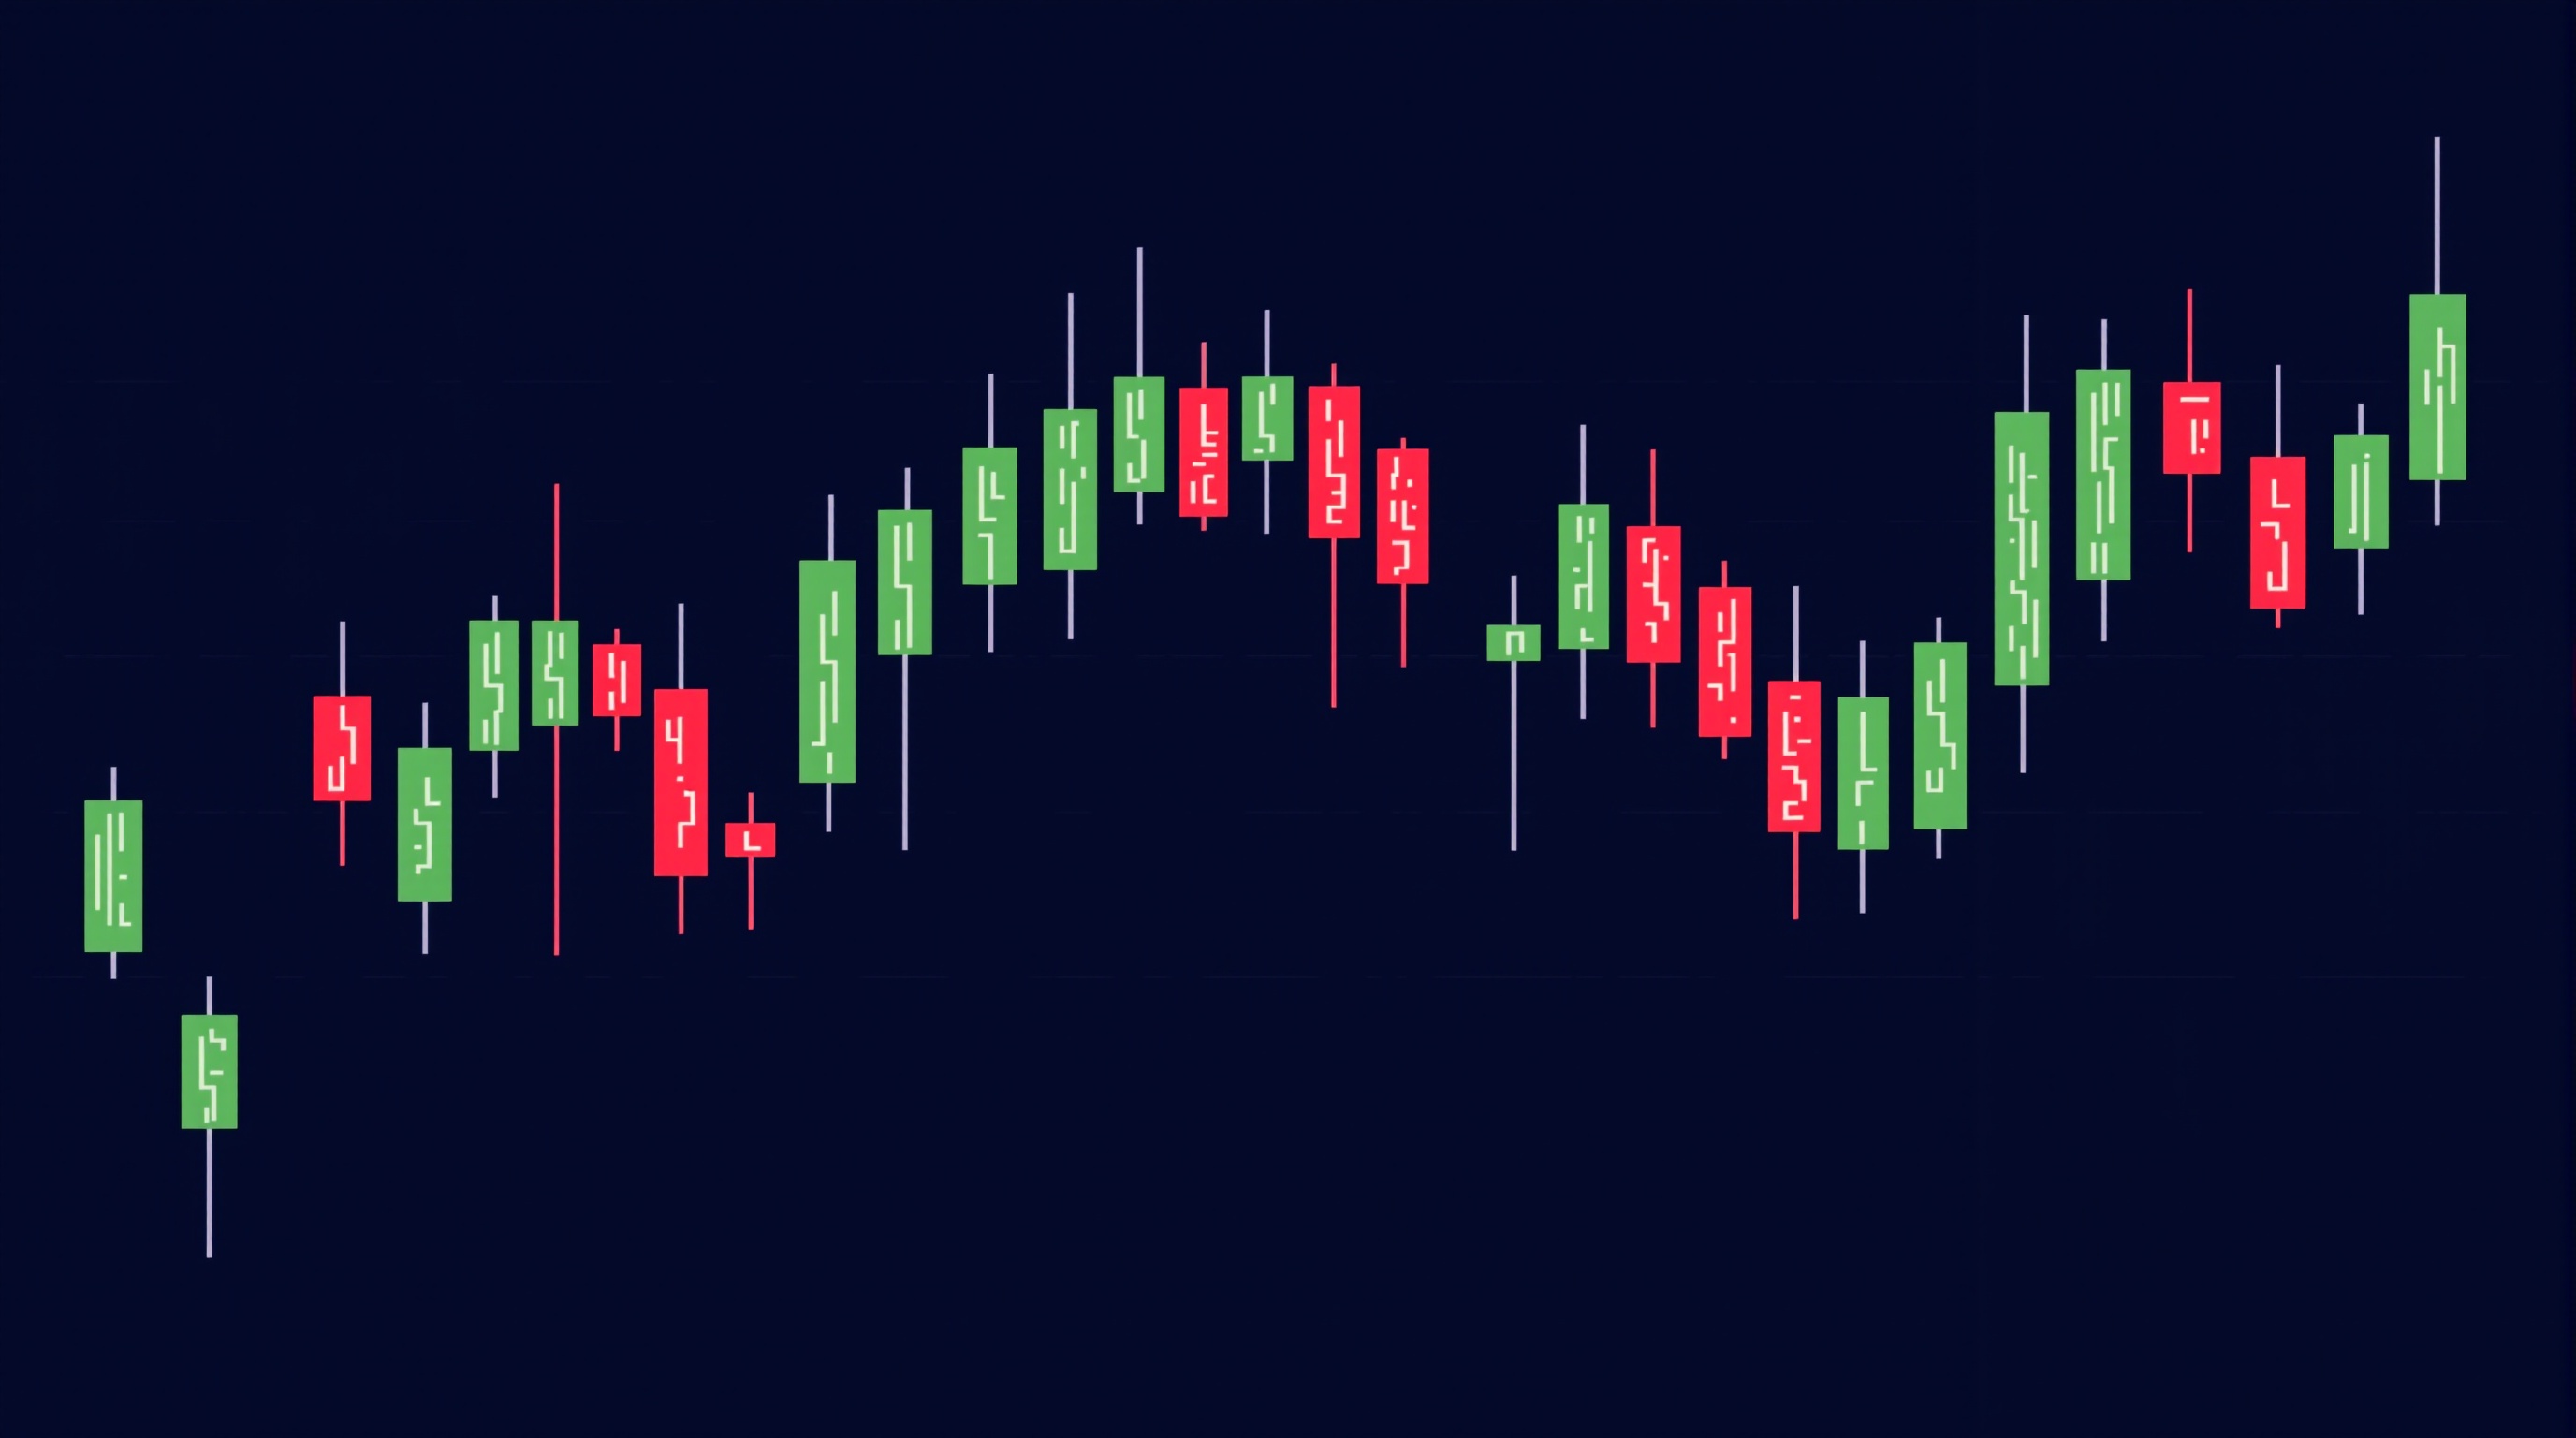
How to Read a Forex Price Chart (Beginner Guide)
Learn how to read a forex price chart step by step: candles, timeframes, support/resistance and trend, with practical examples on MT4/MT5 and IG.
 Beginner
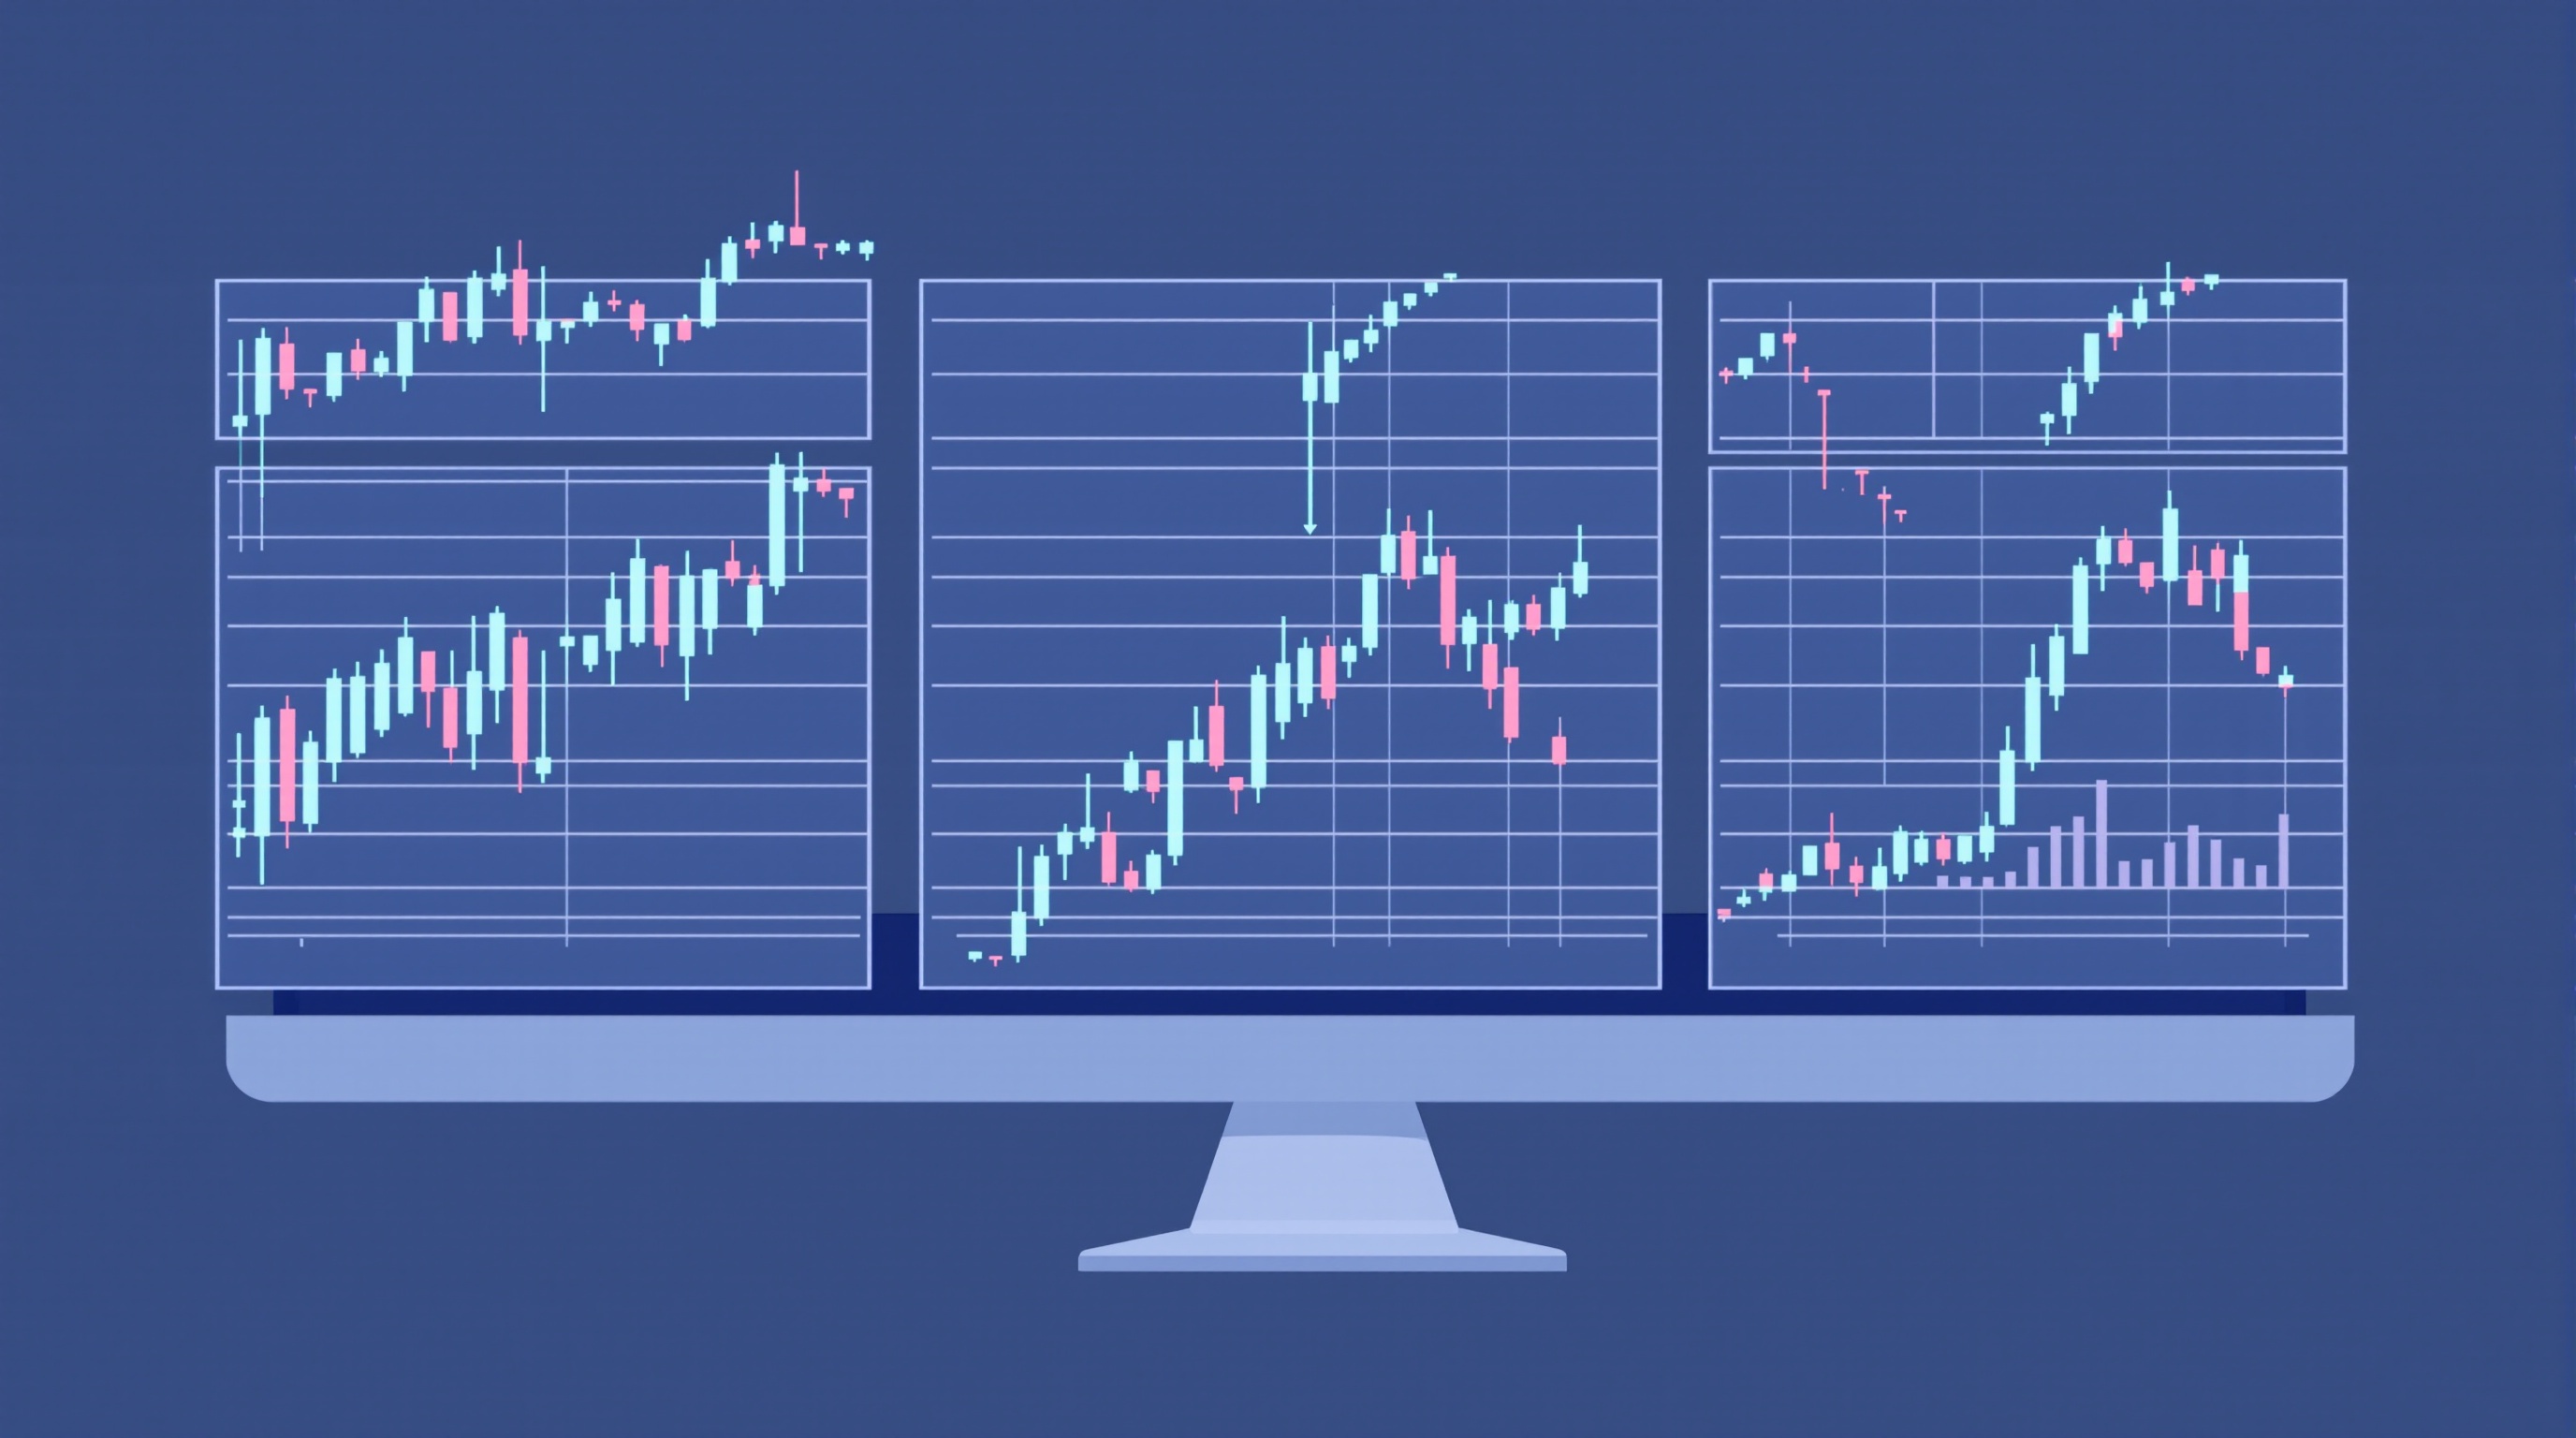
Candlestick Basics for Beginners: Reading Price Action
Candlestick basics for beginners: learn how candles work, key patterns, and how to read charts on MetaTrader or IG's platform. Module 2 of PipTax FX School.
 Beginner
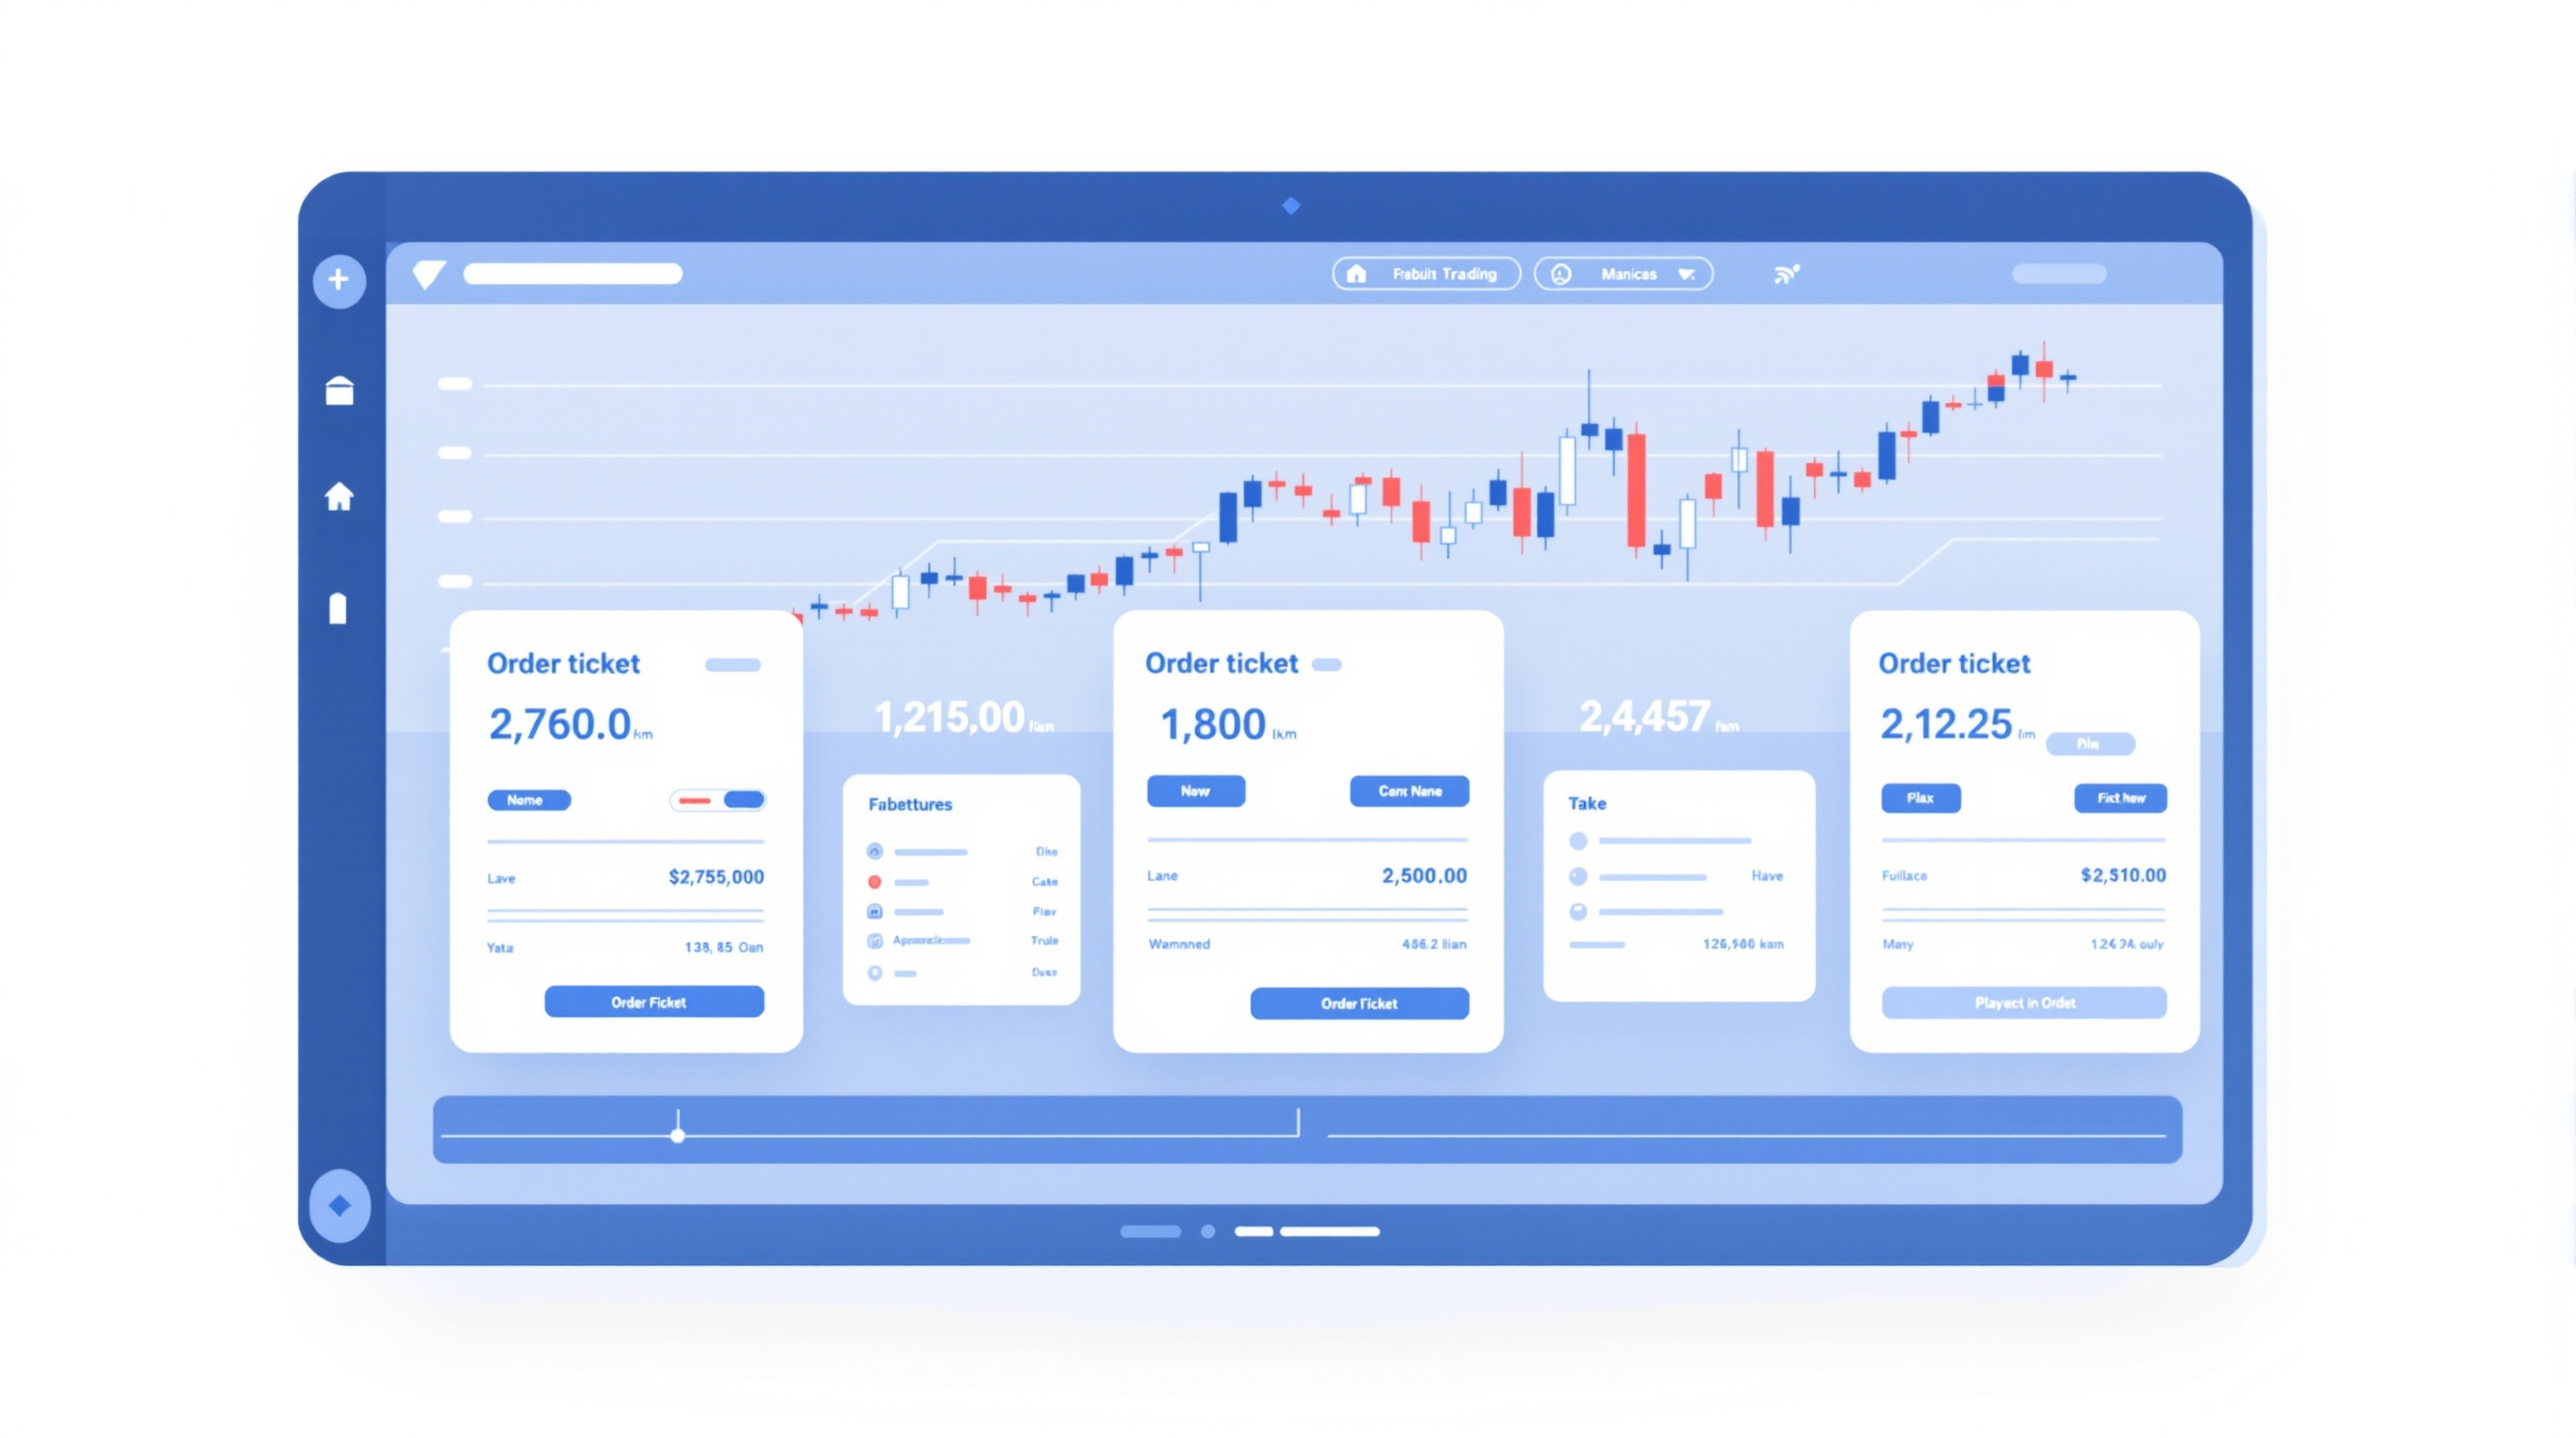
Forex Timeframes Explained: Which One to Start On
Forex timeframes explained for beginners: what each one shows, how they interact, and which timeframe to start trading on. Part of PipTax FX Trading School.
 Beginner
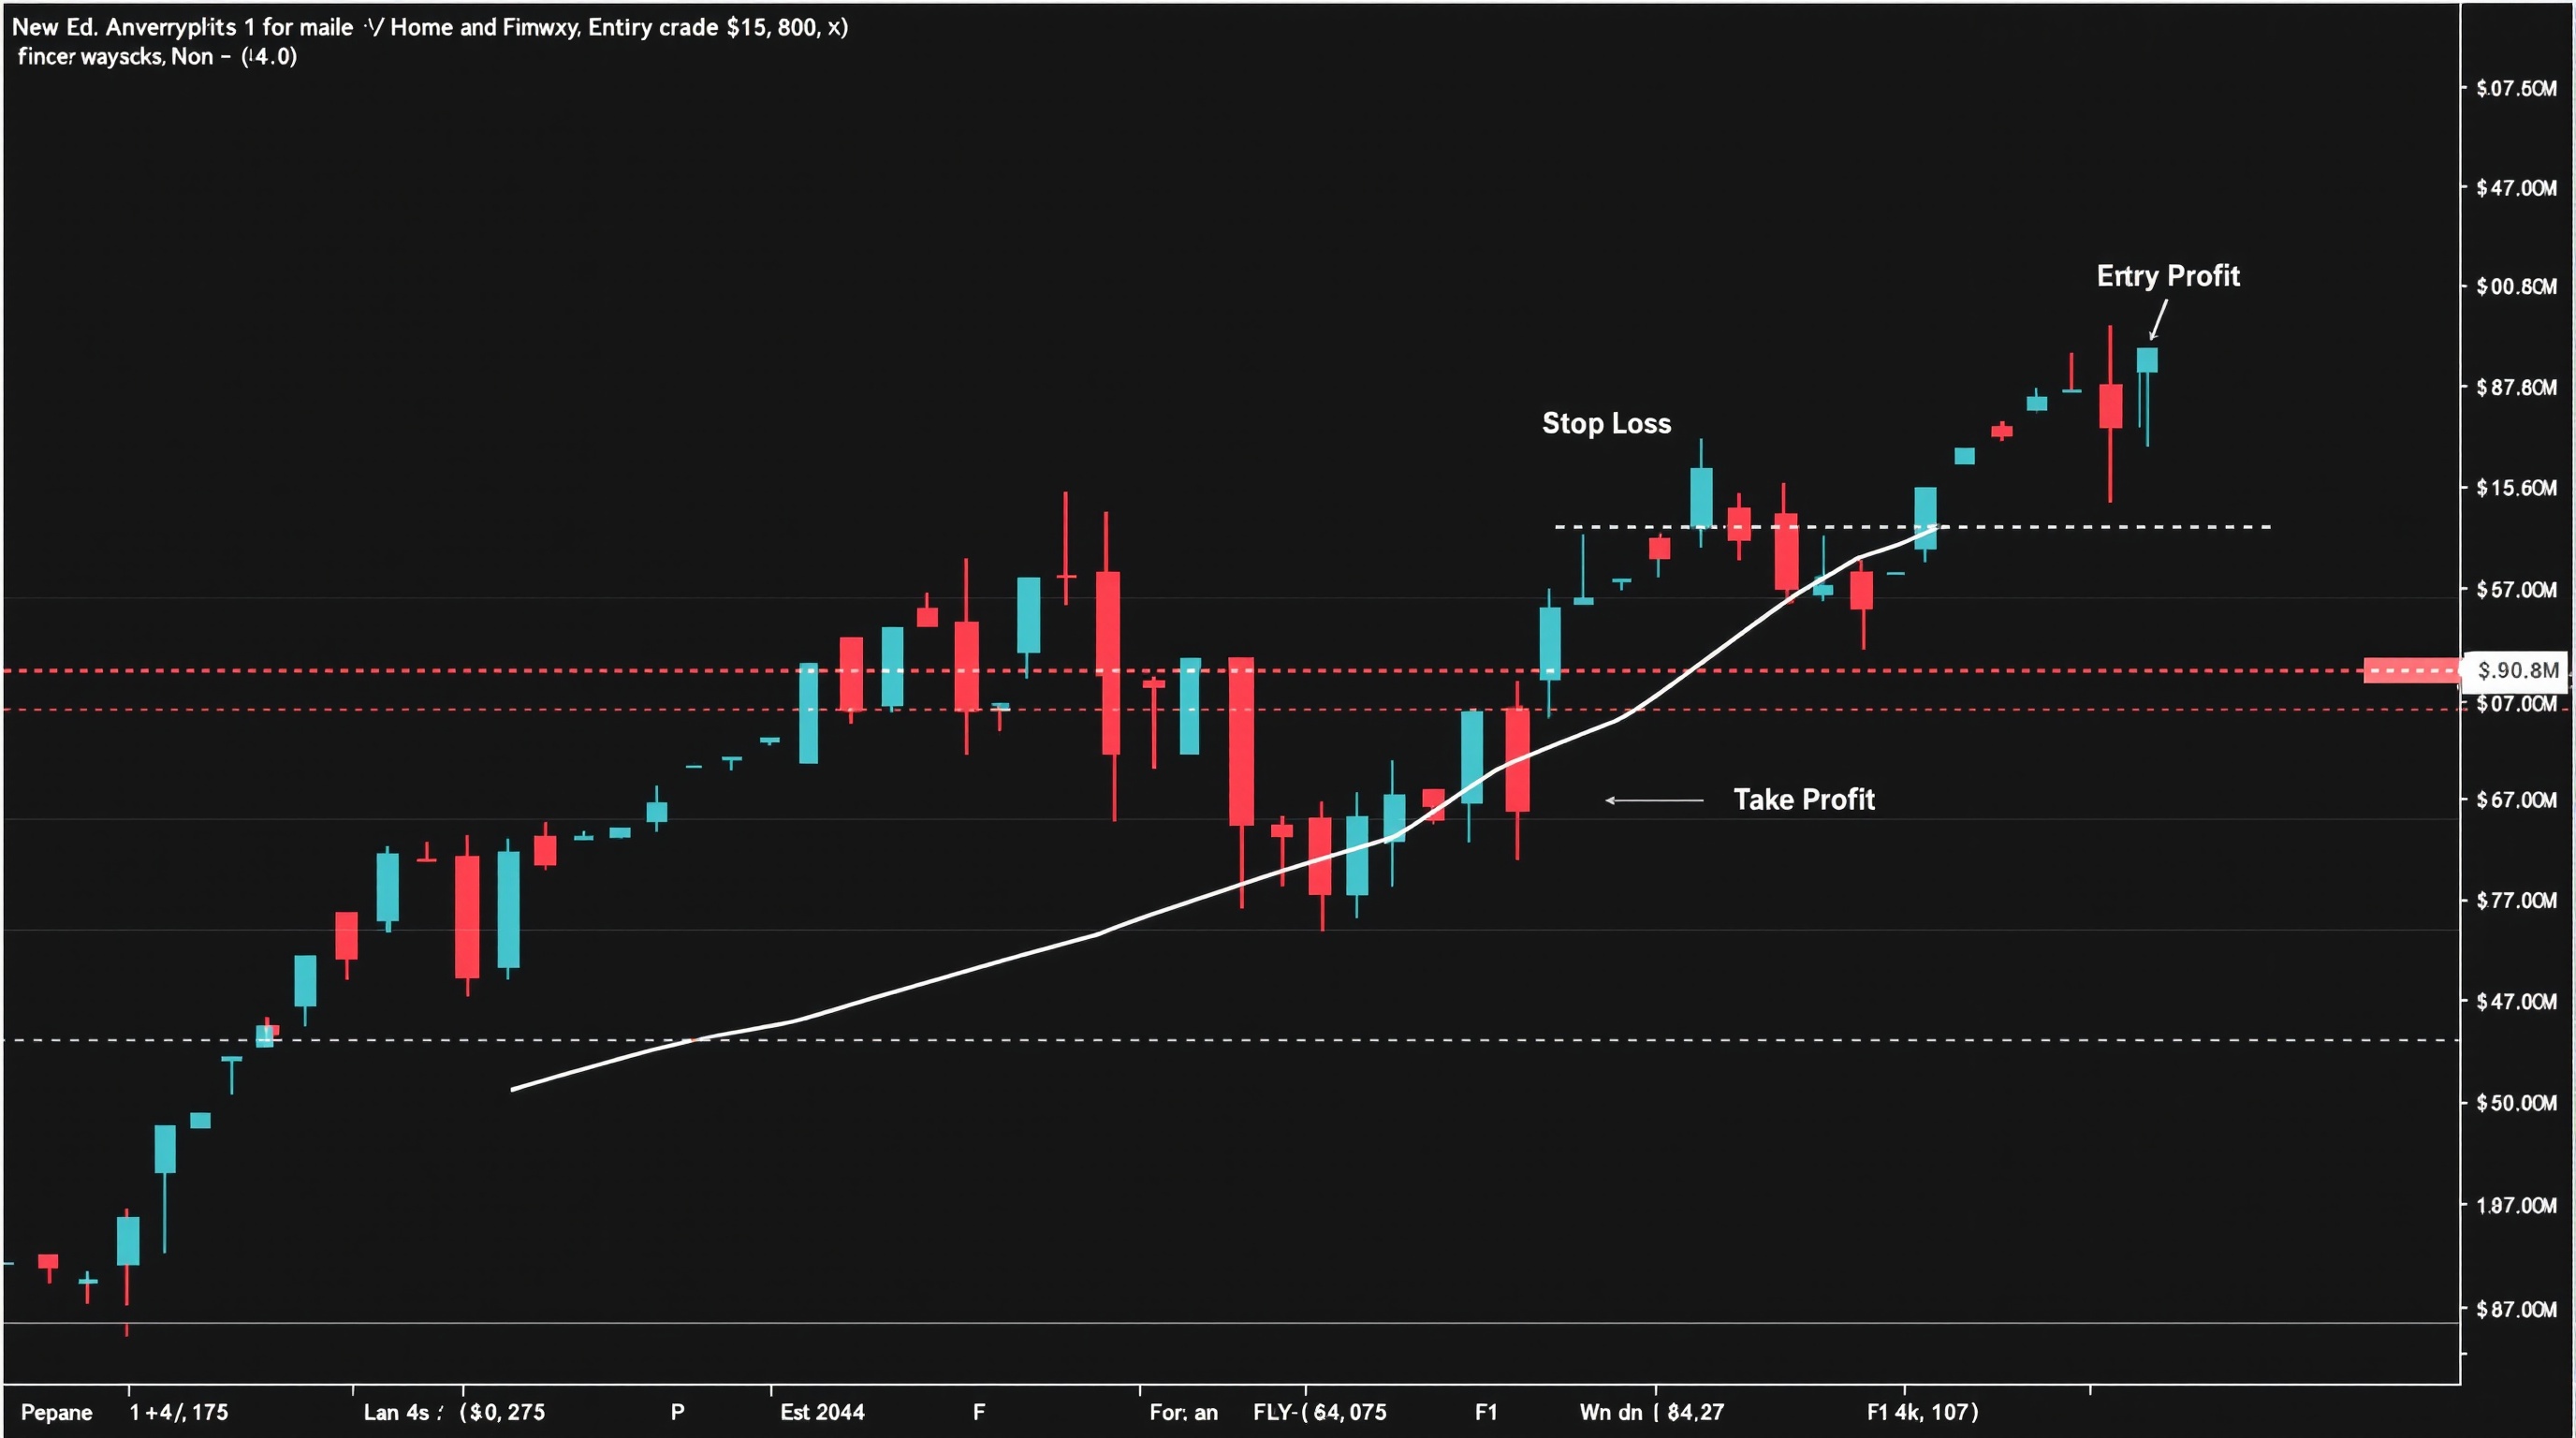
Market, Limit and Stop Orders Explained
Market, limit and stop orders explained for beginners: what each does, when to use it, and how order type affects your true trading cost.
 Beginner
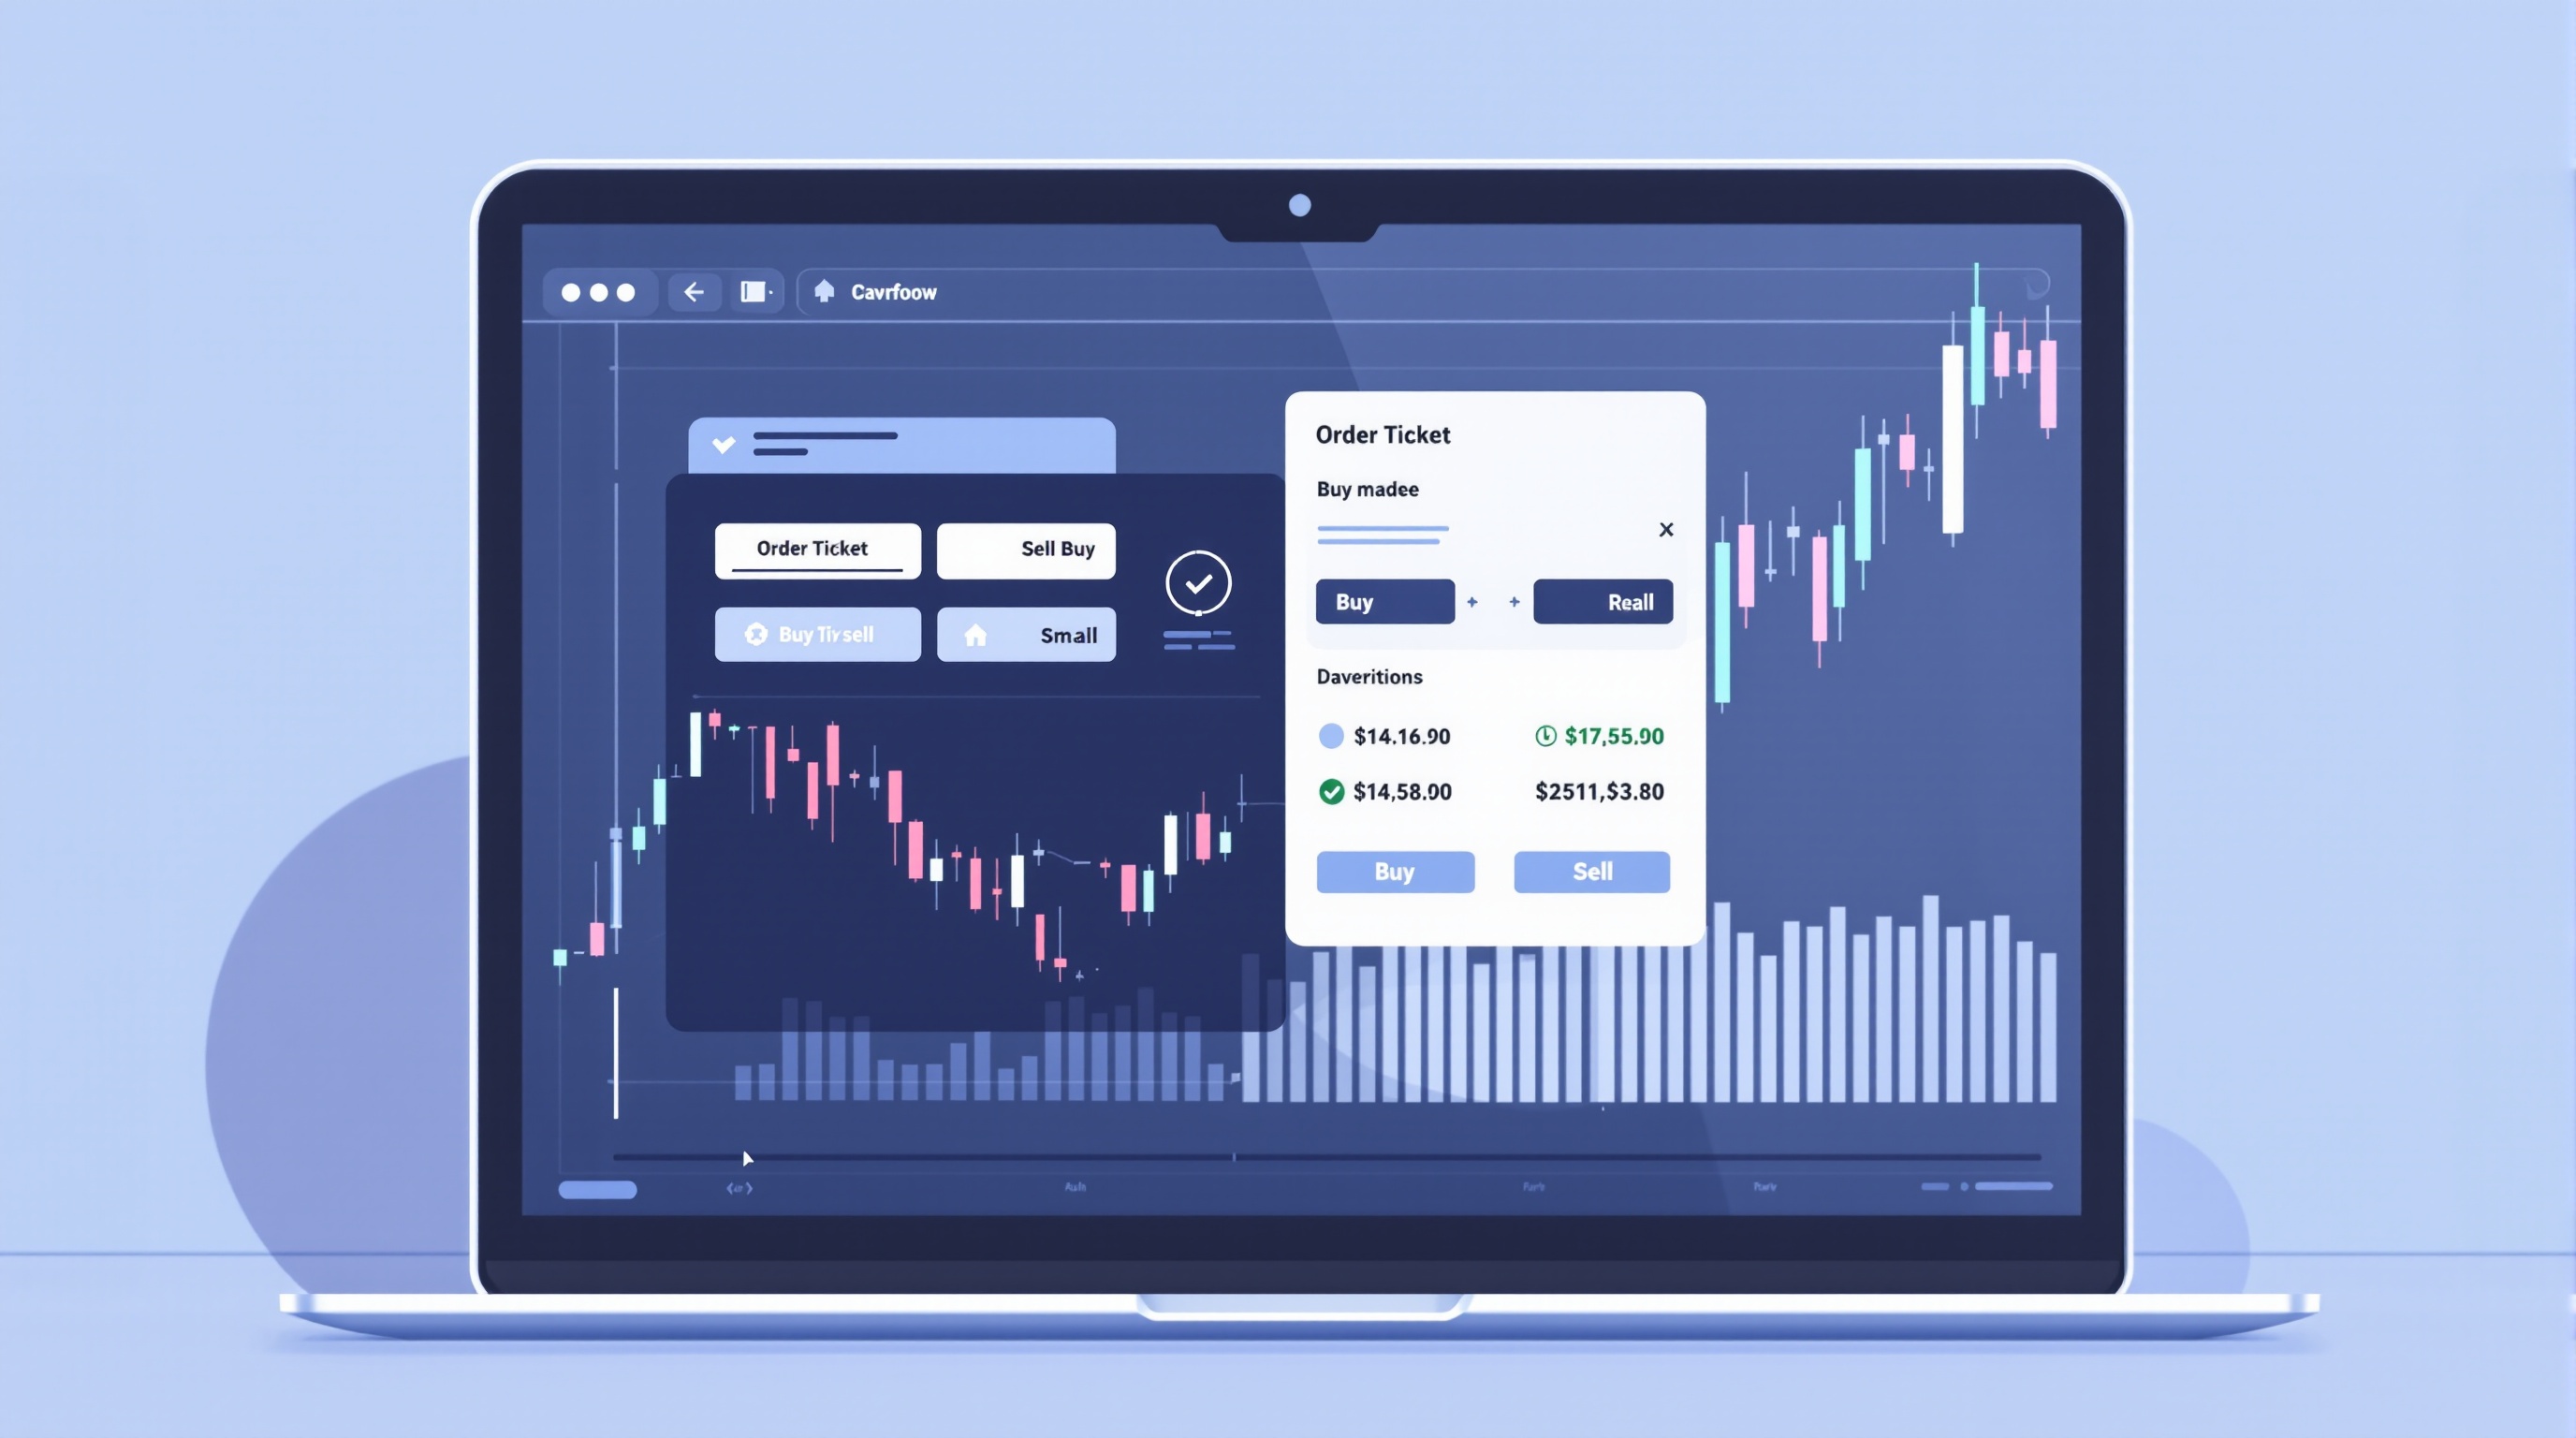
Stop Loss and Take Profit: Your Safety Rails
Learn how stop loss and take profit orders work, why every trade needs them, and how to set levels that make sense on a real chart.
 Beginner
Placing Your First Trade in MetaTrader: A Beginner Guide
Learn how to place your first trade in MetaTrader safely, step by step, with order types, lot sizes and risk checks explained clearly.
Module 3 · Risk & money
 Beginner
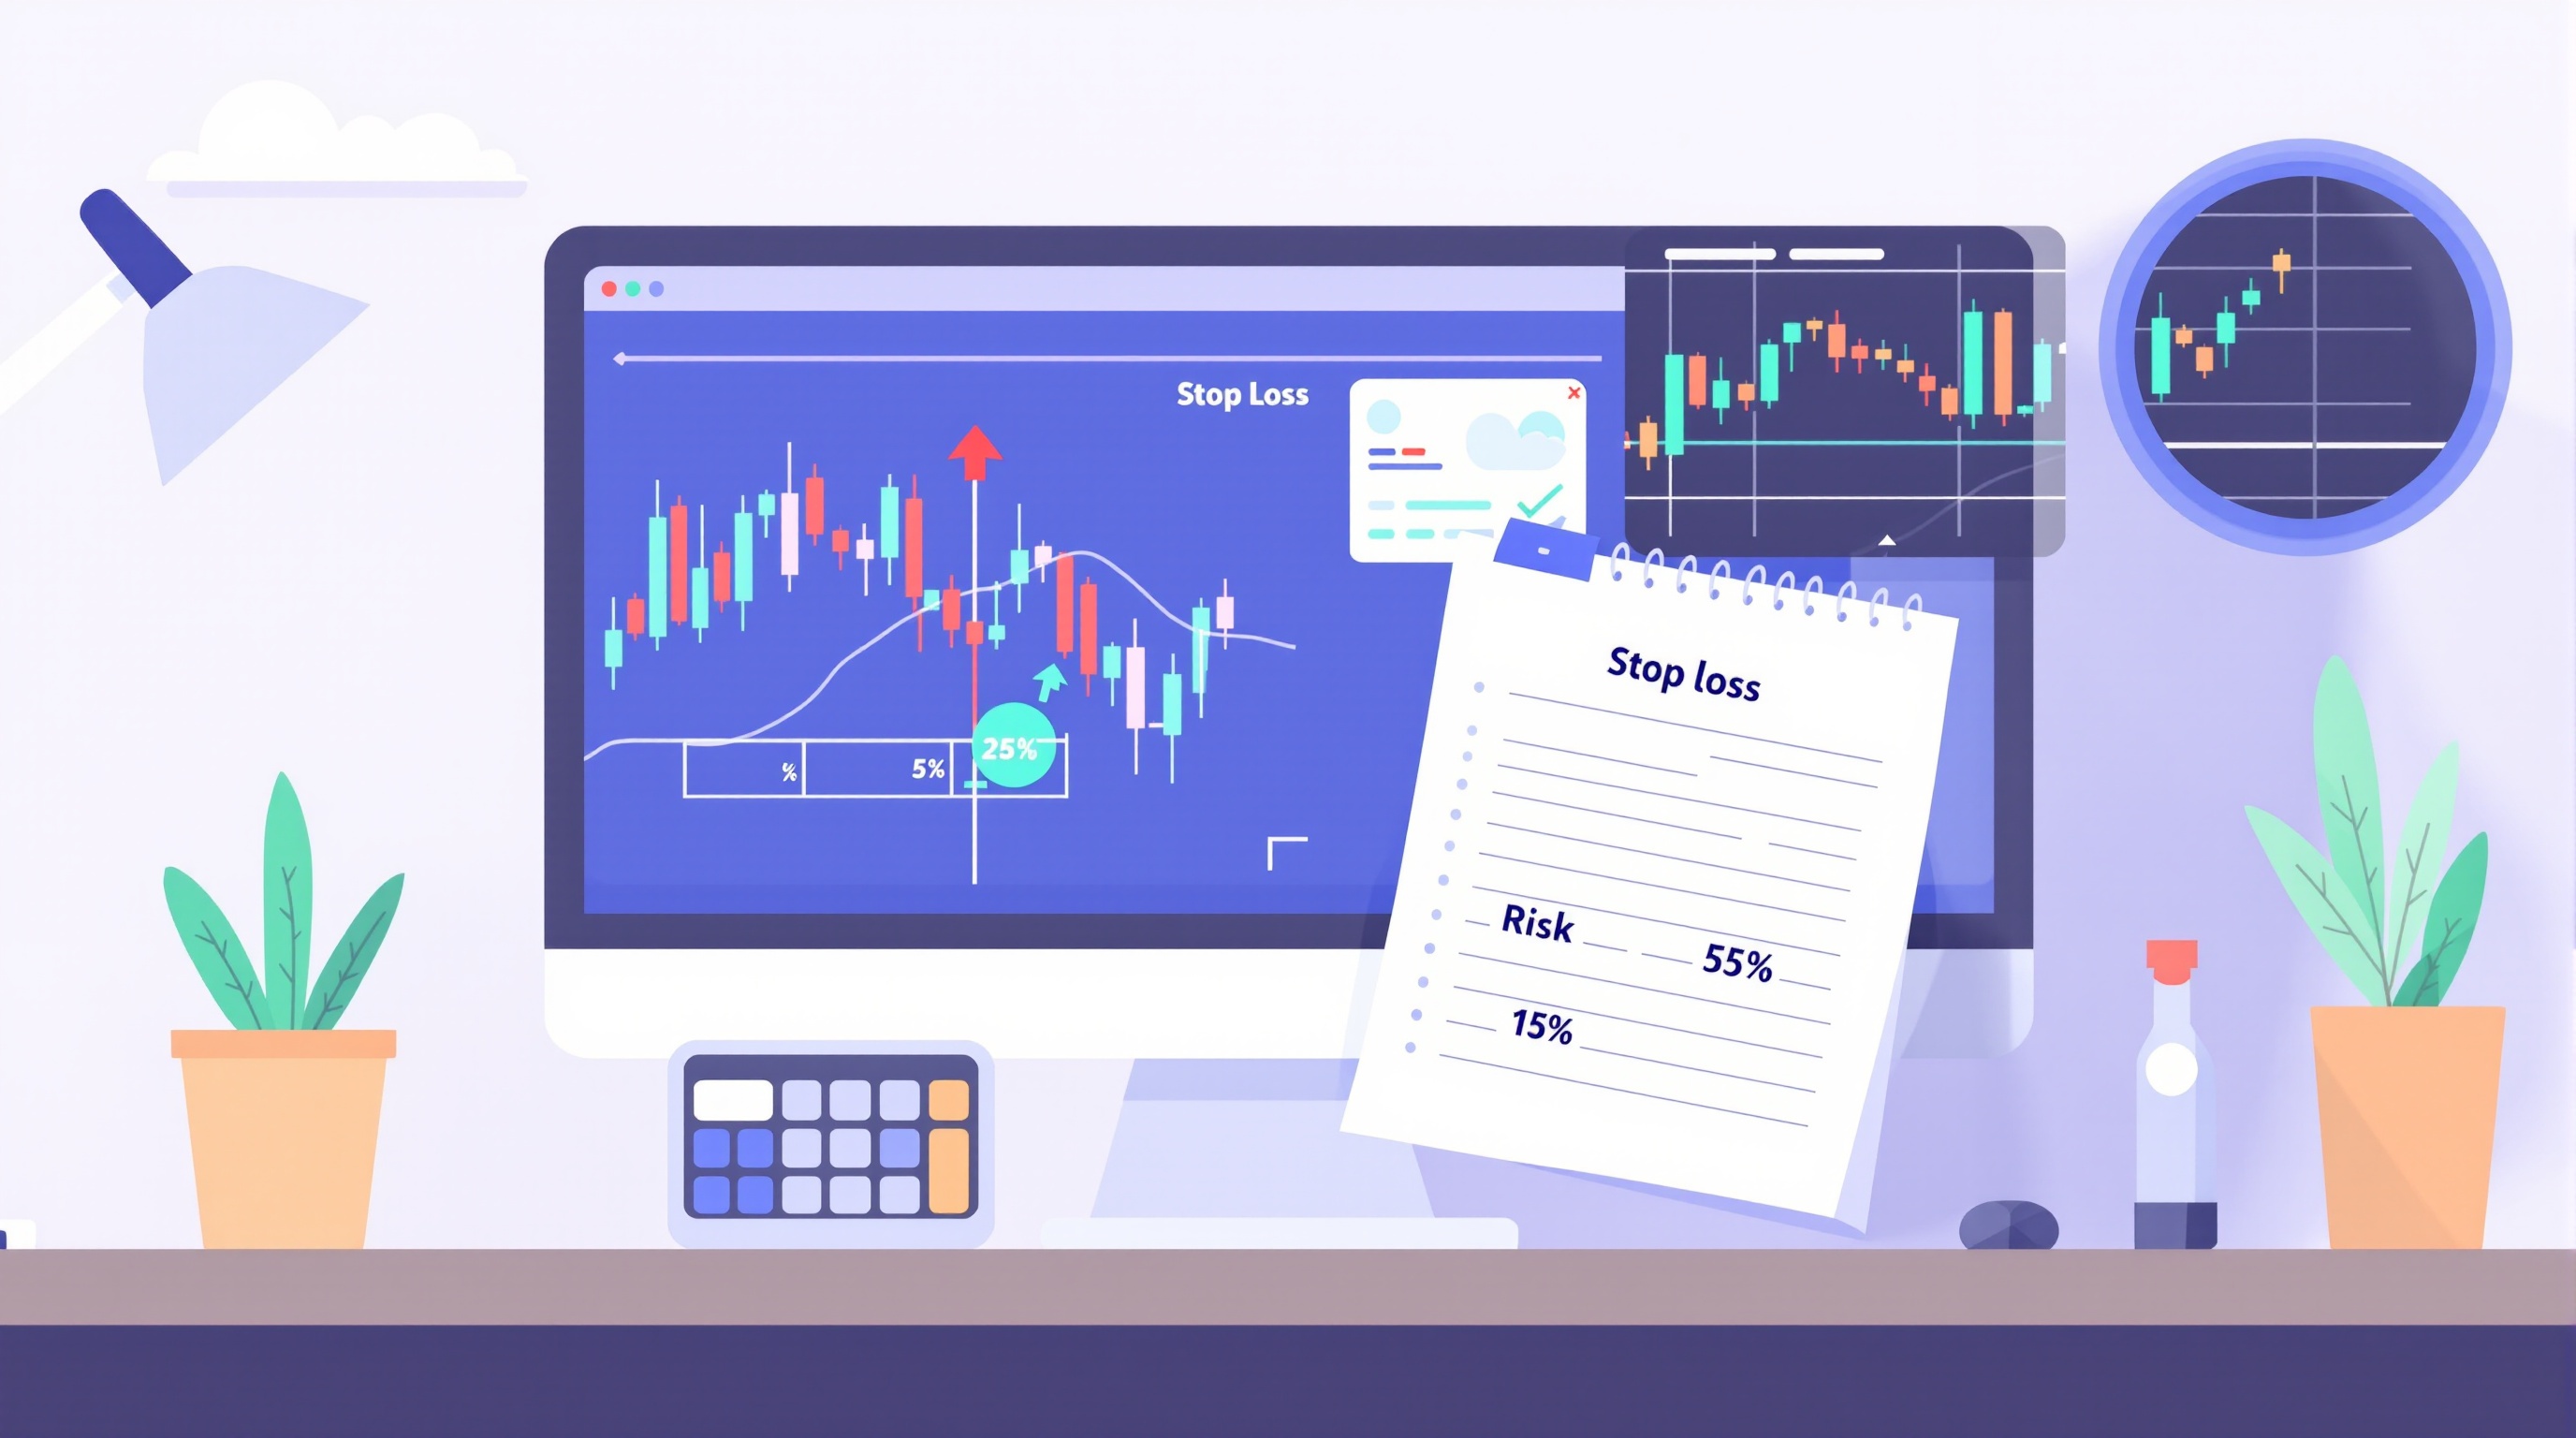
Position Sizing Basics for Beginners
Learn position sizing basics for beginners: how to turn your stop-loss and account risk into a correct lot size, with worked examples.
 Beginner
How to Calculate Pip Value in Your Account Currency
Learn how to calculate pip value in your account currency with clear formulas and worked examples using Pepperstone and IG as references.
 Beginner
Swap & Overnight Rollover Explained (Beginner Guide)
Swap and overnight rollover explained simply: what it is, why it's charged, and how to check the real cost before holding trades overnight.
 Beginner
Why Most Beginners Lose at Forex (And How to Avoid It)
Why most beginners lose at forex and the practical fixes: position sizing, stop losses, costs, and a routine that keeps you in the game.
 Beginner
Building a Simple One-Page Trading Plan
Learn how to build a one-page trading plan in this beginner FX School lesson — a practical template you can use before your next trade.
Module 4 · Getting set up
 Beginner
How to Choose an FCA-Regulated UK Forex Broker
Learn how to choose an FCA-regulated forex broker with this beginner lesson: checks, costs, platforms and red flags to look out for.
 Beginner
MetaTrader 4 vs MetaTrader 5: A Beginner's Guide
MetaTrader 4 vs MetaTrader 5 explained for beginners: key differences, which to pick, and how to check real broker costs before you open an account.
 Beginner
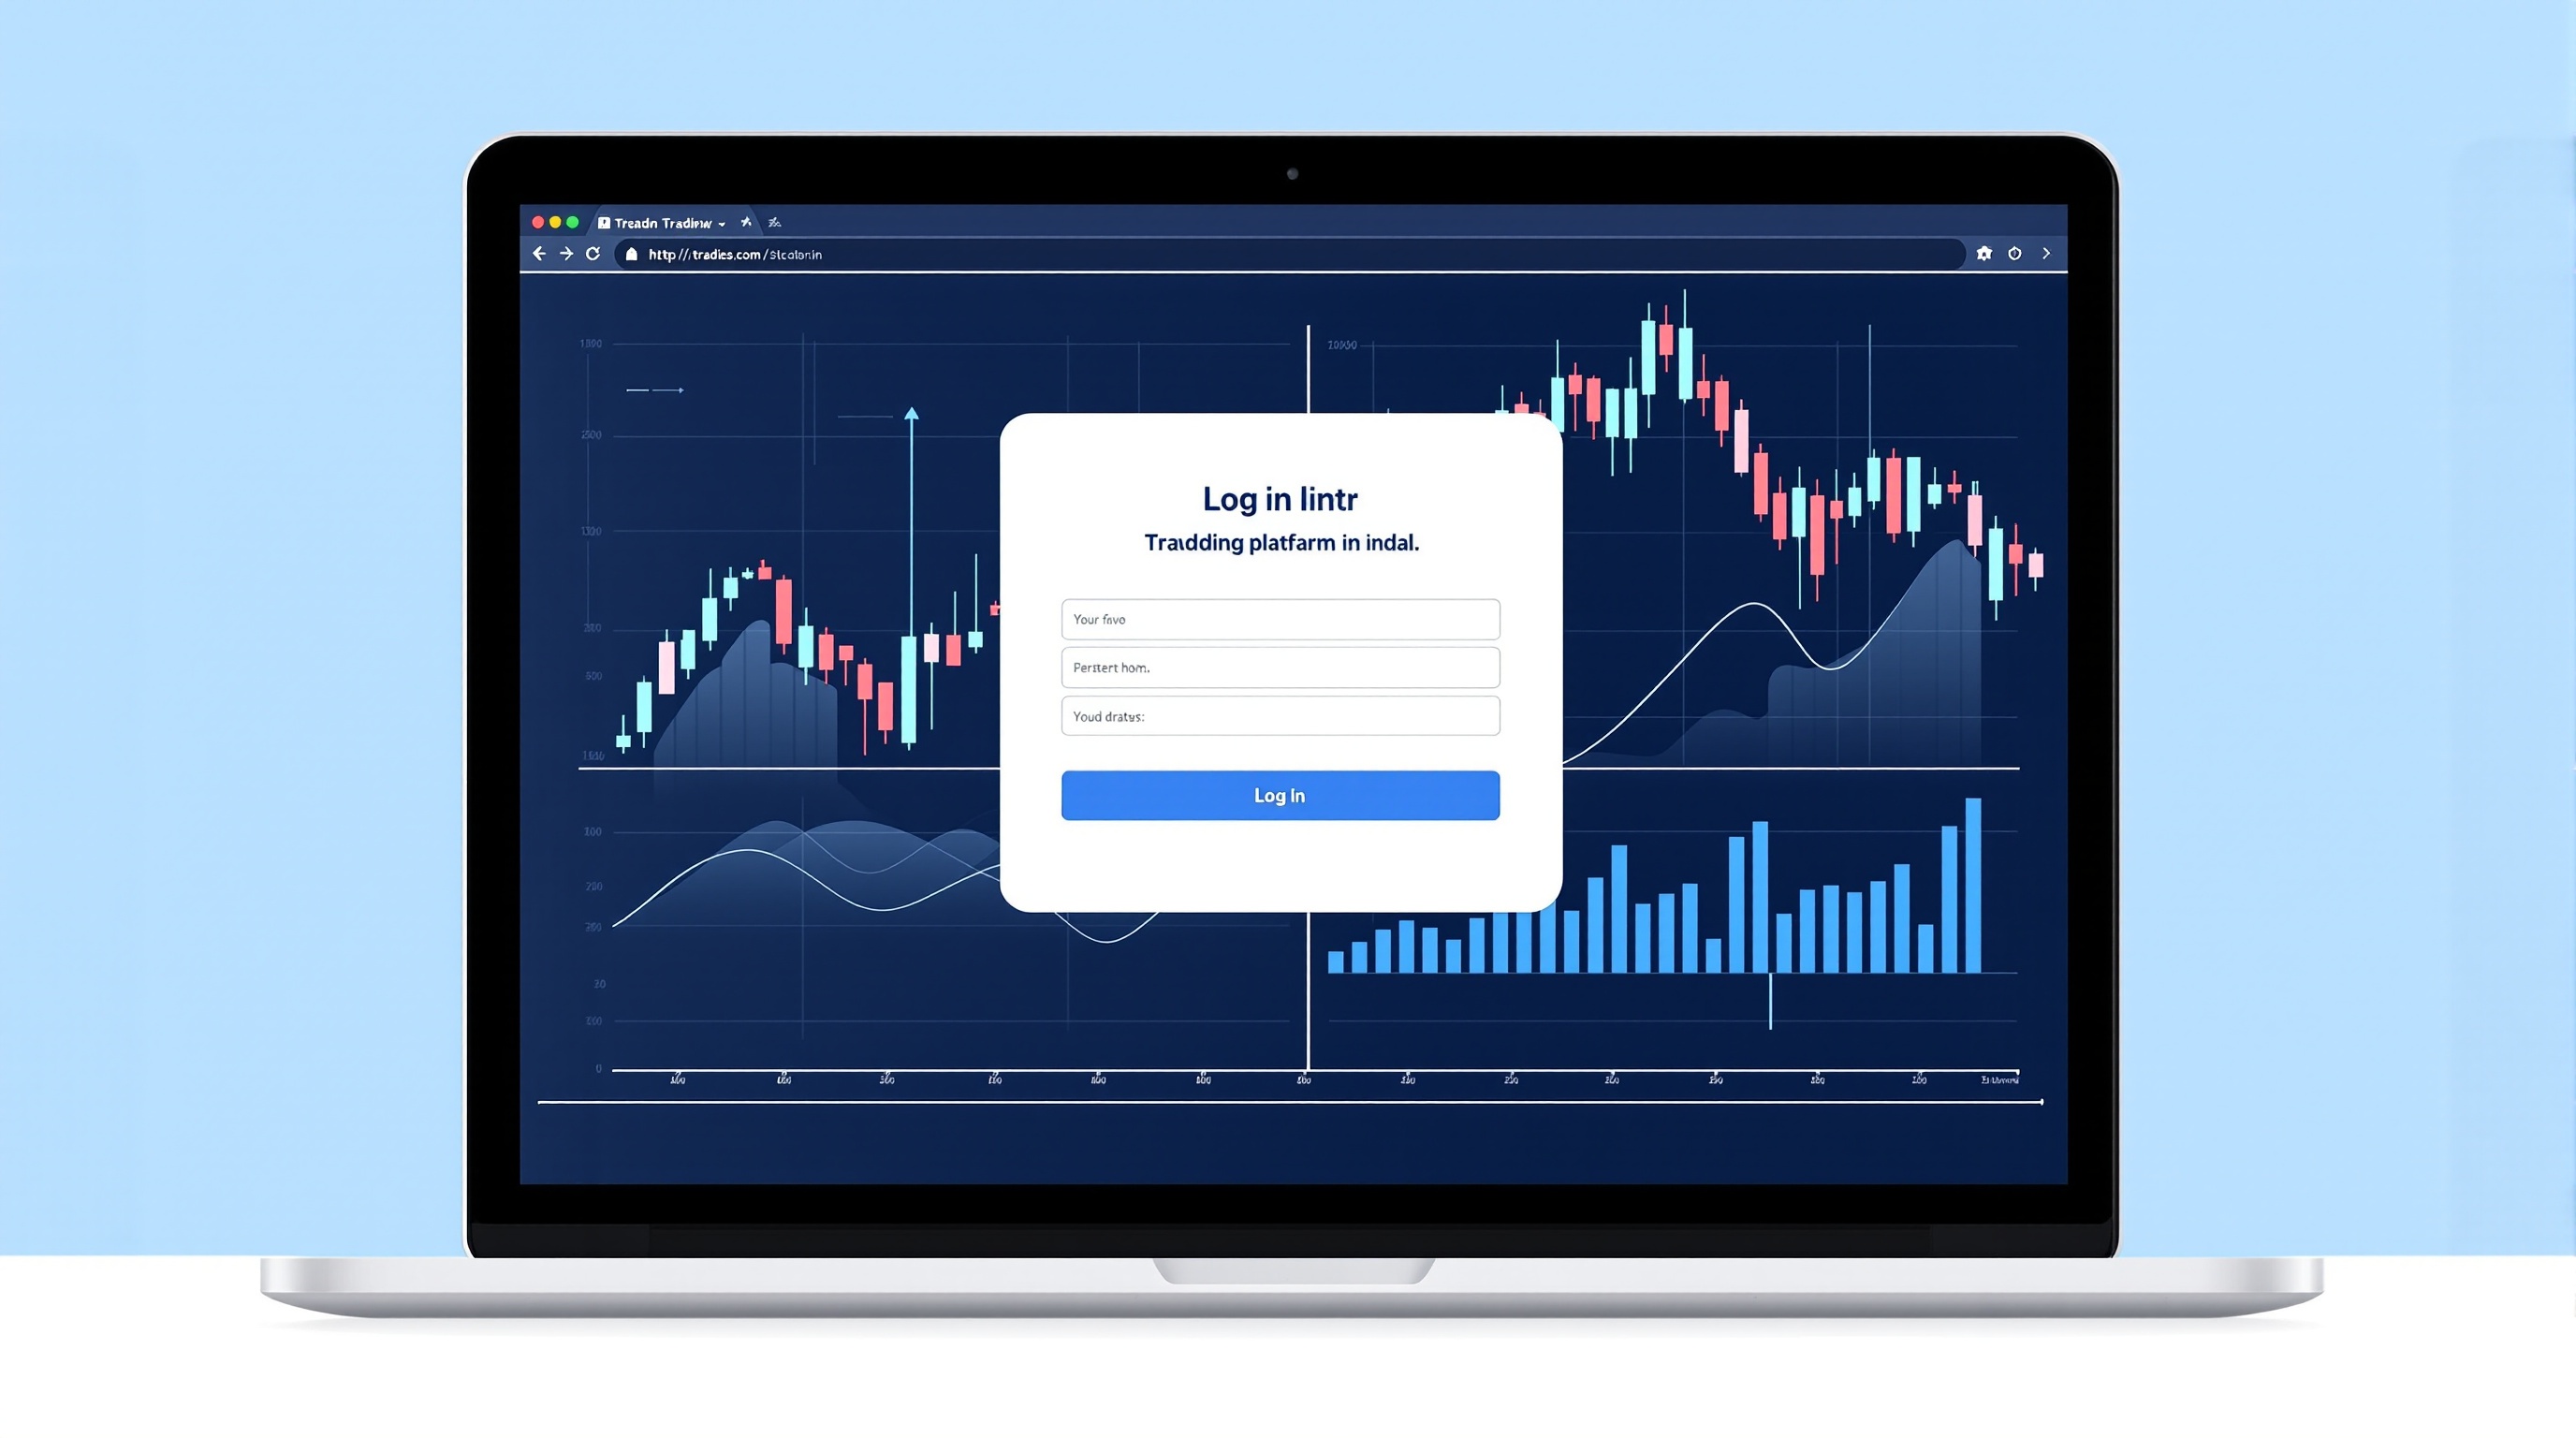
How to Install MetaTrader and Log In to Your Broker
Learn how to install MetaTrader and log in to your broker safely, step by step, with FCA-regulated examples from Pepperstone and IG.
 Beginner
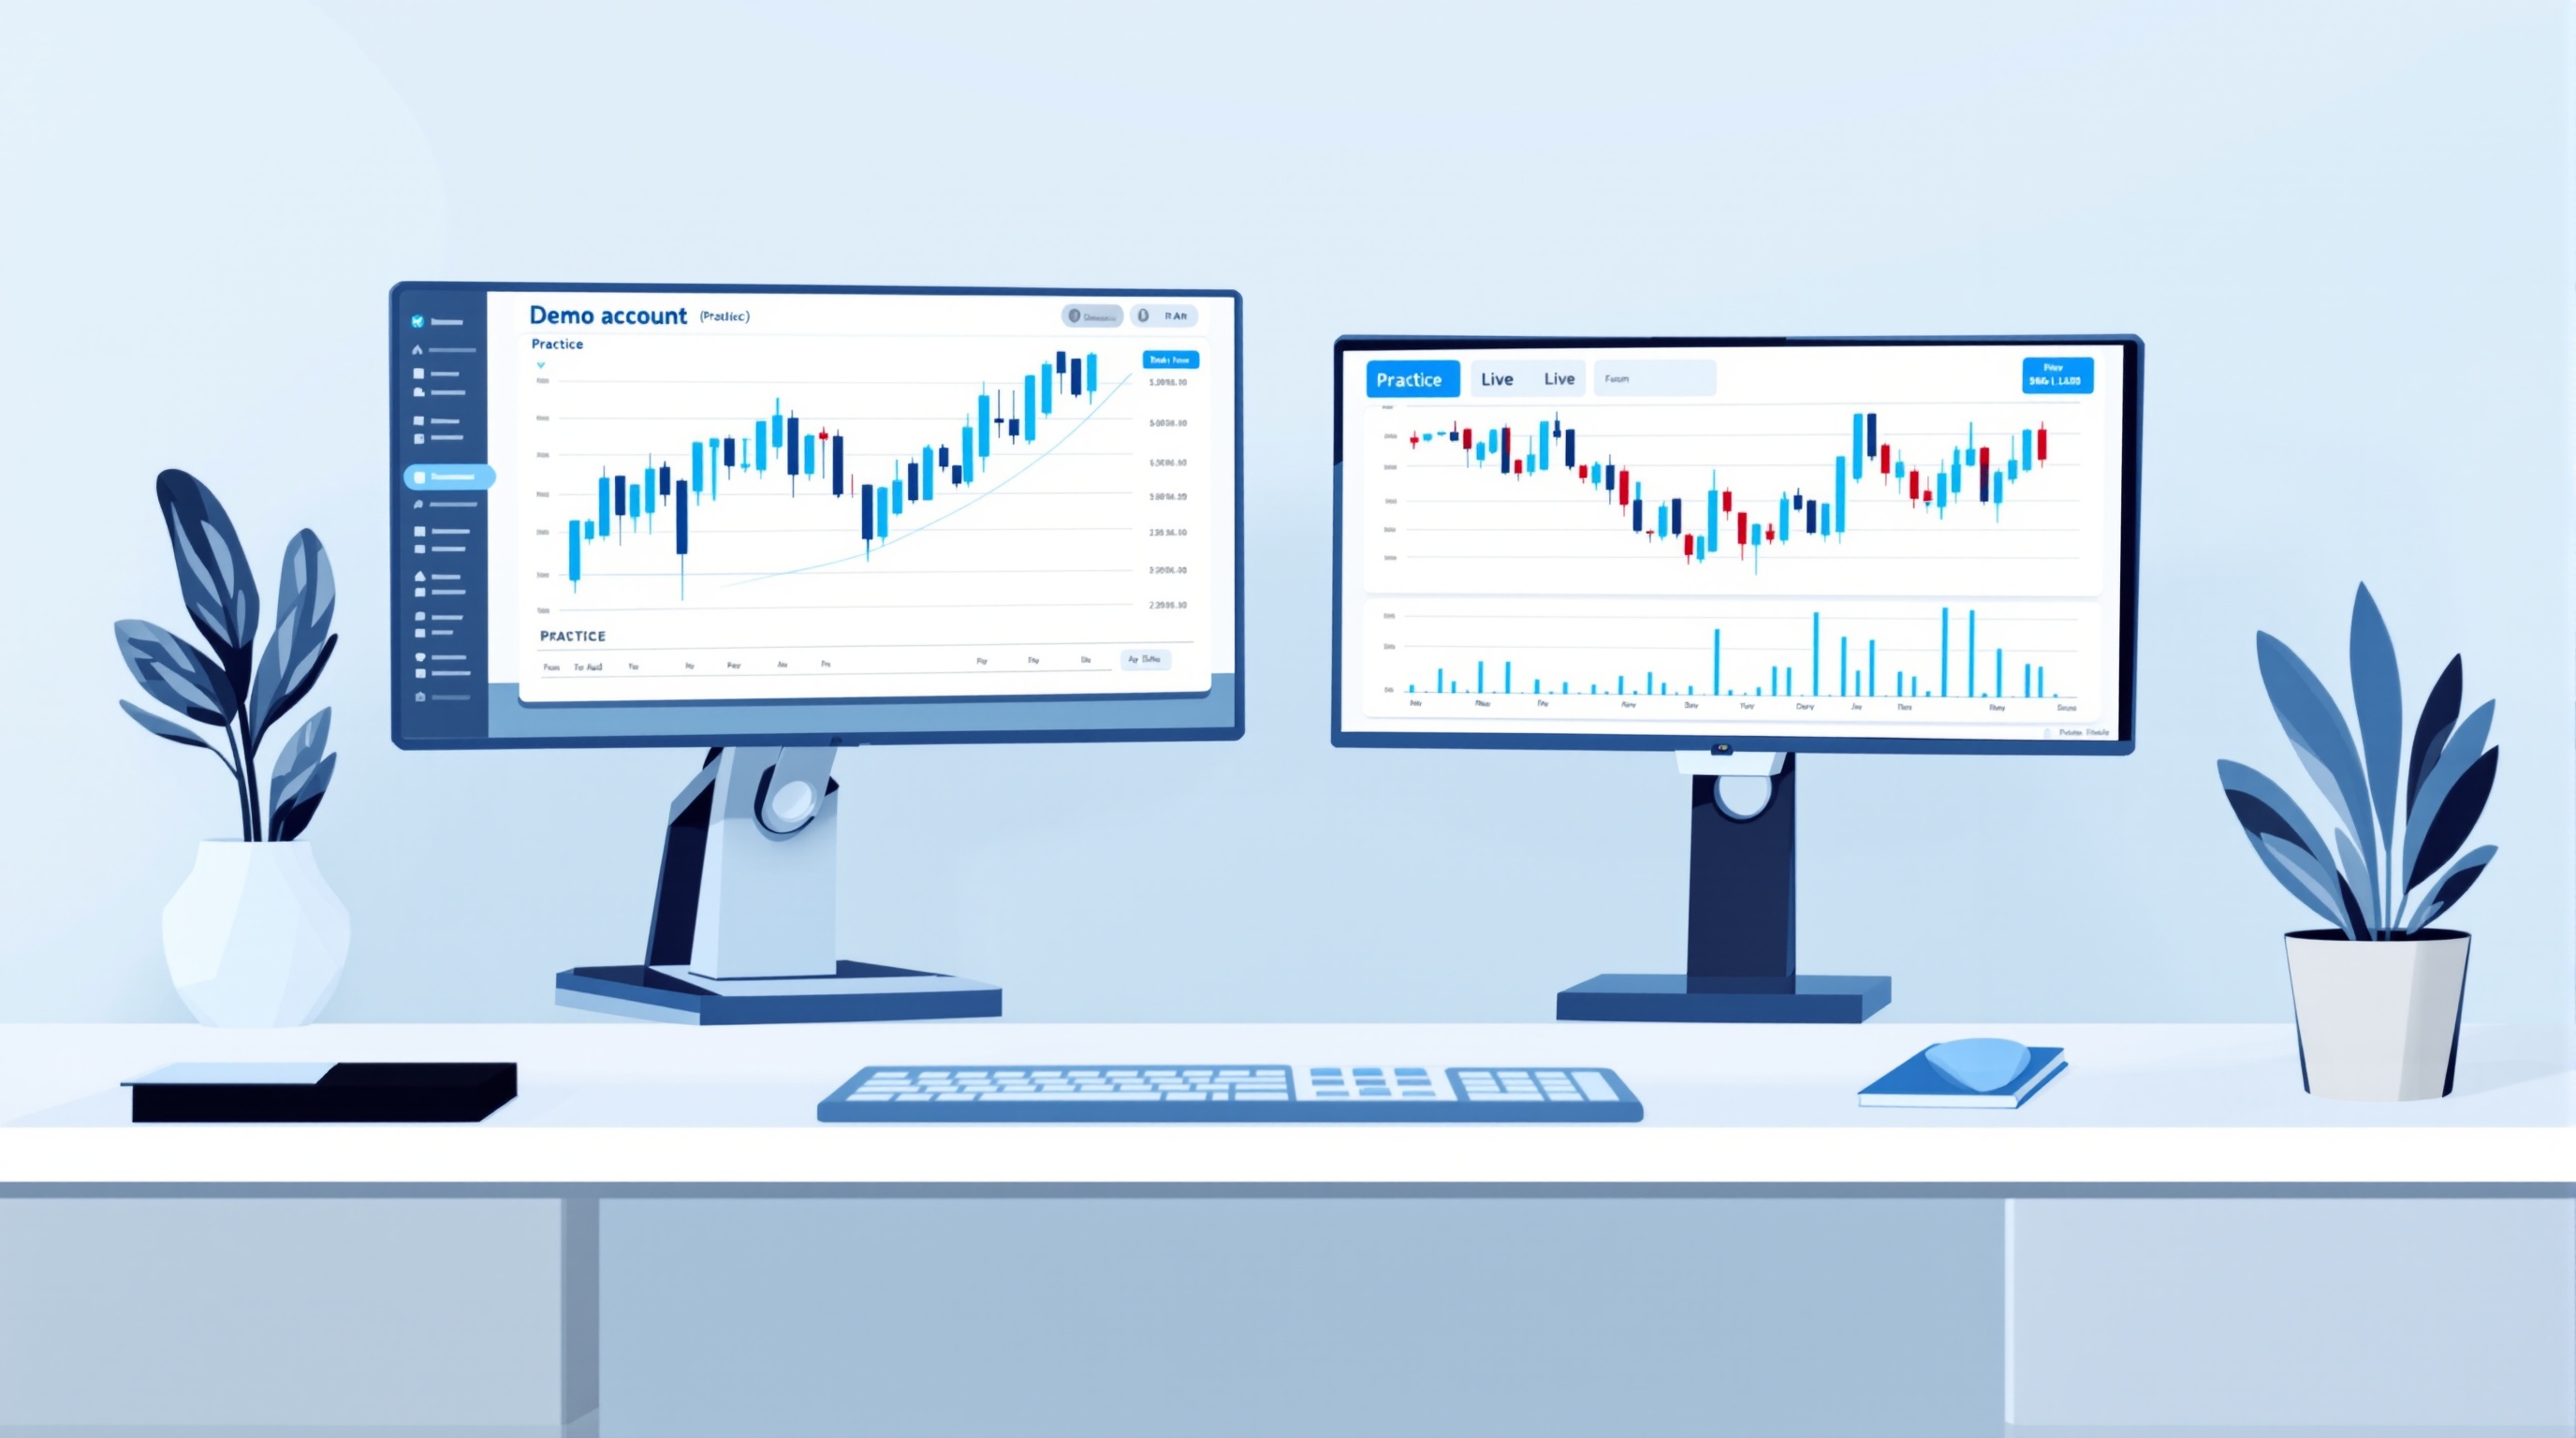
Demo Account Trading: Practise Safely (Module 4)
Demo account trading explained: how to set one up, what it can and can't teach you, and how to move to live safely. Module 4 of PipTax FX School.
 Beginner
Funding and Withdrawing From a UK Trading Account
How to fund and withdraw from a UK trading account: methods, timings, fees and ID checks explained in plain English for beginners.
Module 5 · The market
 Beginner
Major, Minor and Exotic Currency Pairs Explained
Learn how major, minor and exotic currency pairs differ, why it matters for cost, and how to check spreads before you trade. UK beginner lesson.
 Beginner
Forex Trading Sessions: London, New York, Tokyo
Learn forex trading sessions — London, New York, Tokyo — and when spreads, volatility and liquidity actually favour beginners.
 Beginner
How to Read an Economic Calendar (Beginner Guide)
Learn how to read an economic calendar step by step — impact ratings, forecast vs actual, and a simple weekly routine for beginner forex traders.
 Beginner
Beginner Forex Trading Mistakes and How to Avoid Them
Common beginner forex trading mistakes — oversizing, no stop loss, revenge trading — and practical fixes. Module 5 of PipTax FX Trading School.
Module 6 · Technical analysis
 Intermediate
Support and Resistance Explained (Module 6)
Support and resistance explained: how to spot real levels, avoid false signals, and use them with cost data to trade FX more precisely.
 Intermediate
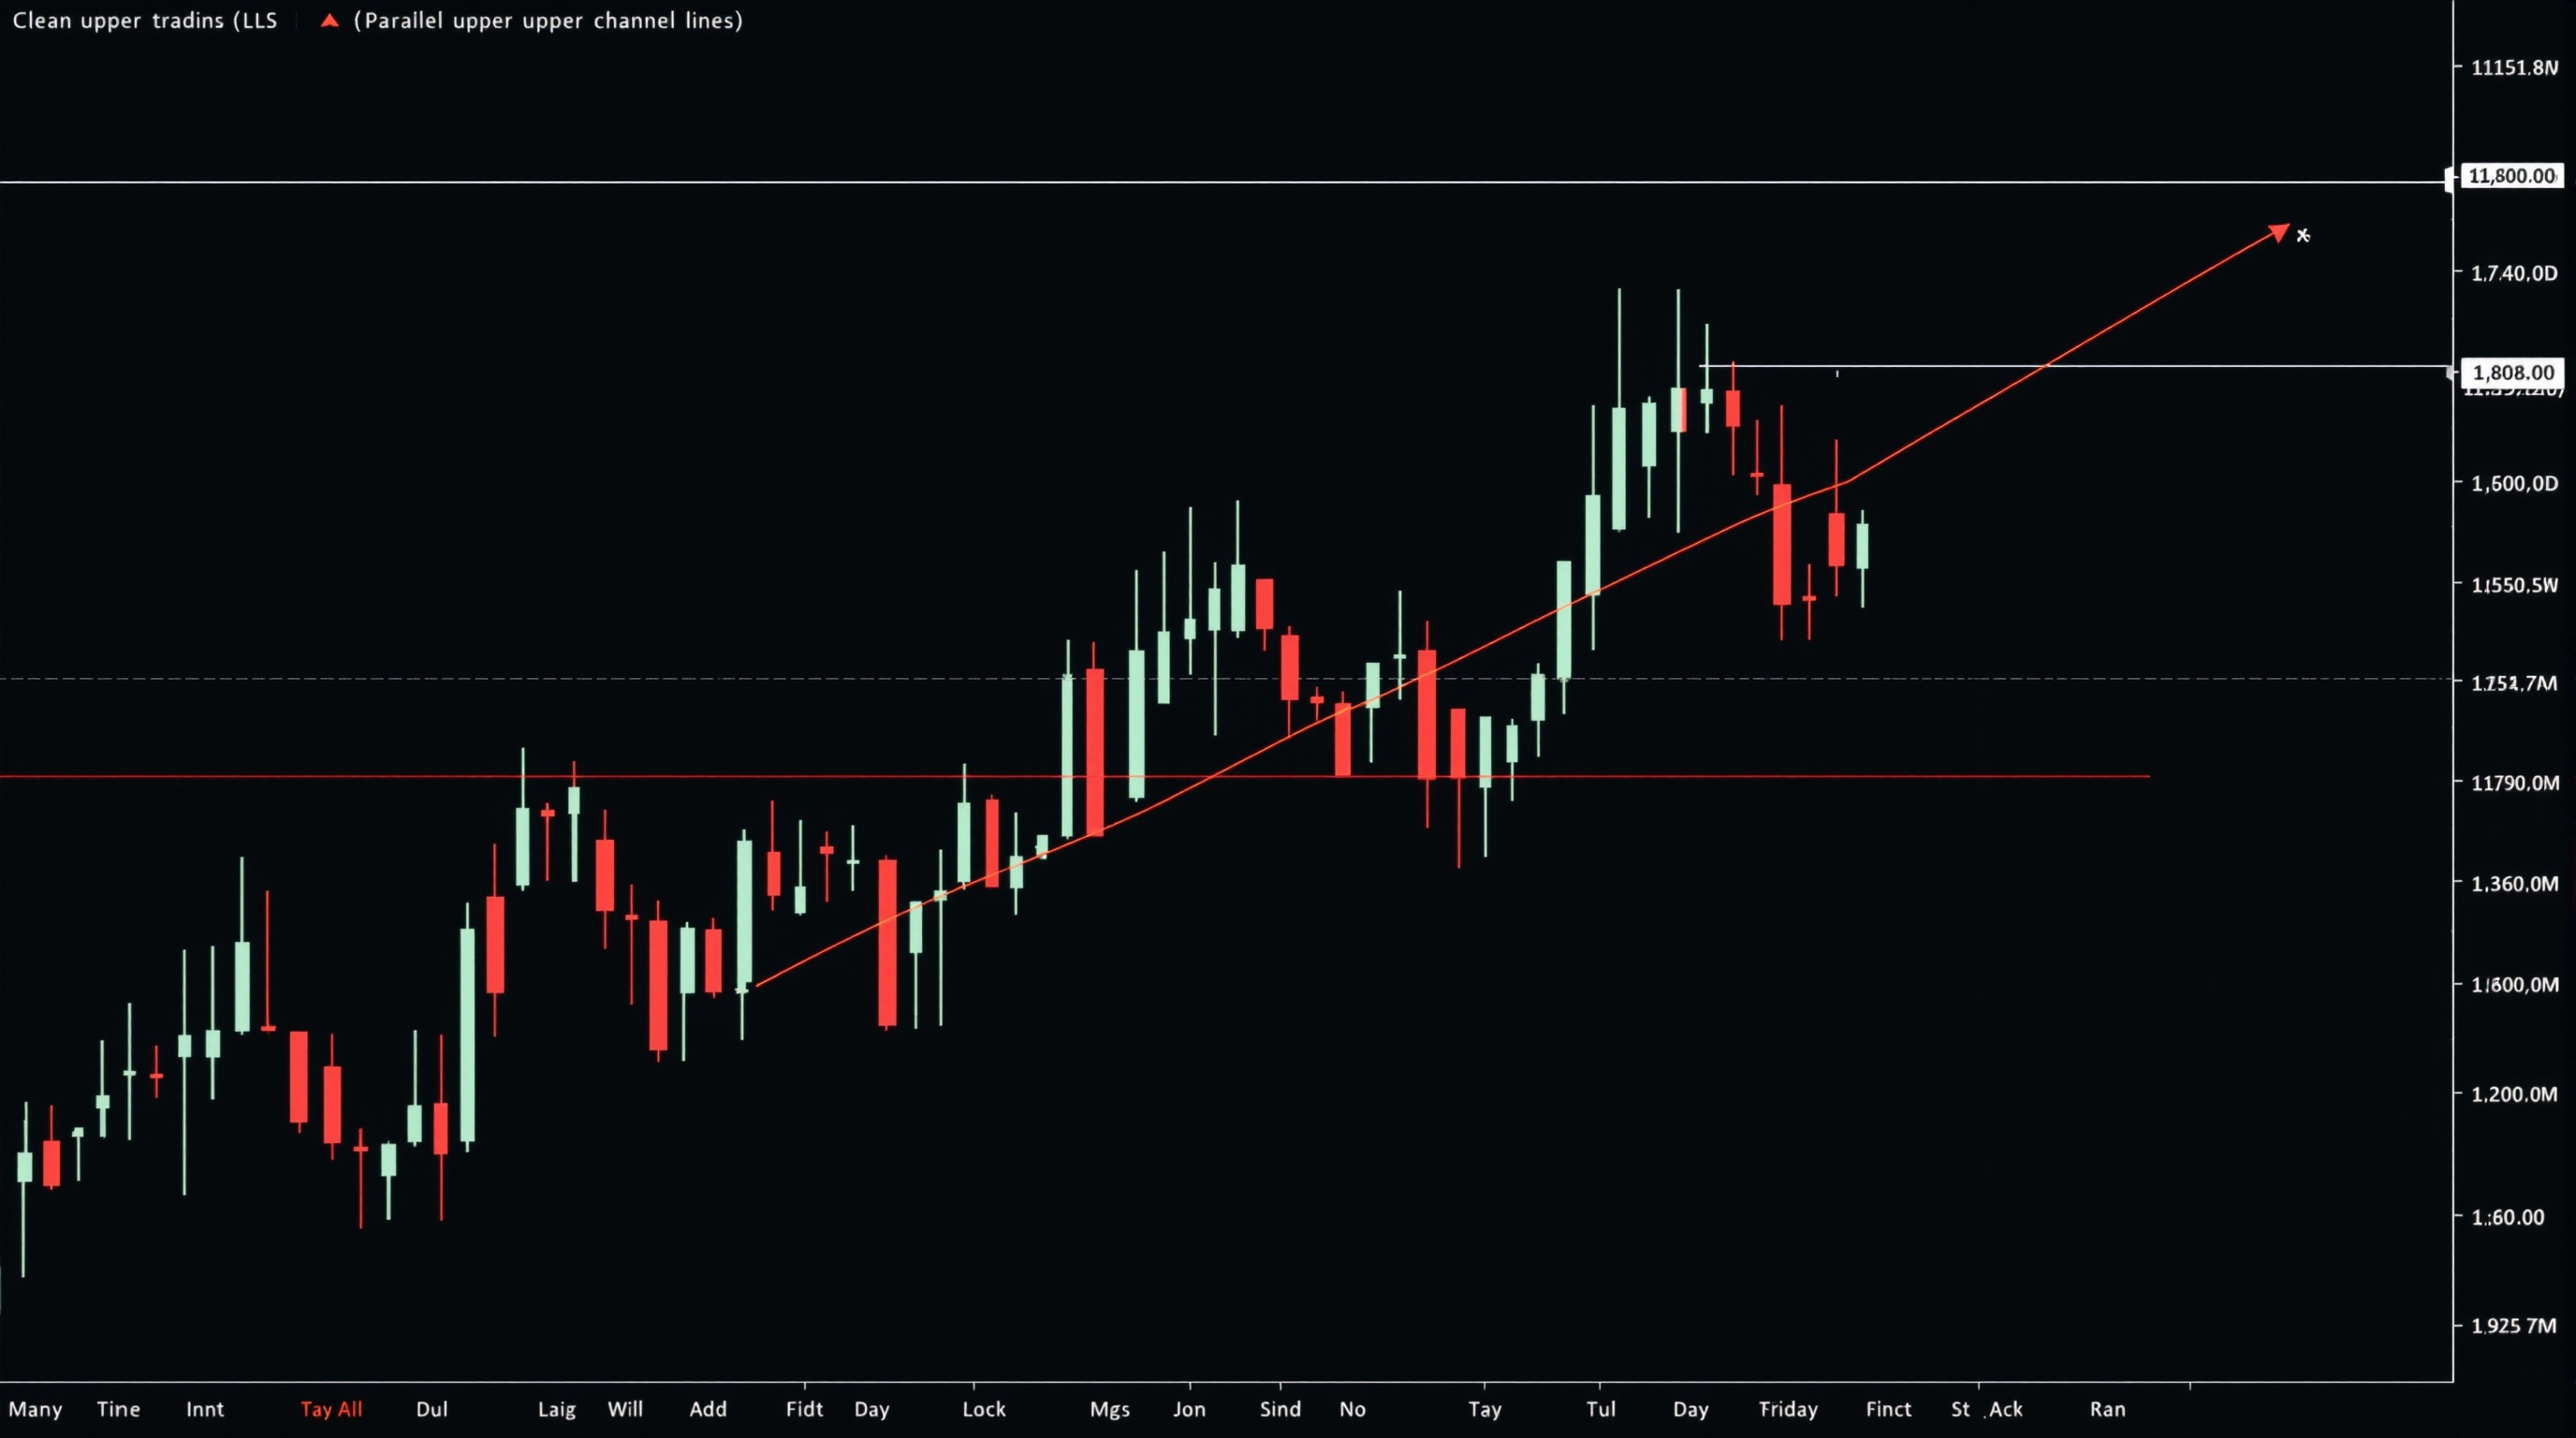
Drawing Trend Lines and Channels That Actually Work
Learn to draw trend lines and channels properly in this intermediate PipTax FX School lesson, with rules for validation, angles, and trade planning.
 Intermediate
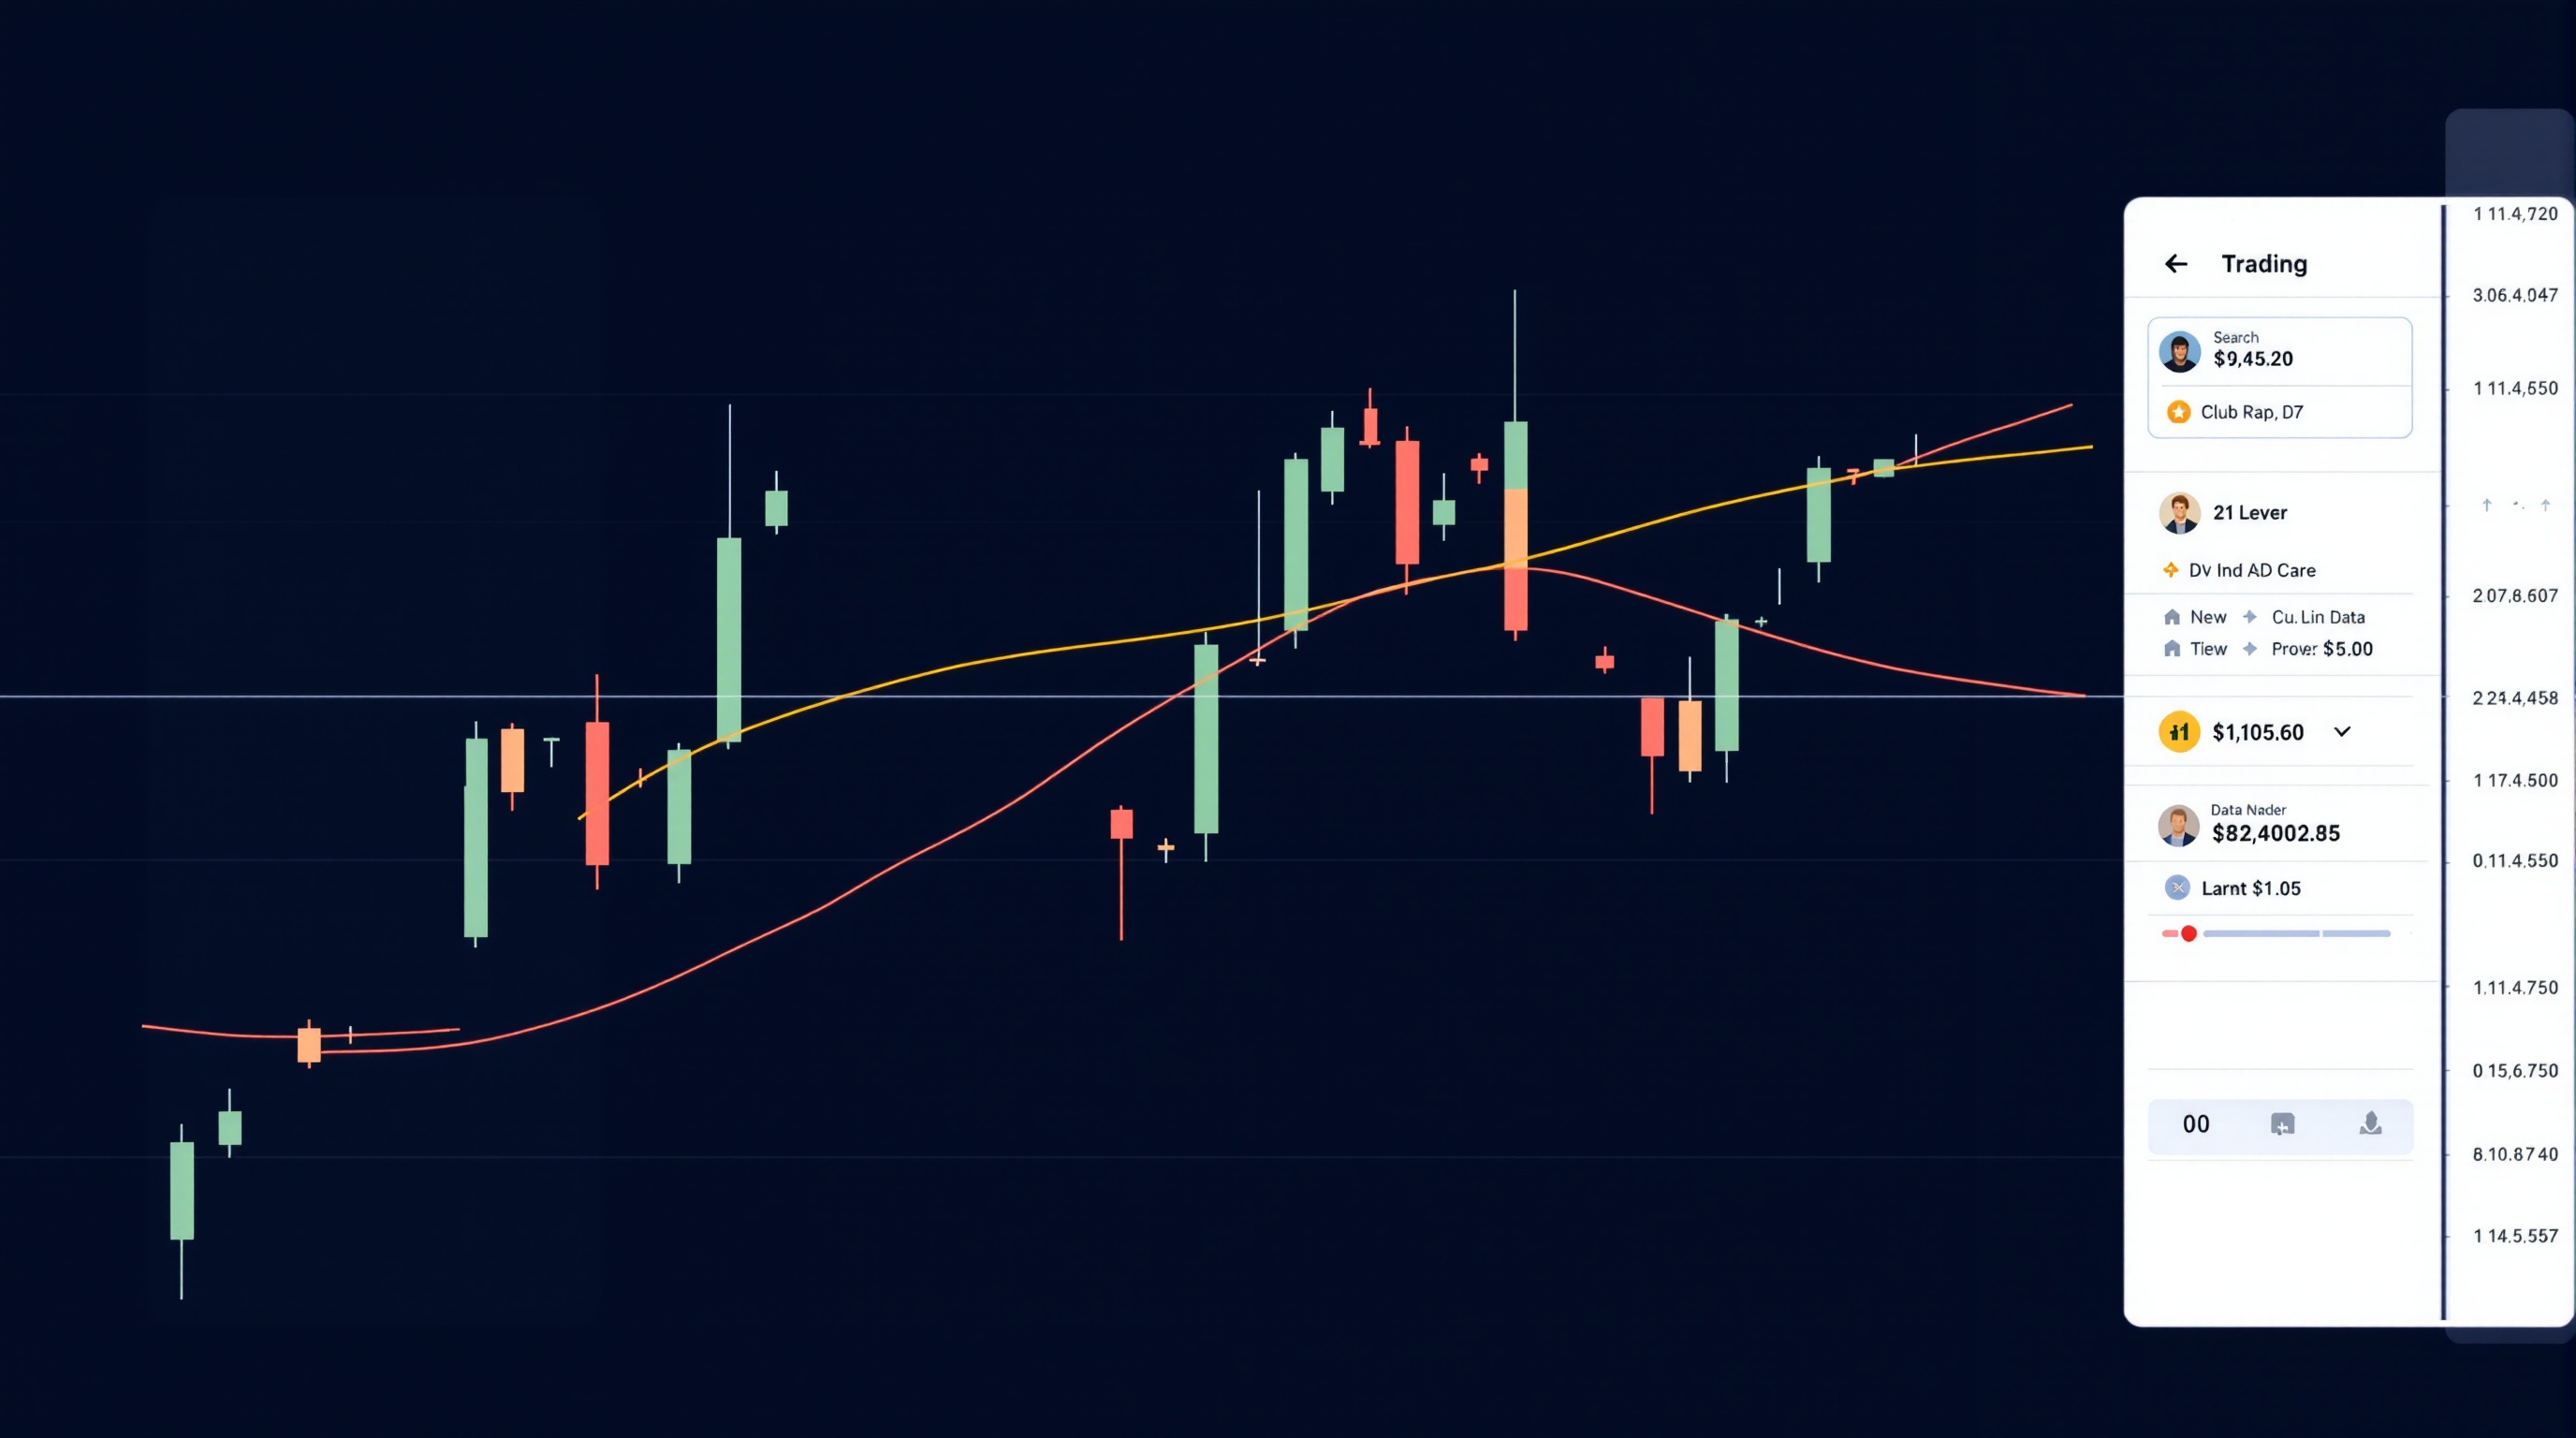
Moving Averages: How to Use Them in Your Trading
Learn how to use moving averages to read trend and time entries, with practical rules and pitfalls. Module 6 of the PipTax FX Trading School.
 Intermediate
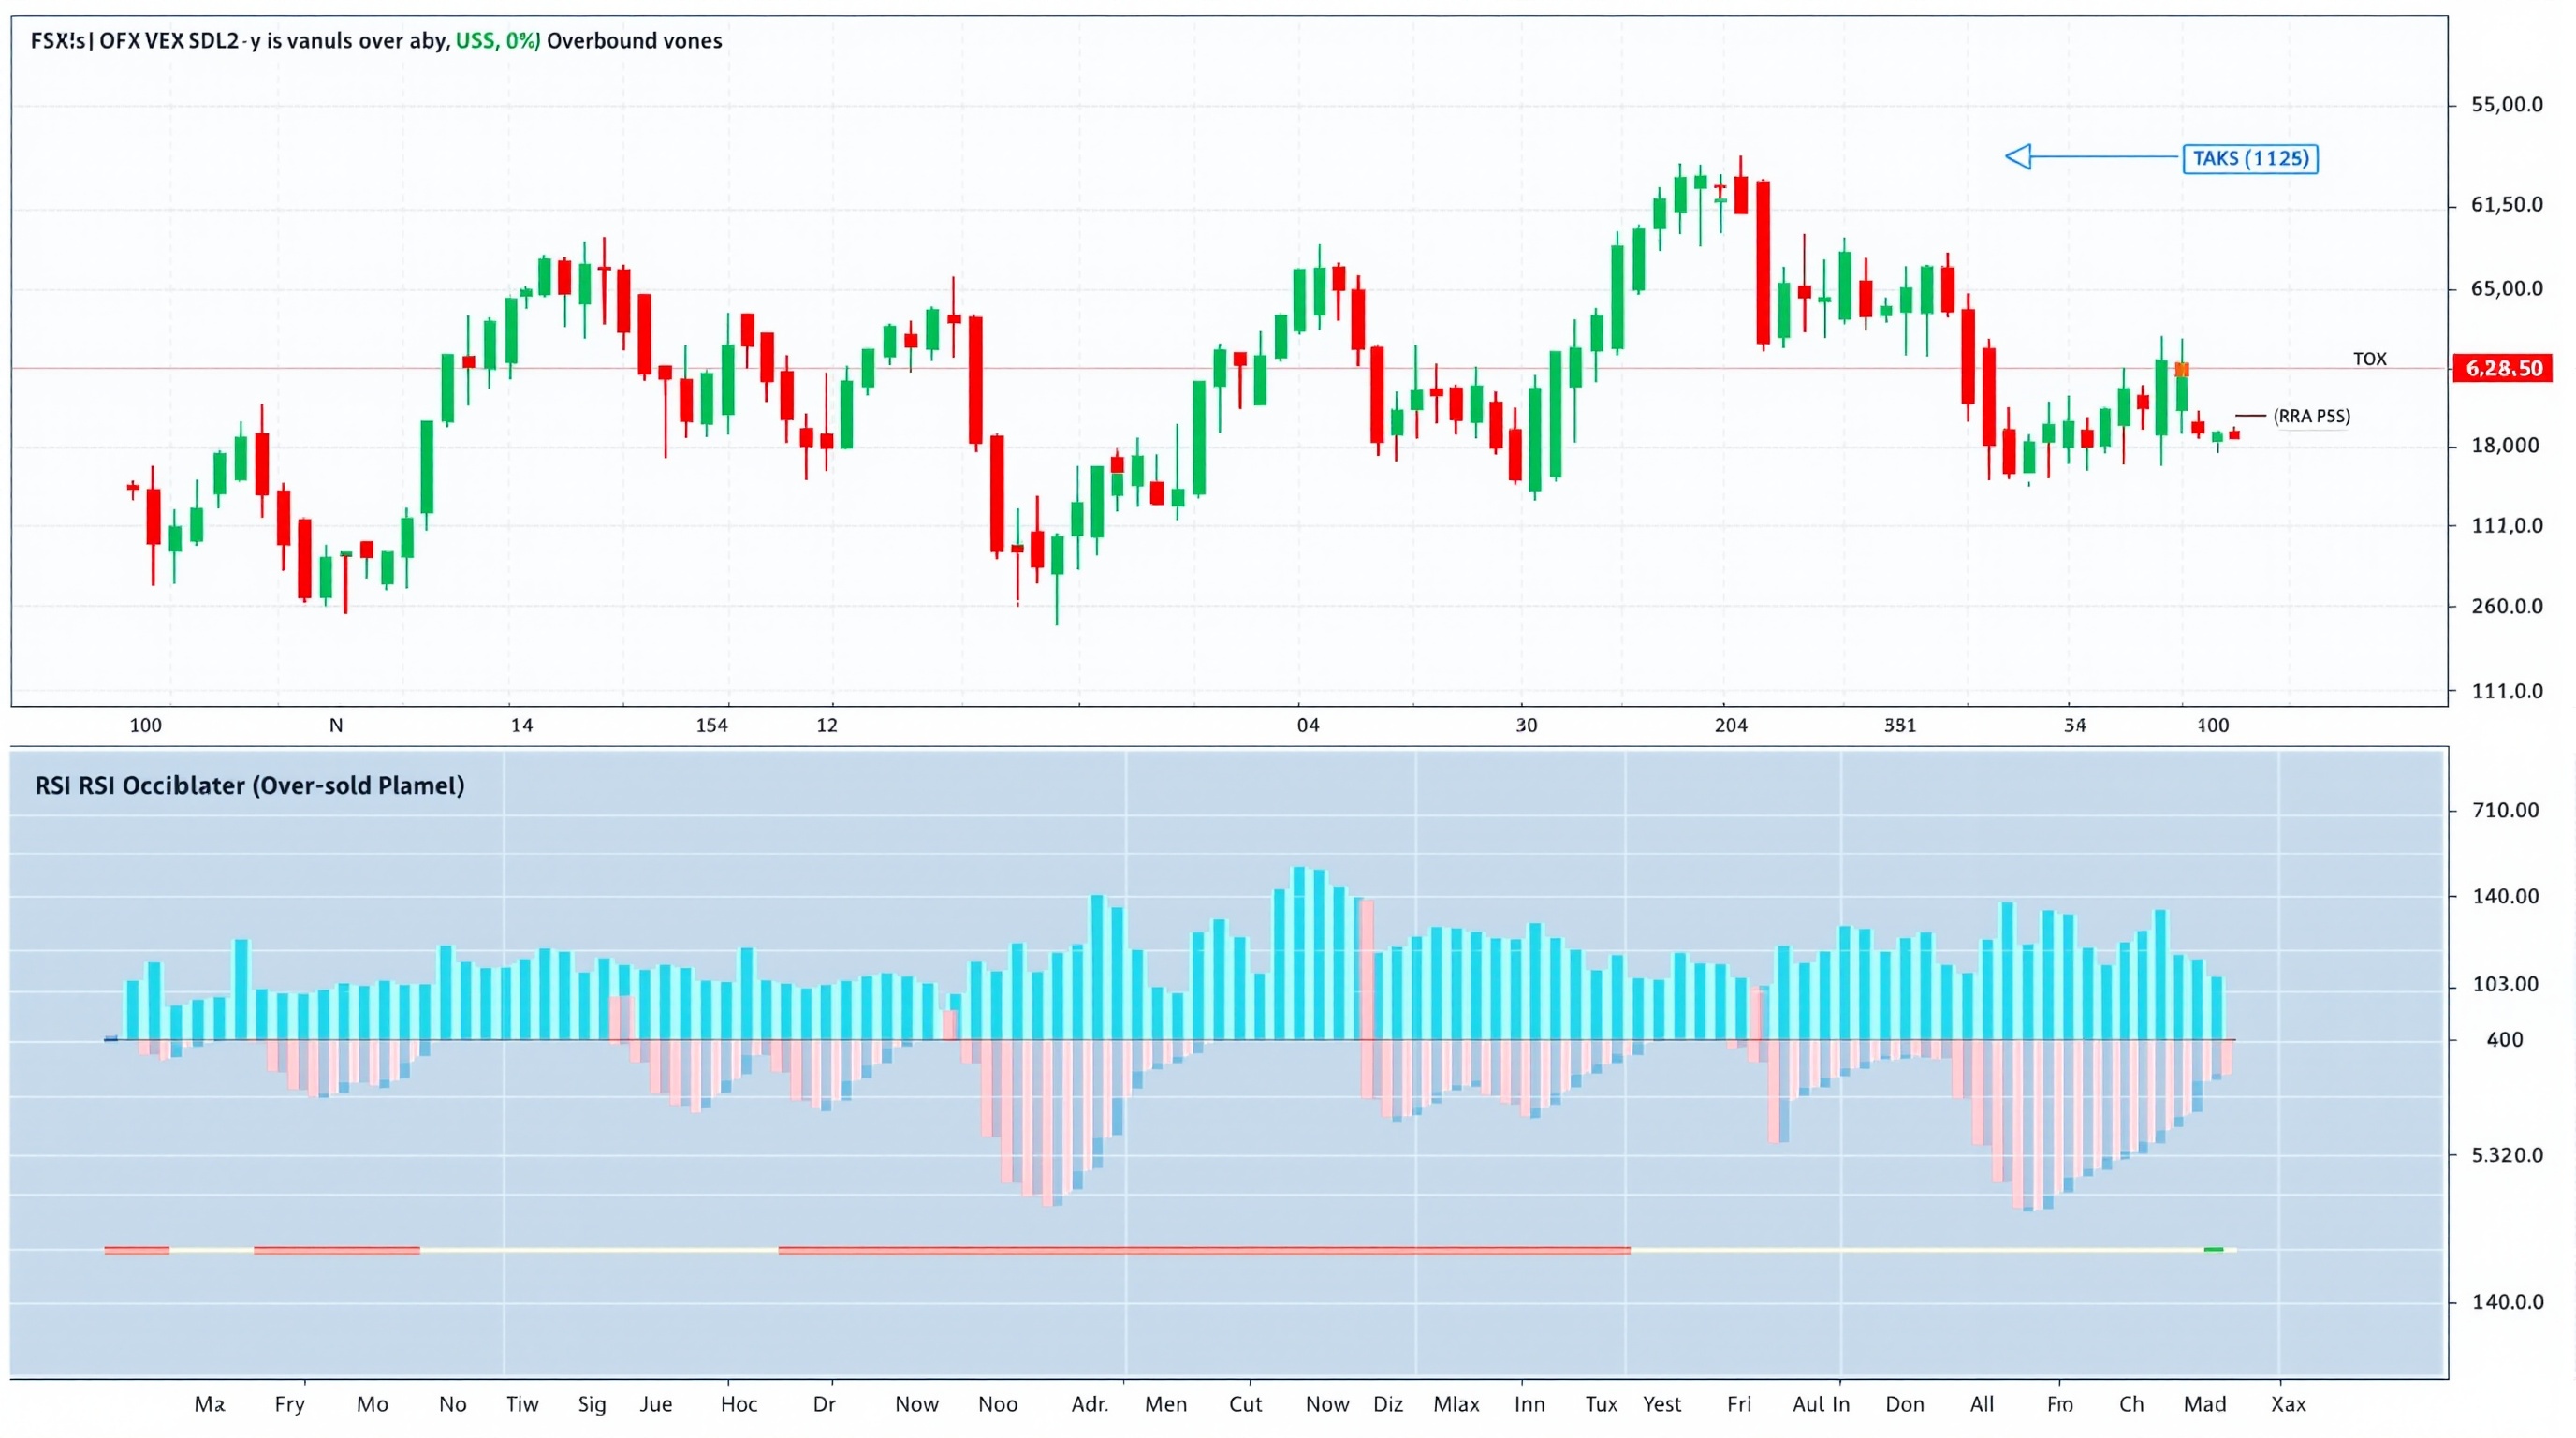
RSI Indicator Explained: A Practical Guide for FX Traders
The RSI indicator explained: how it's built, what it really measures, and a practical workflow for spotting momentum shifts and divergence.
 Intermediate
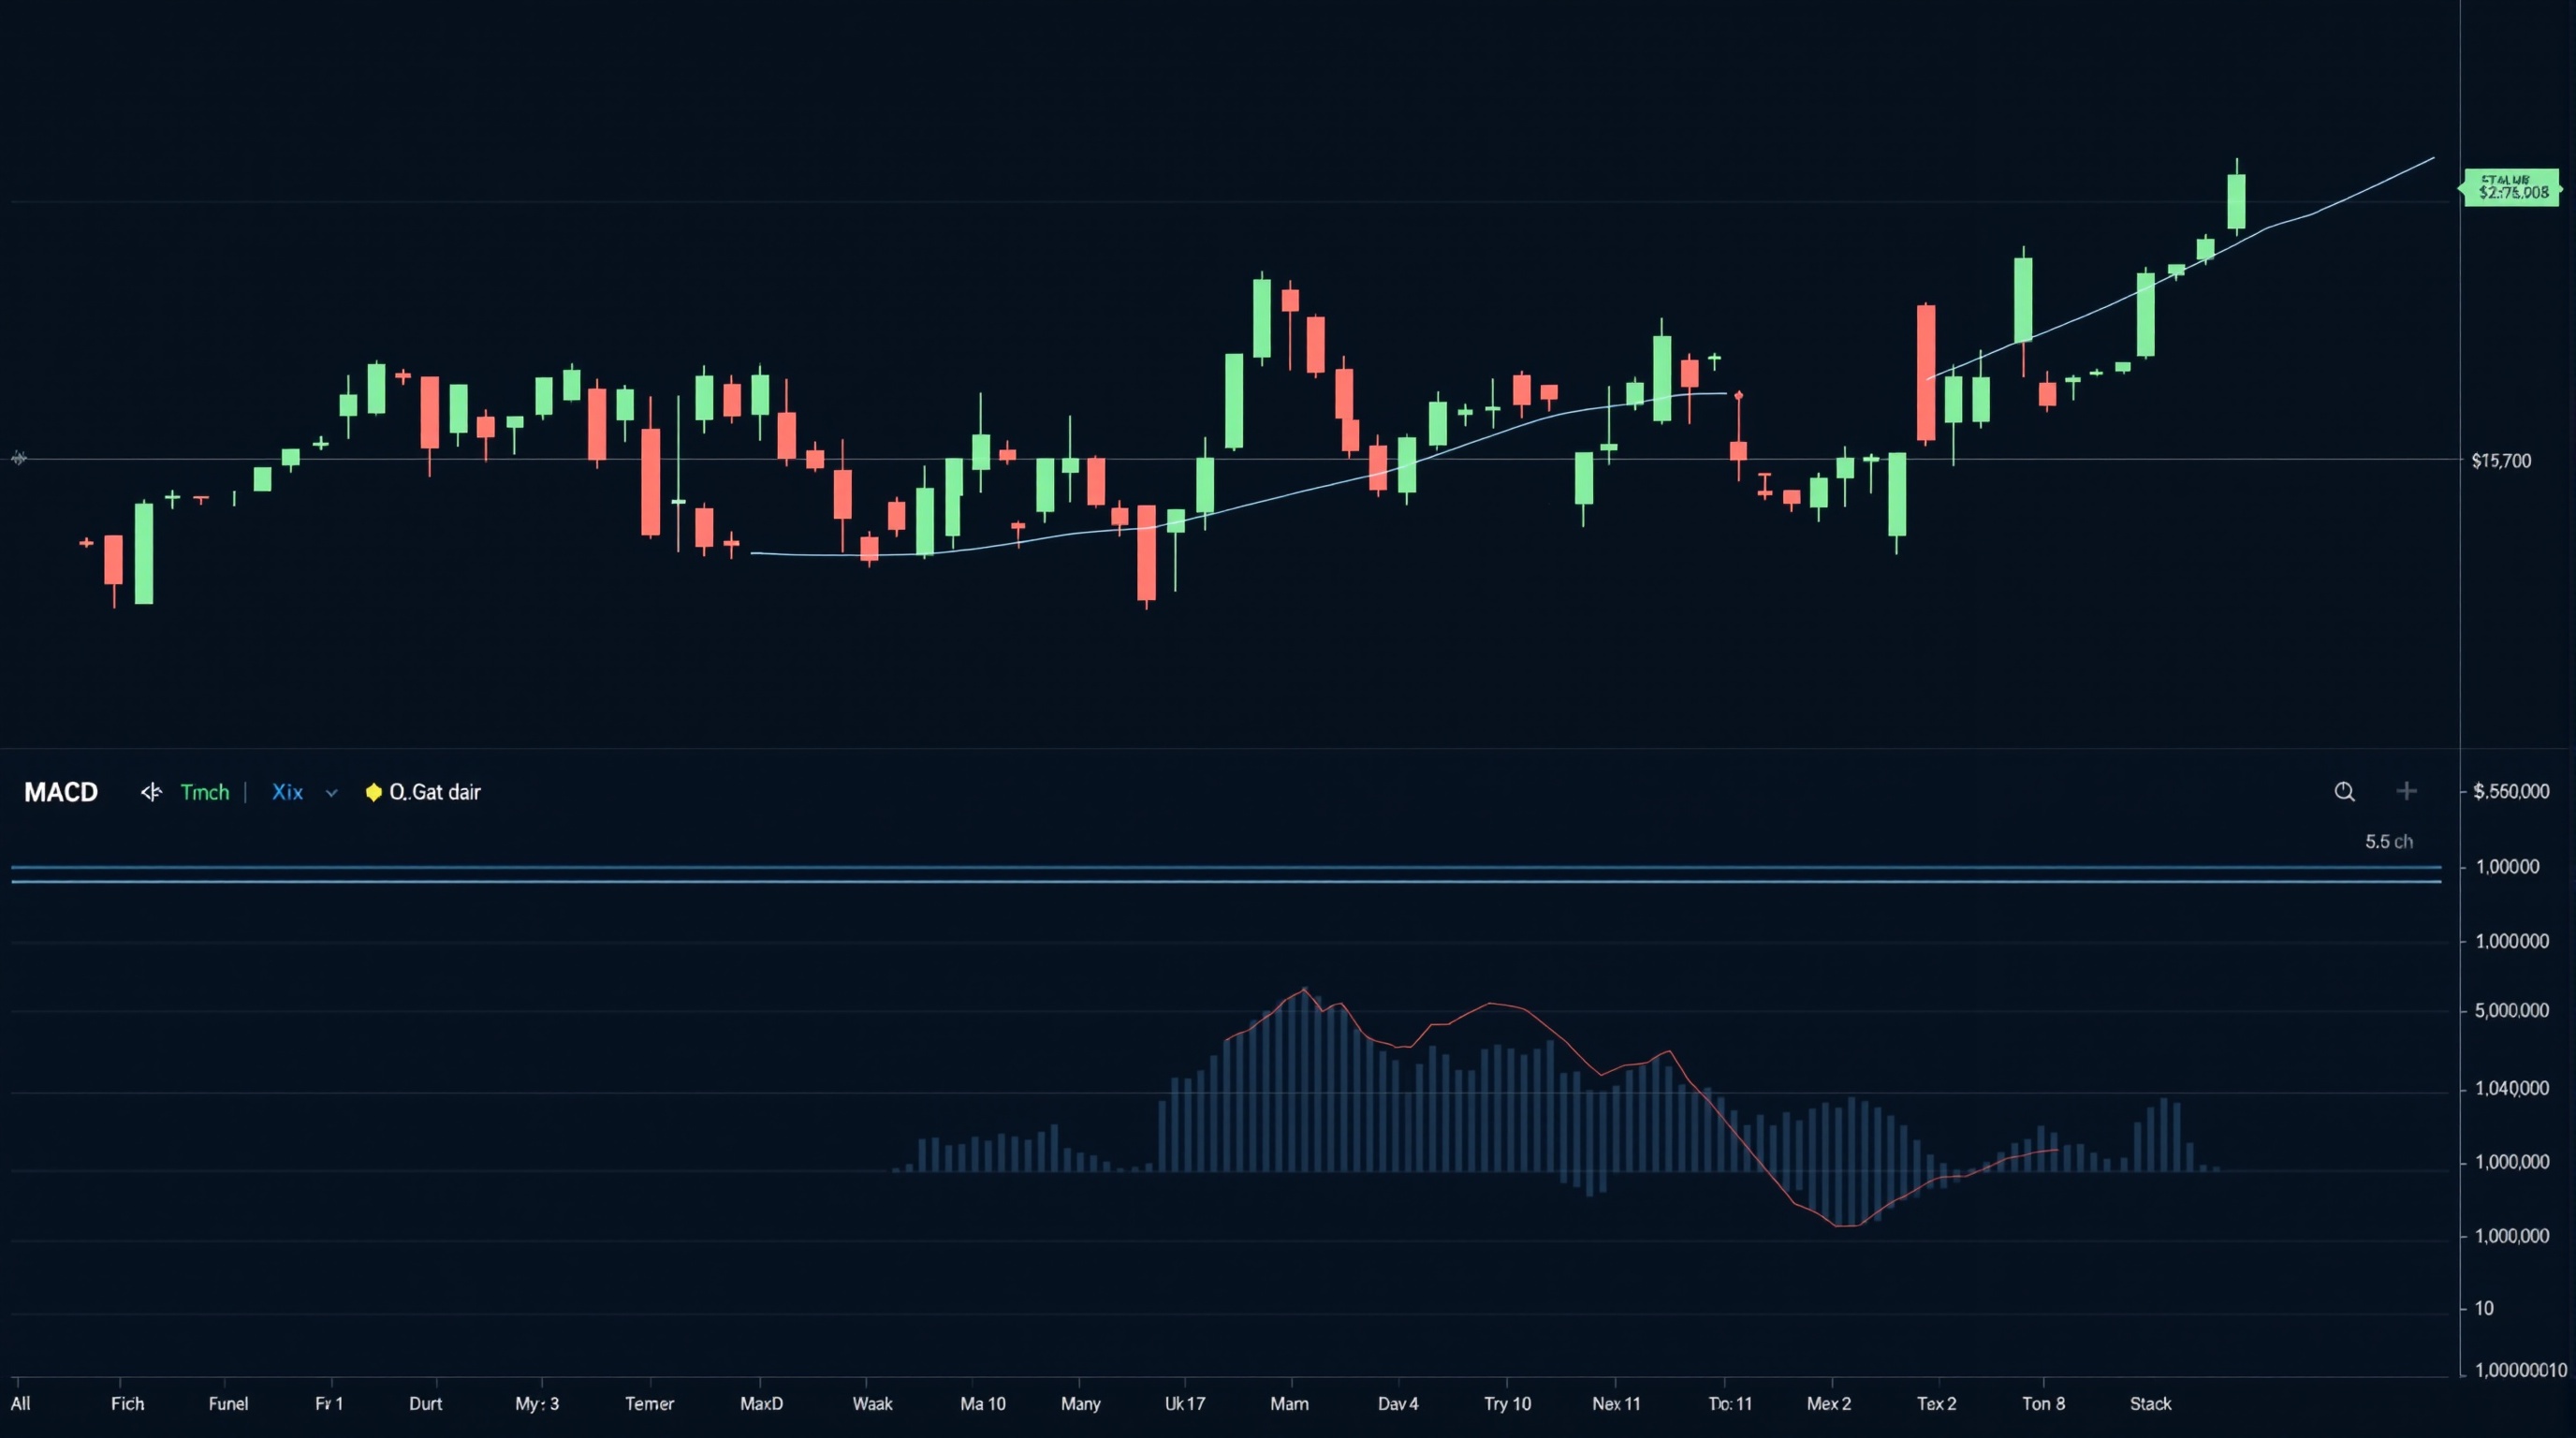
The MACD Indicator Explained: A Trader's Guide
The MACD indicator explained for FX traders: how it's built, how to read crossovers and divergence, and how to combine it with price action.
 Intermediate
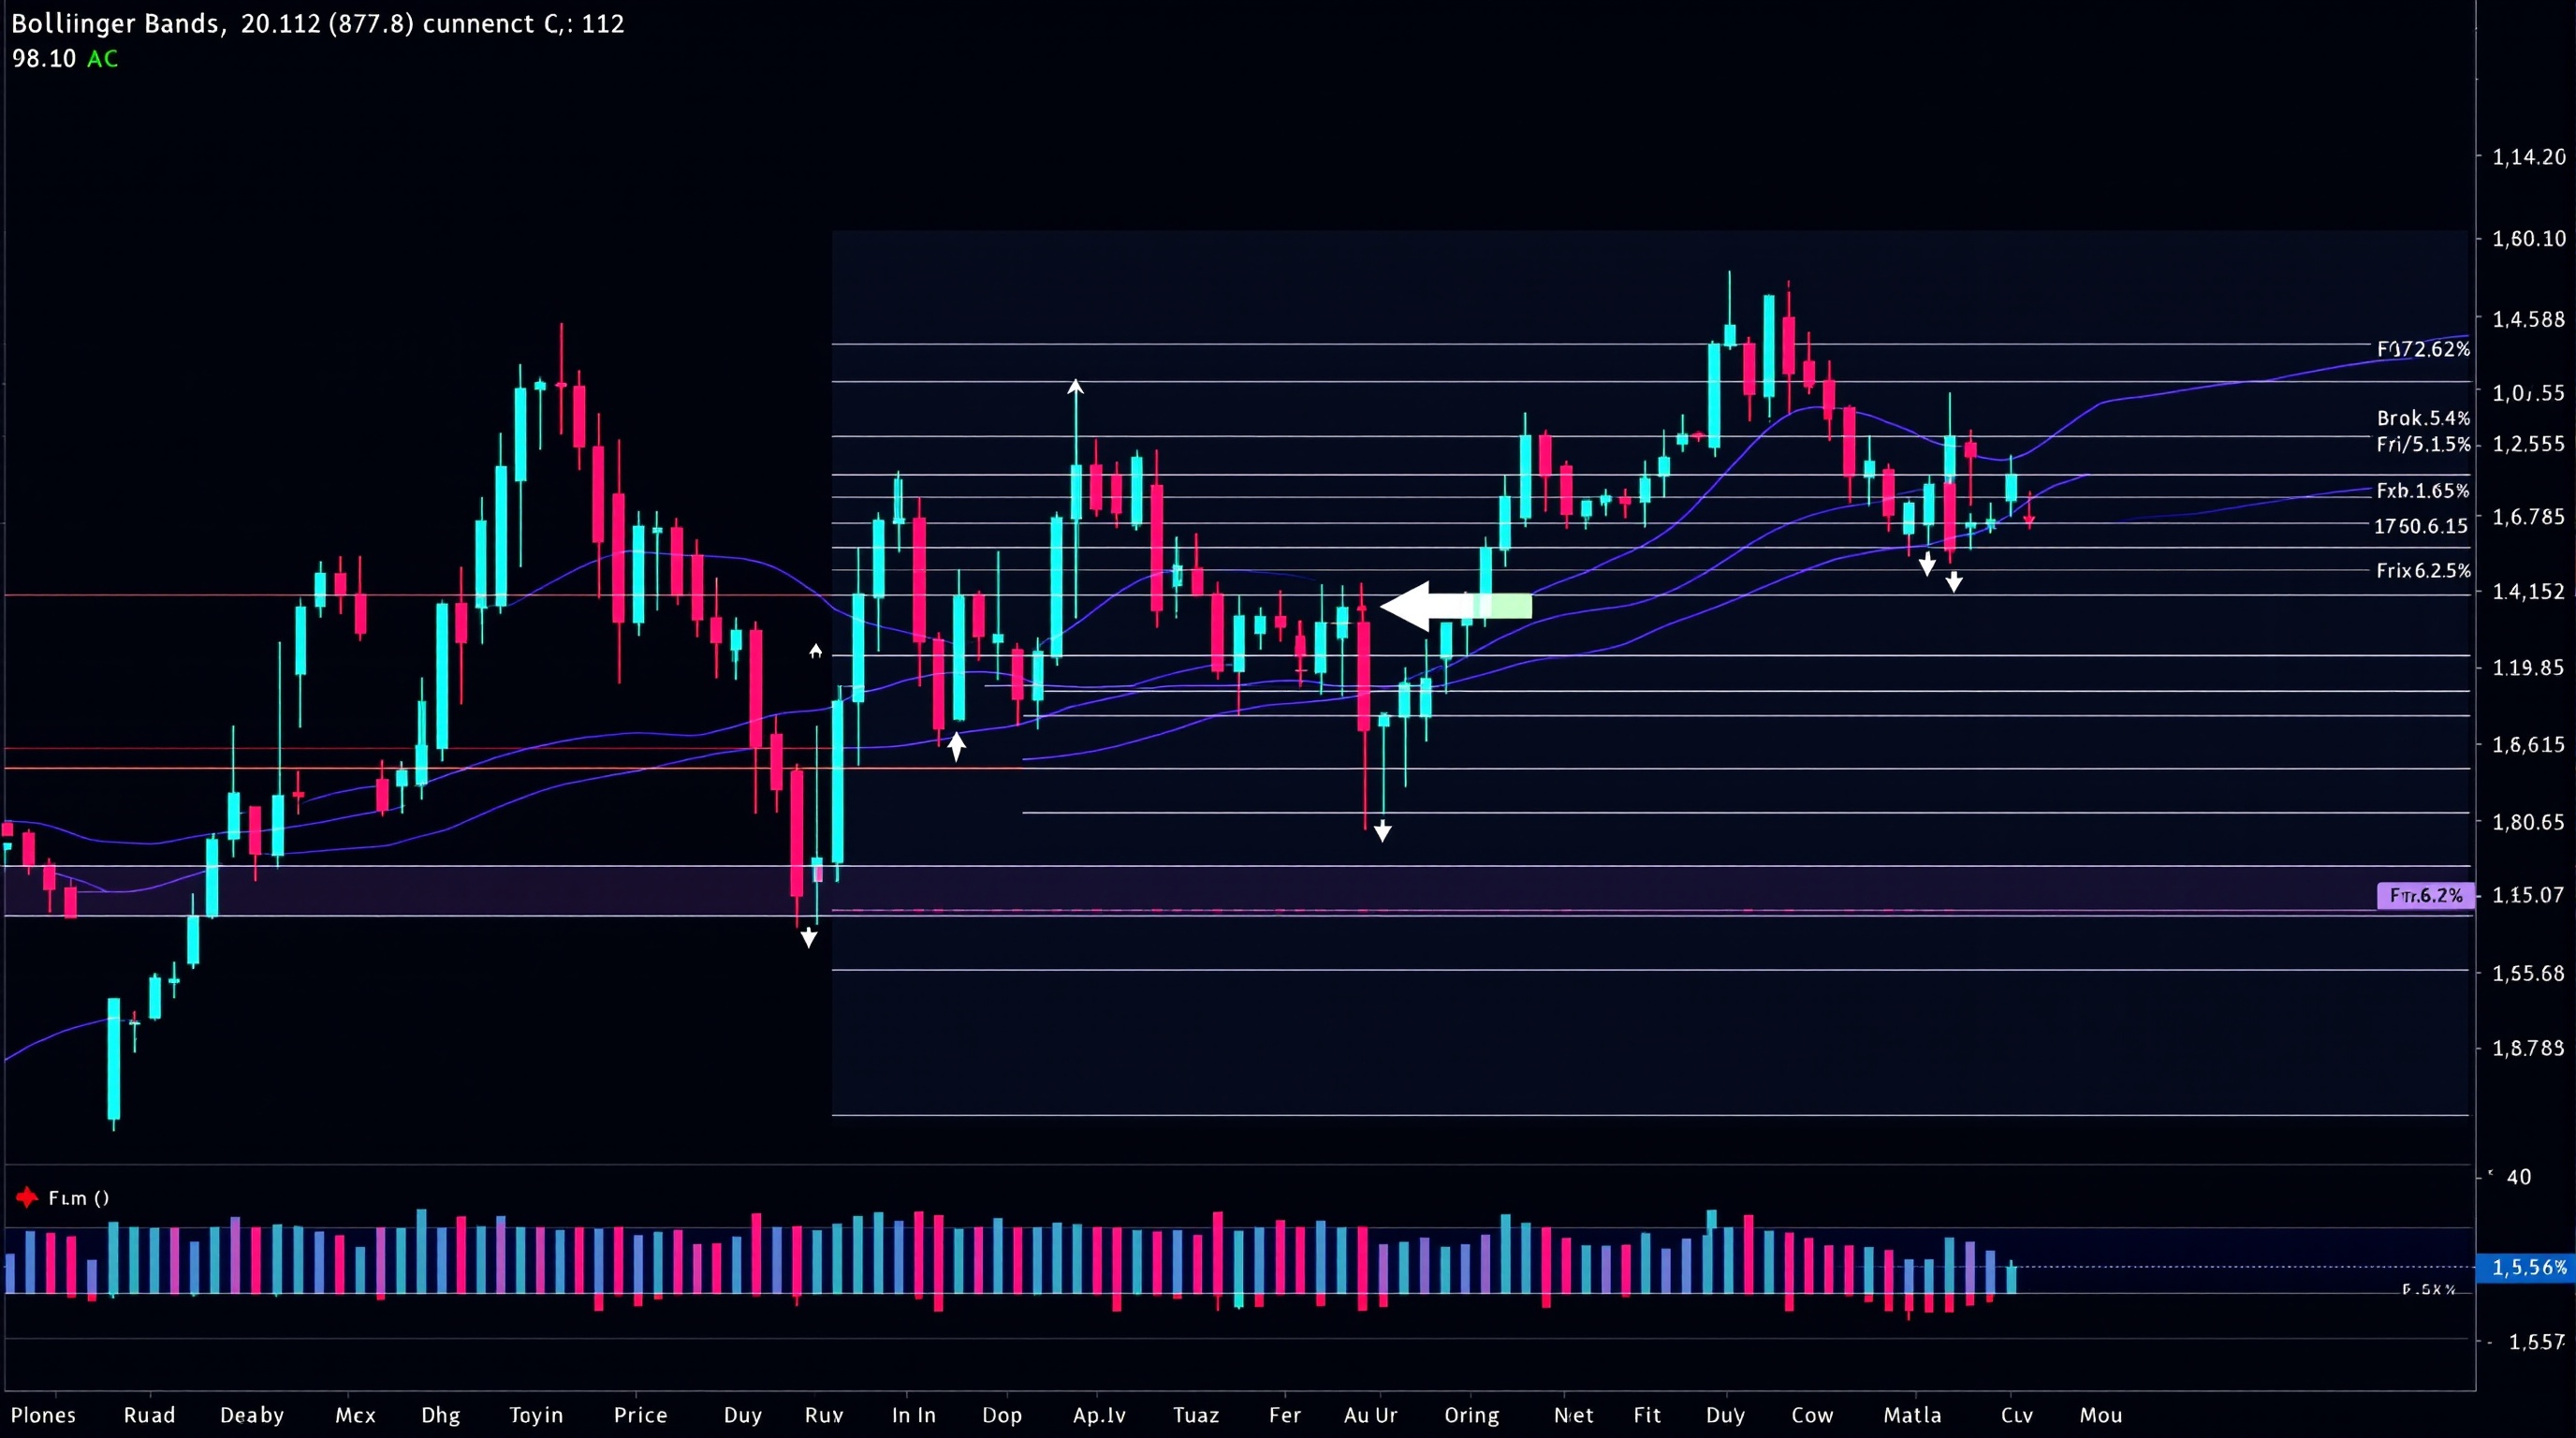
Bollinger Bands Explained: A Practical FX Guide
Bollinger Bands explained for FX traders: how they're built, what squeezes and breakouts mean, and how to combine them with trend and volatility tools.
 Intermediate
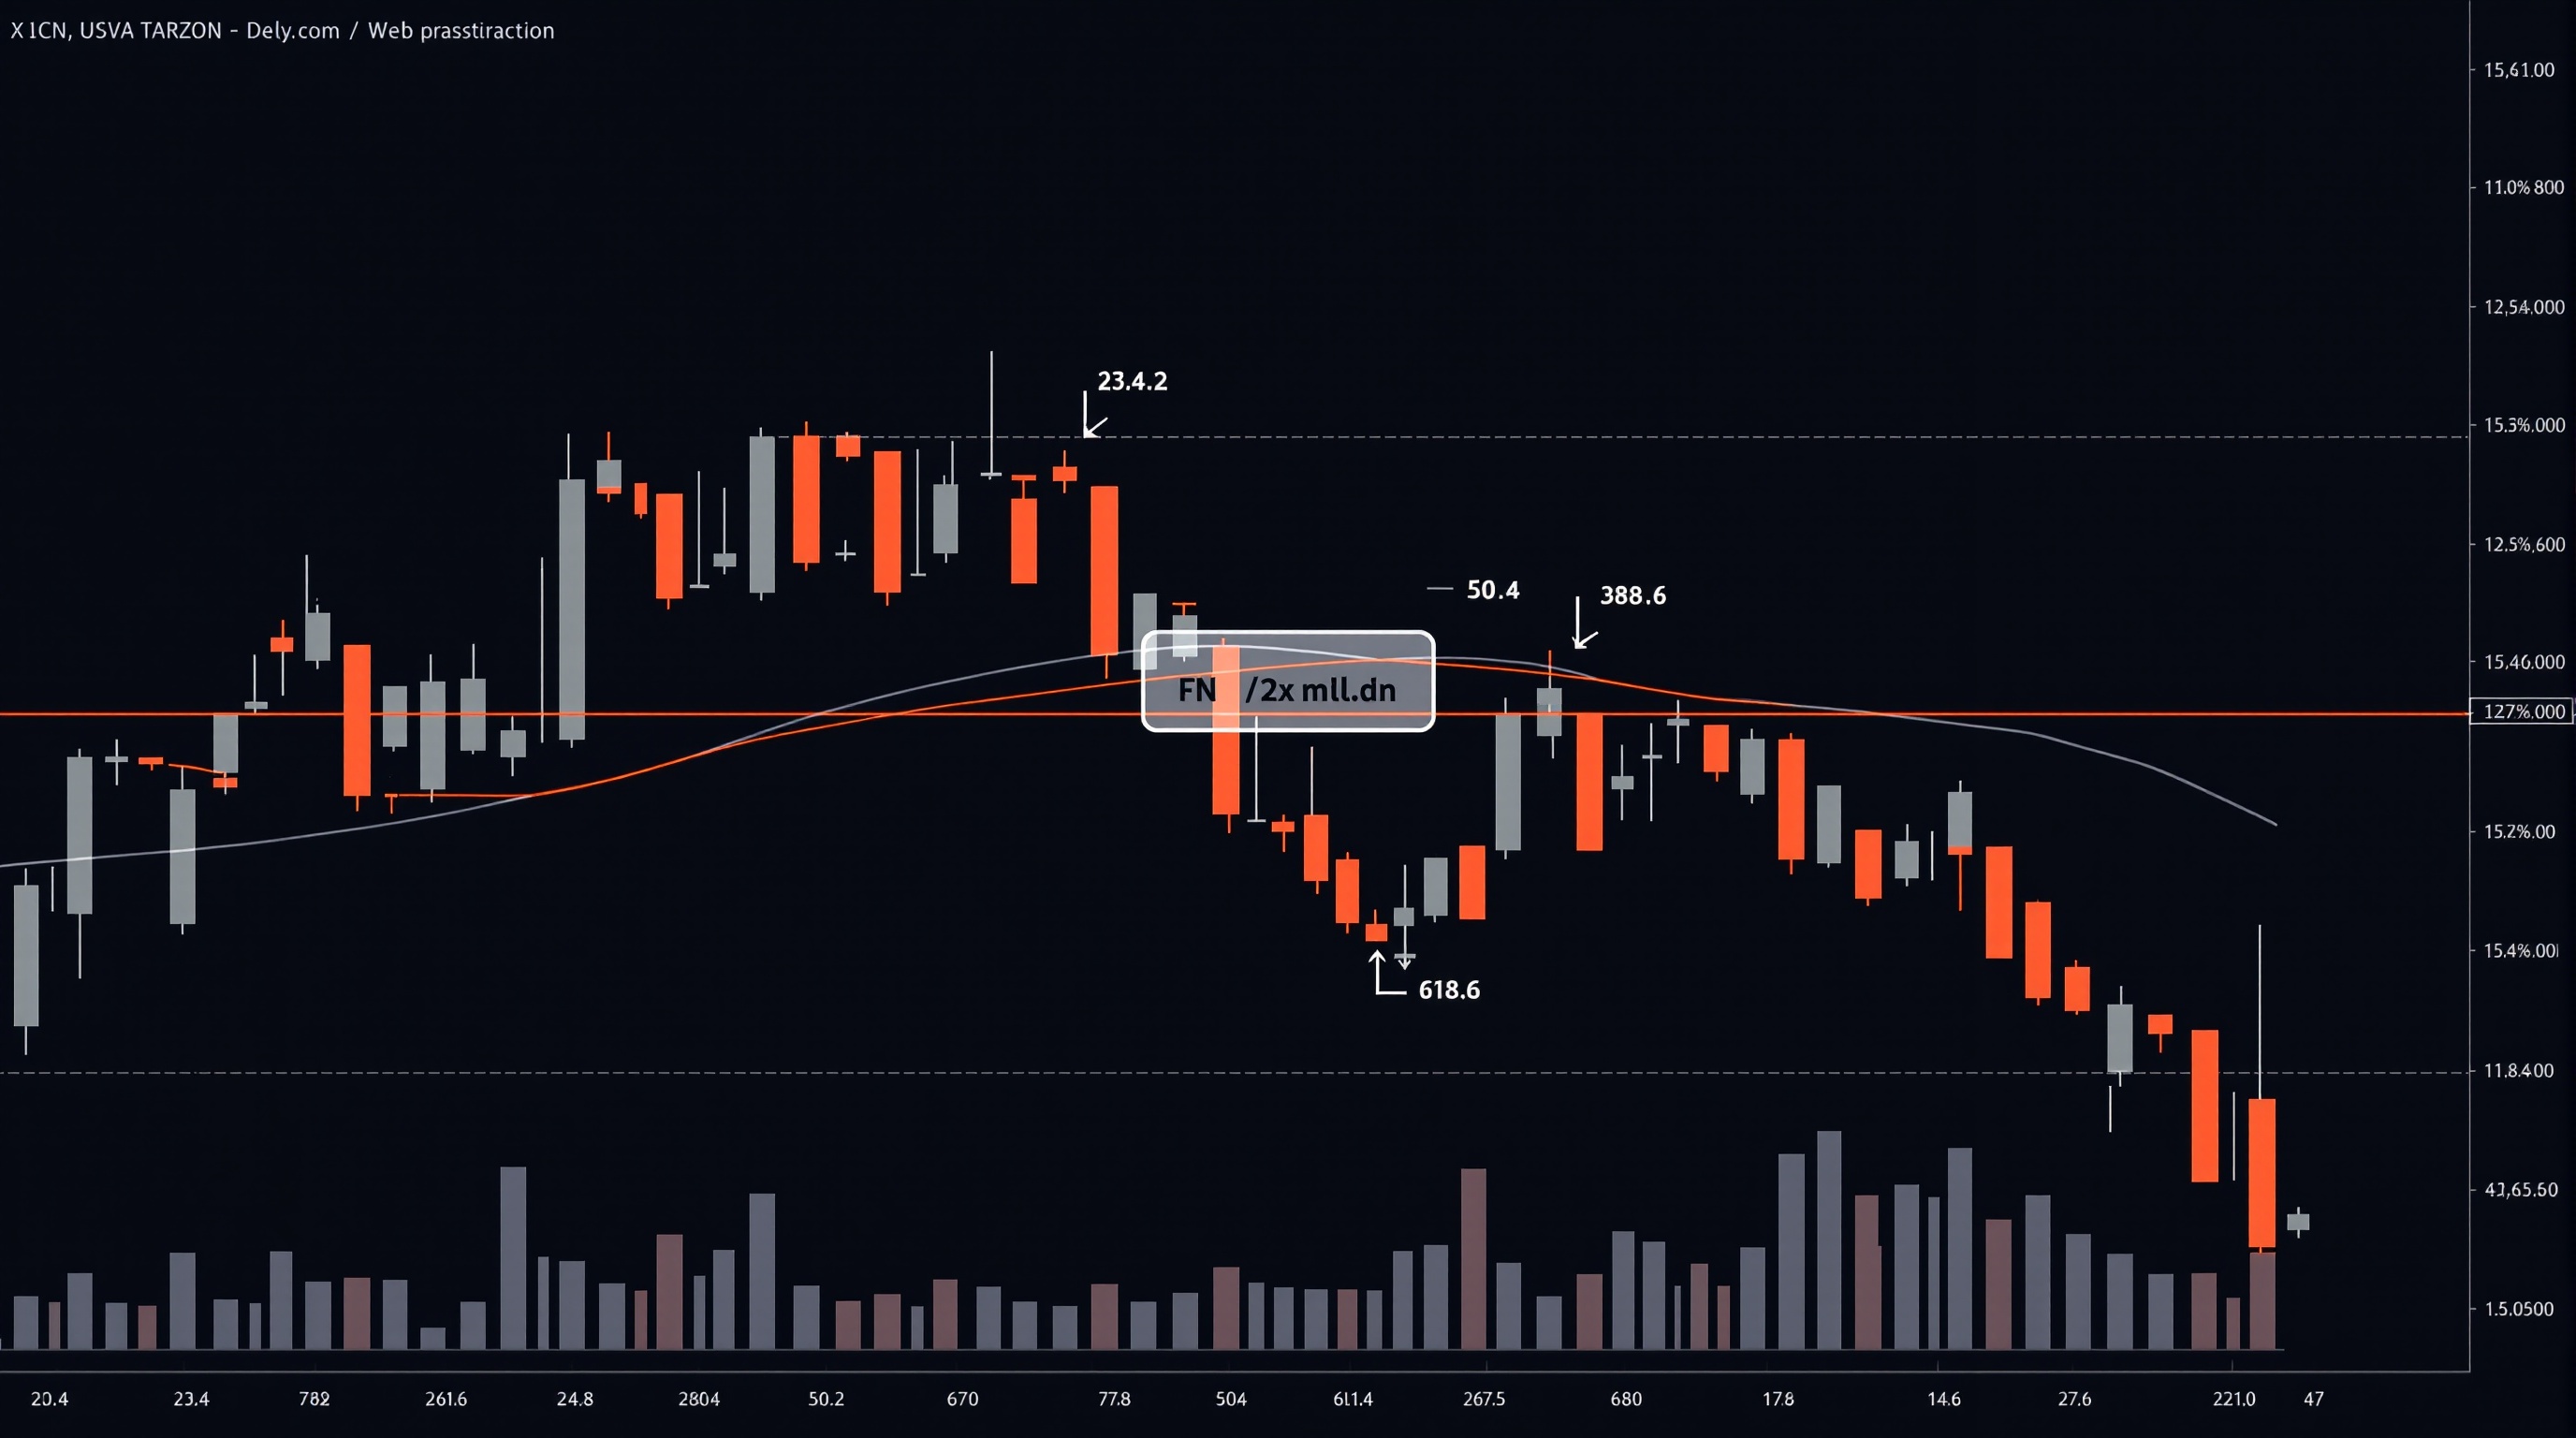
Fibonacci Retracement in Practice: A Trader's Guide
Fibonacci retracement explained for intermediate traders: how to draw it, which levels matter, and how to combine it with other tools.
Module 7 · Price action
 Intermediate
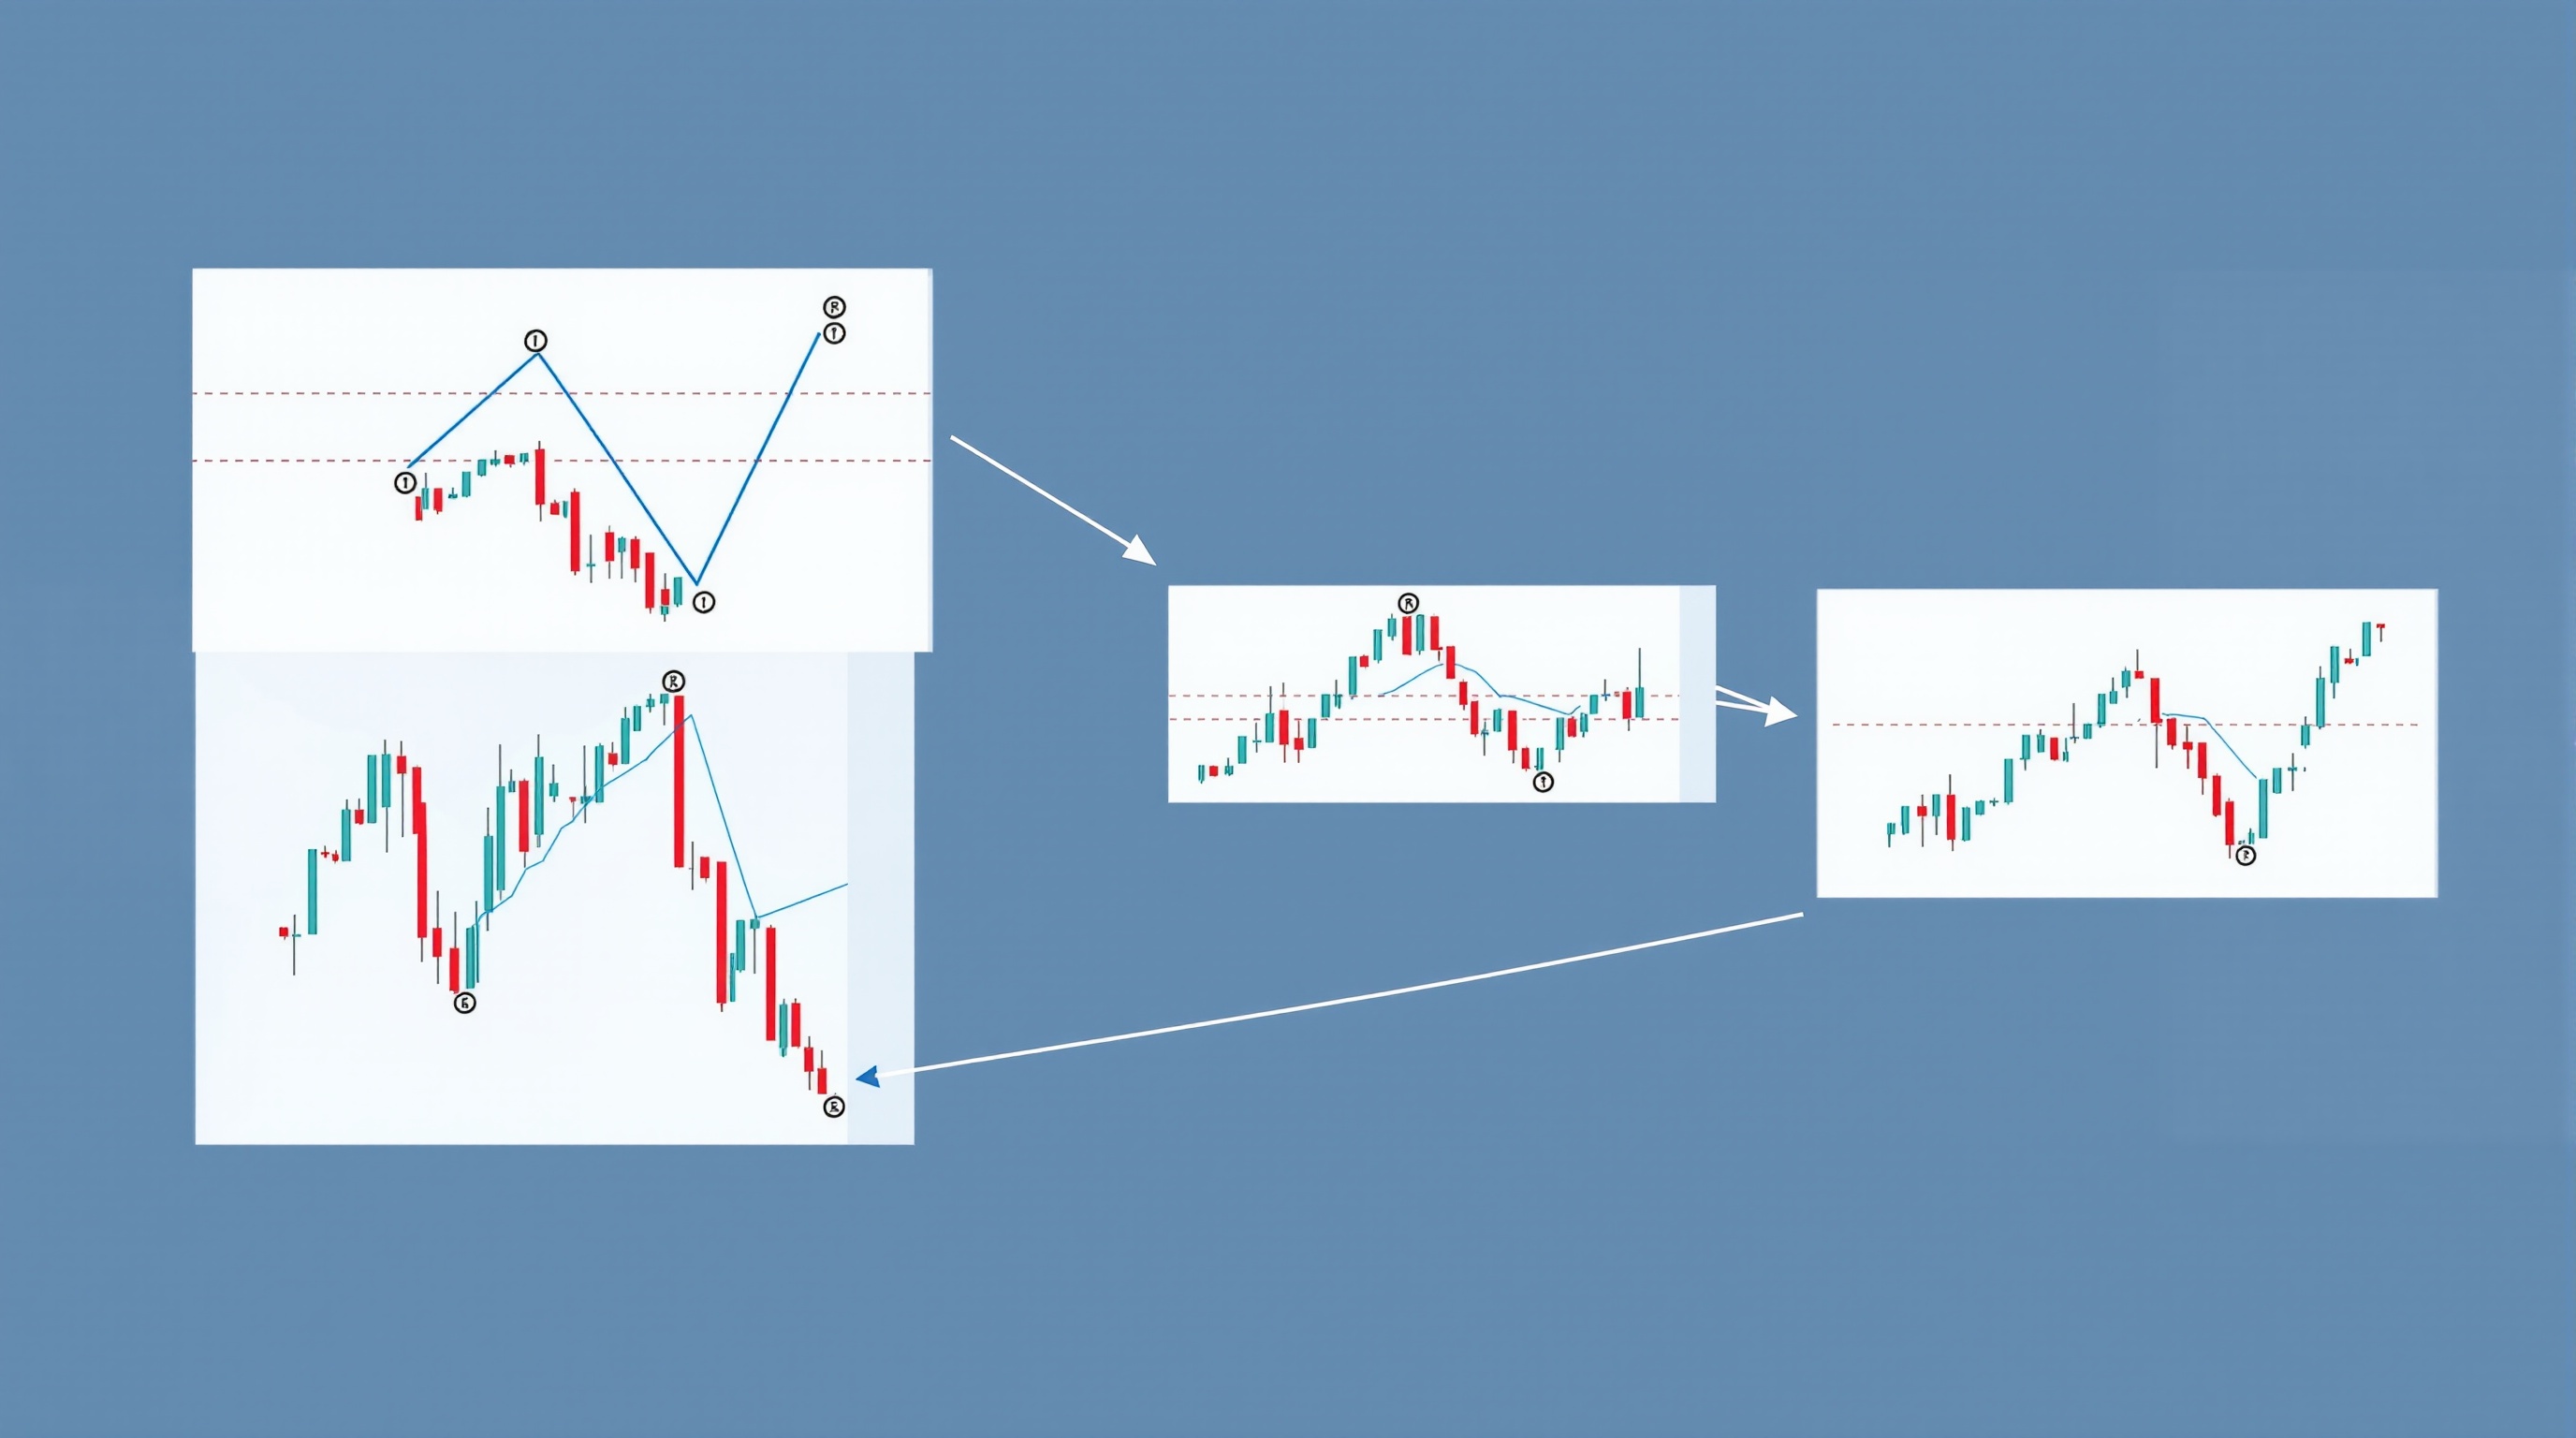
Chart Patterns: Triangles, Flags and Wedges
Learn chart patterns – triangles, flags and wedges – in this intermediate price action lesson from PipTax FX Trading School.
 Intermediate
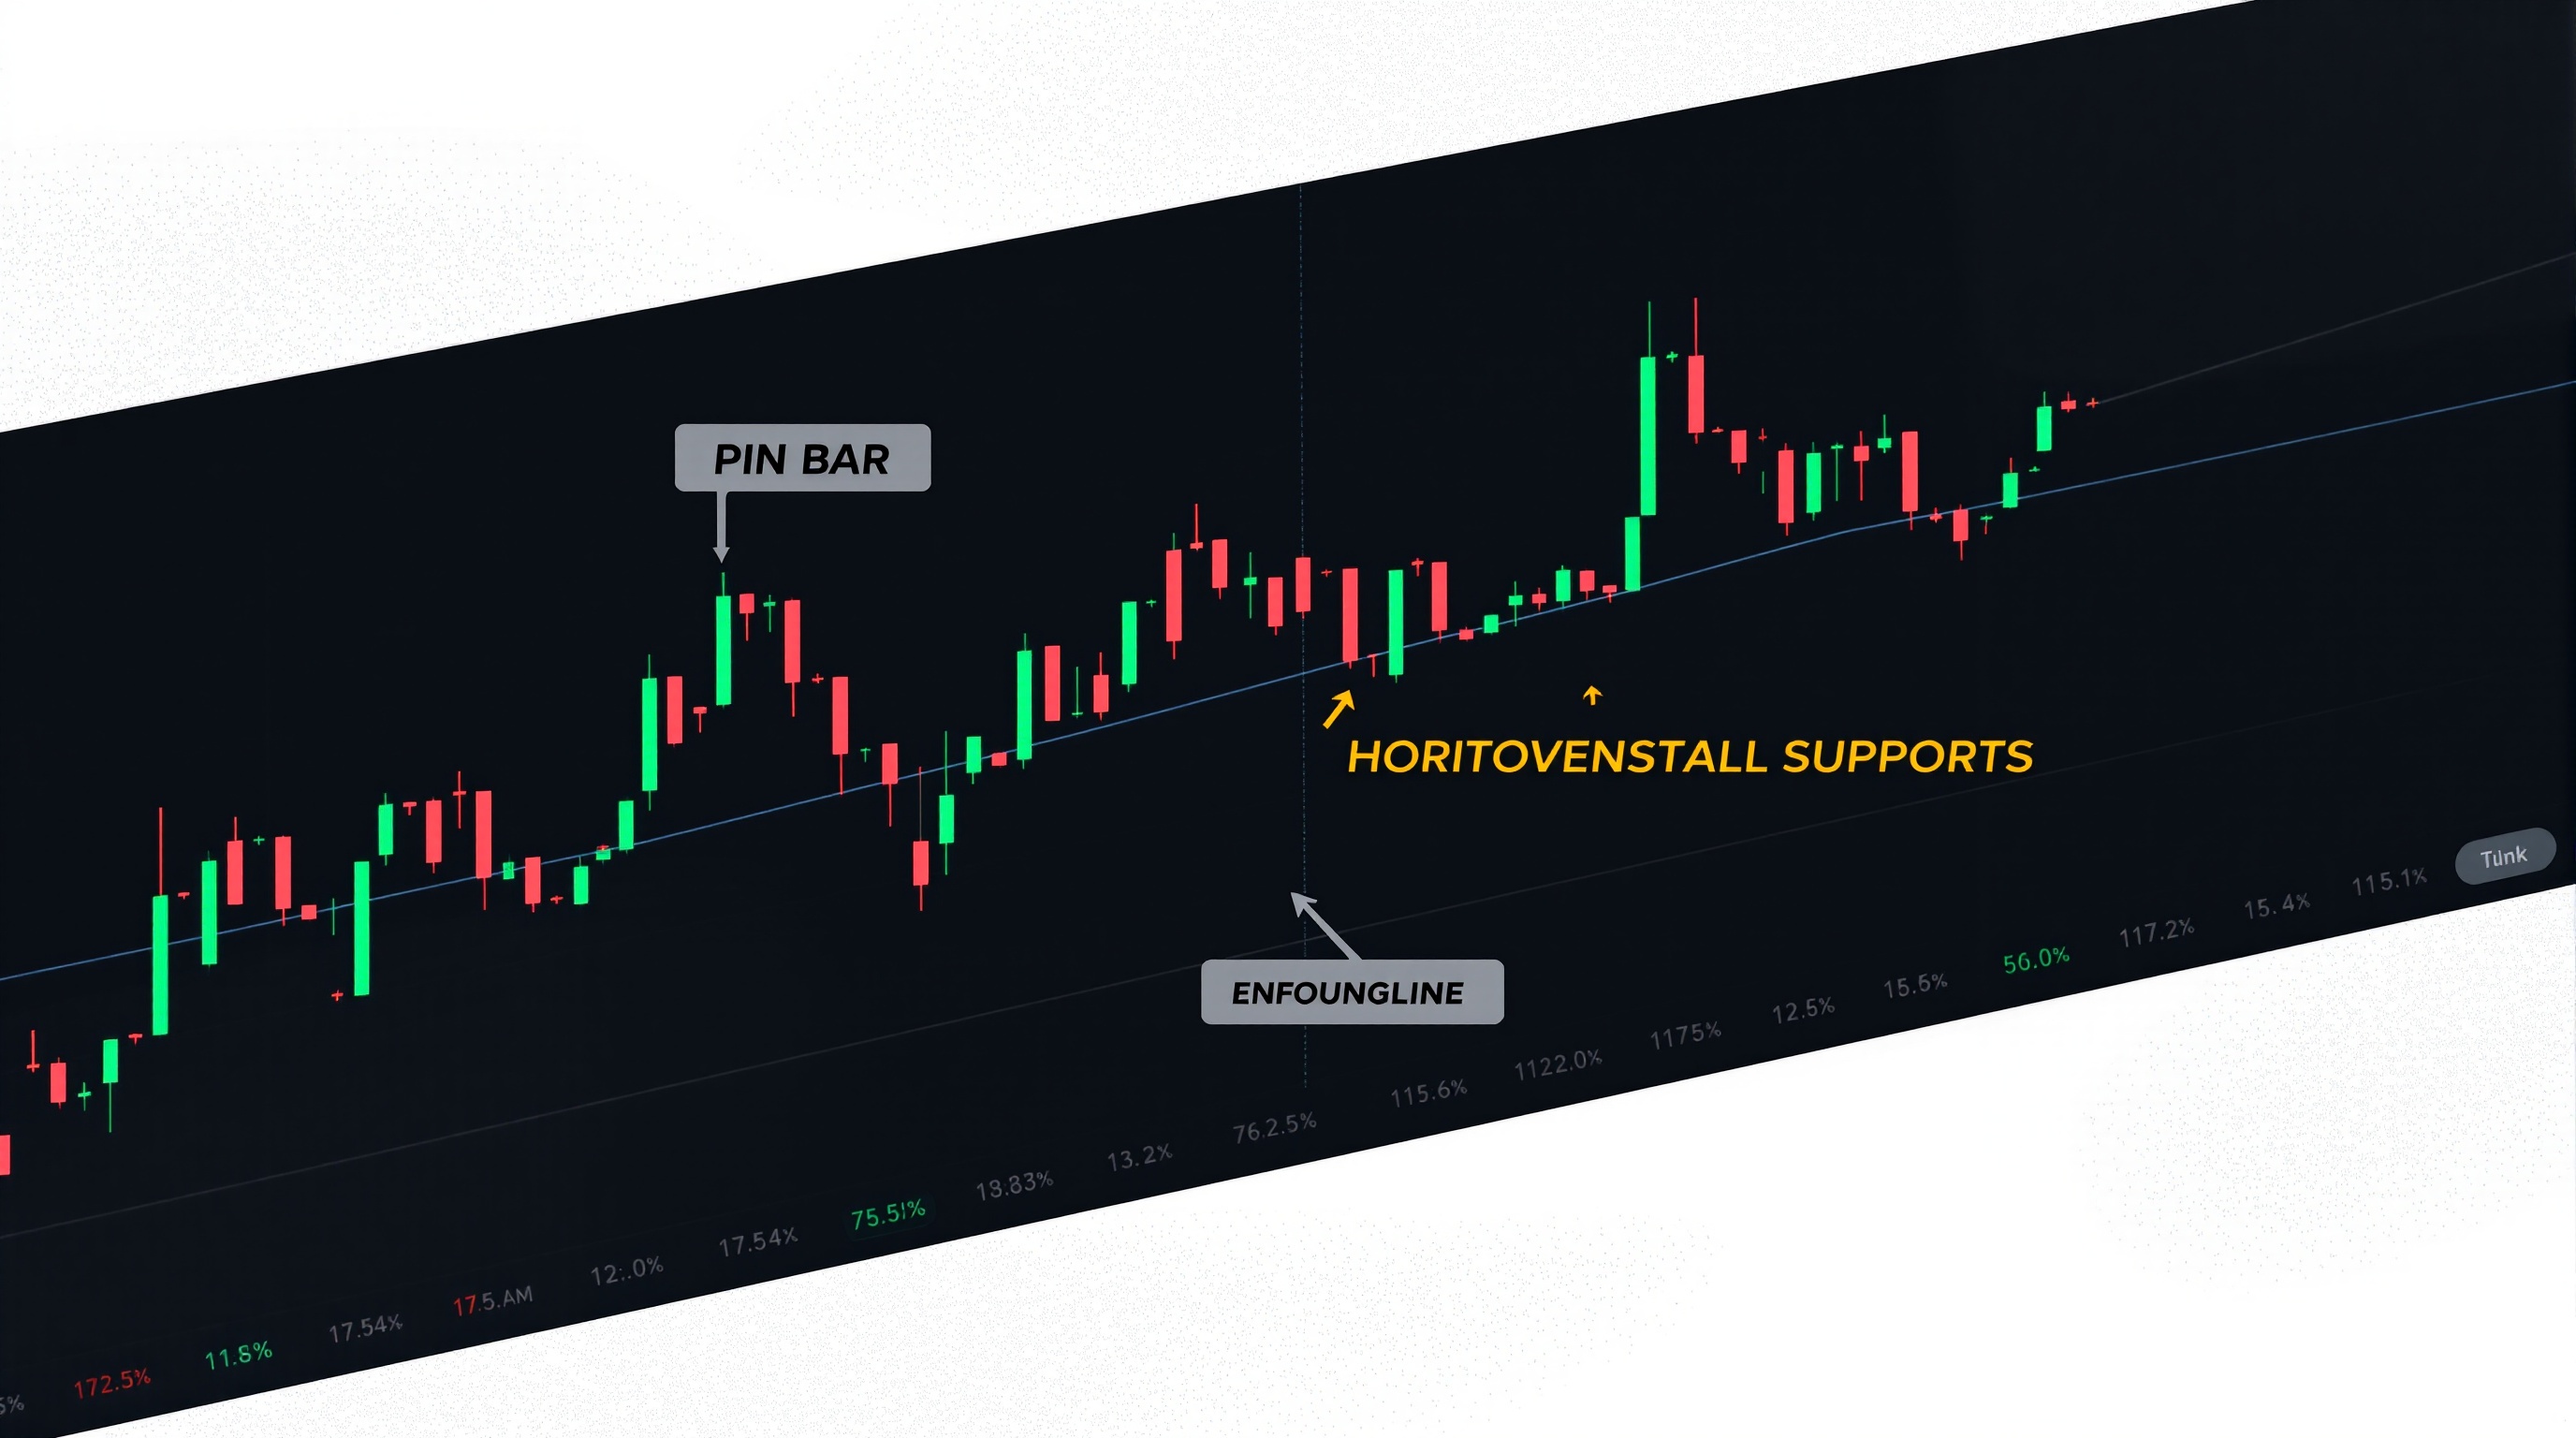
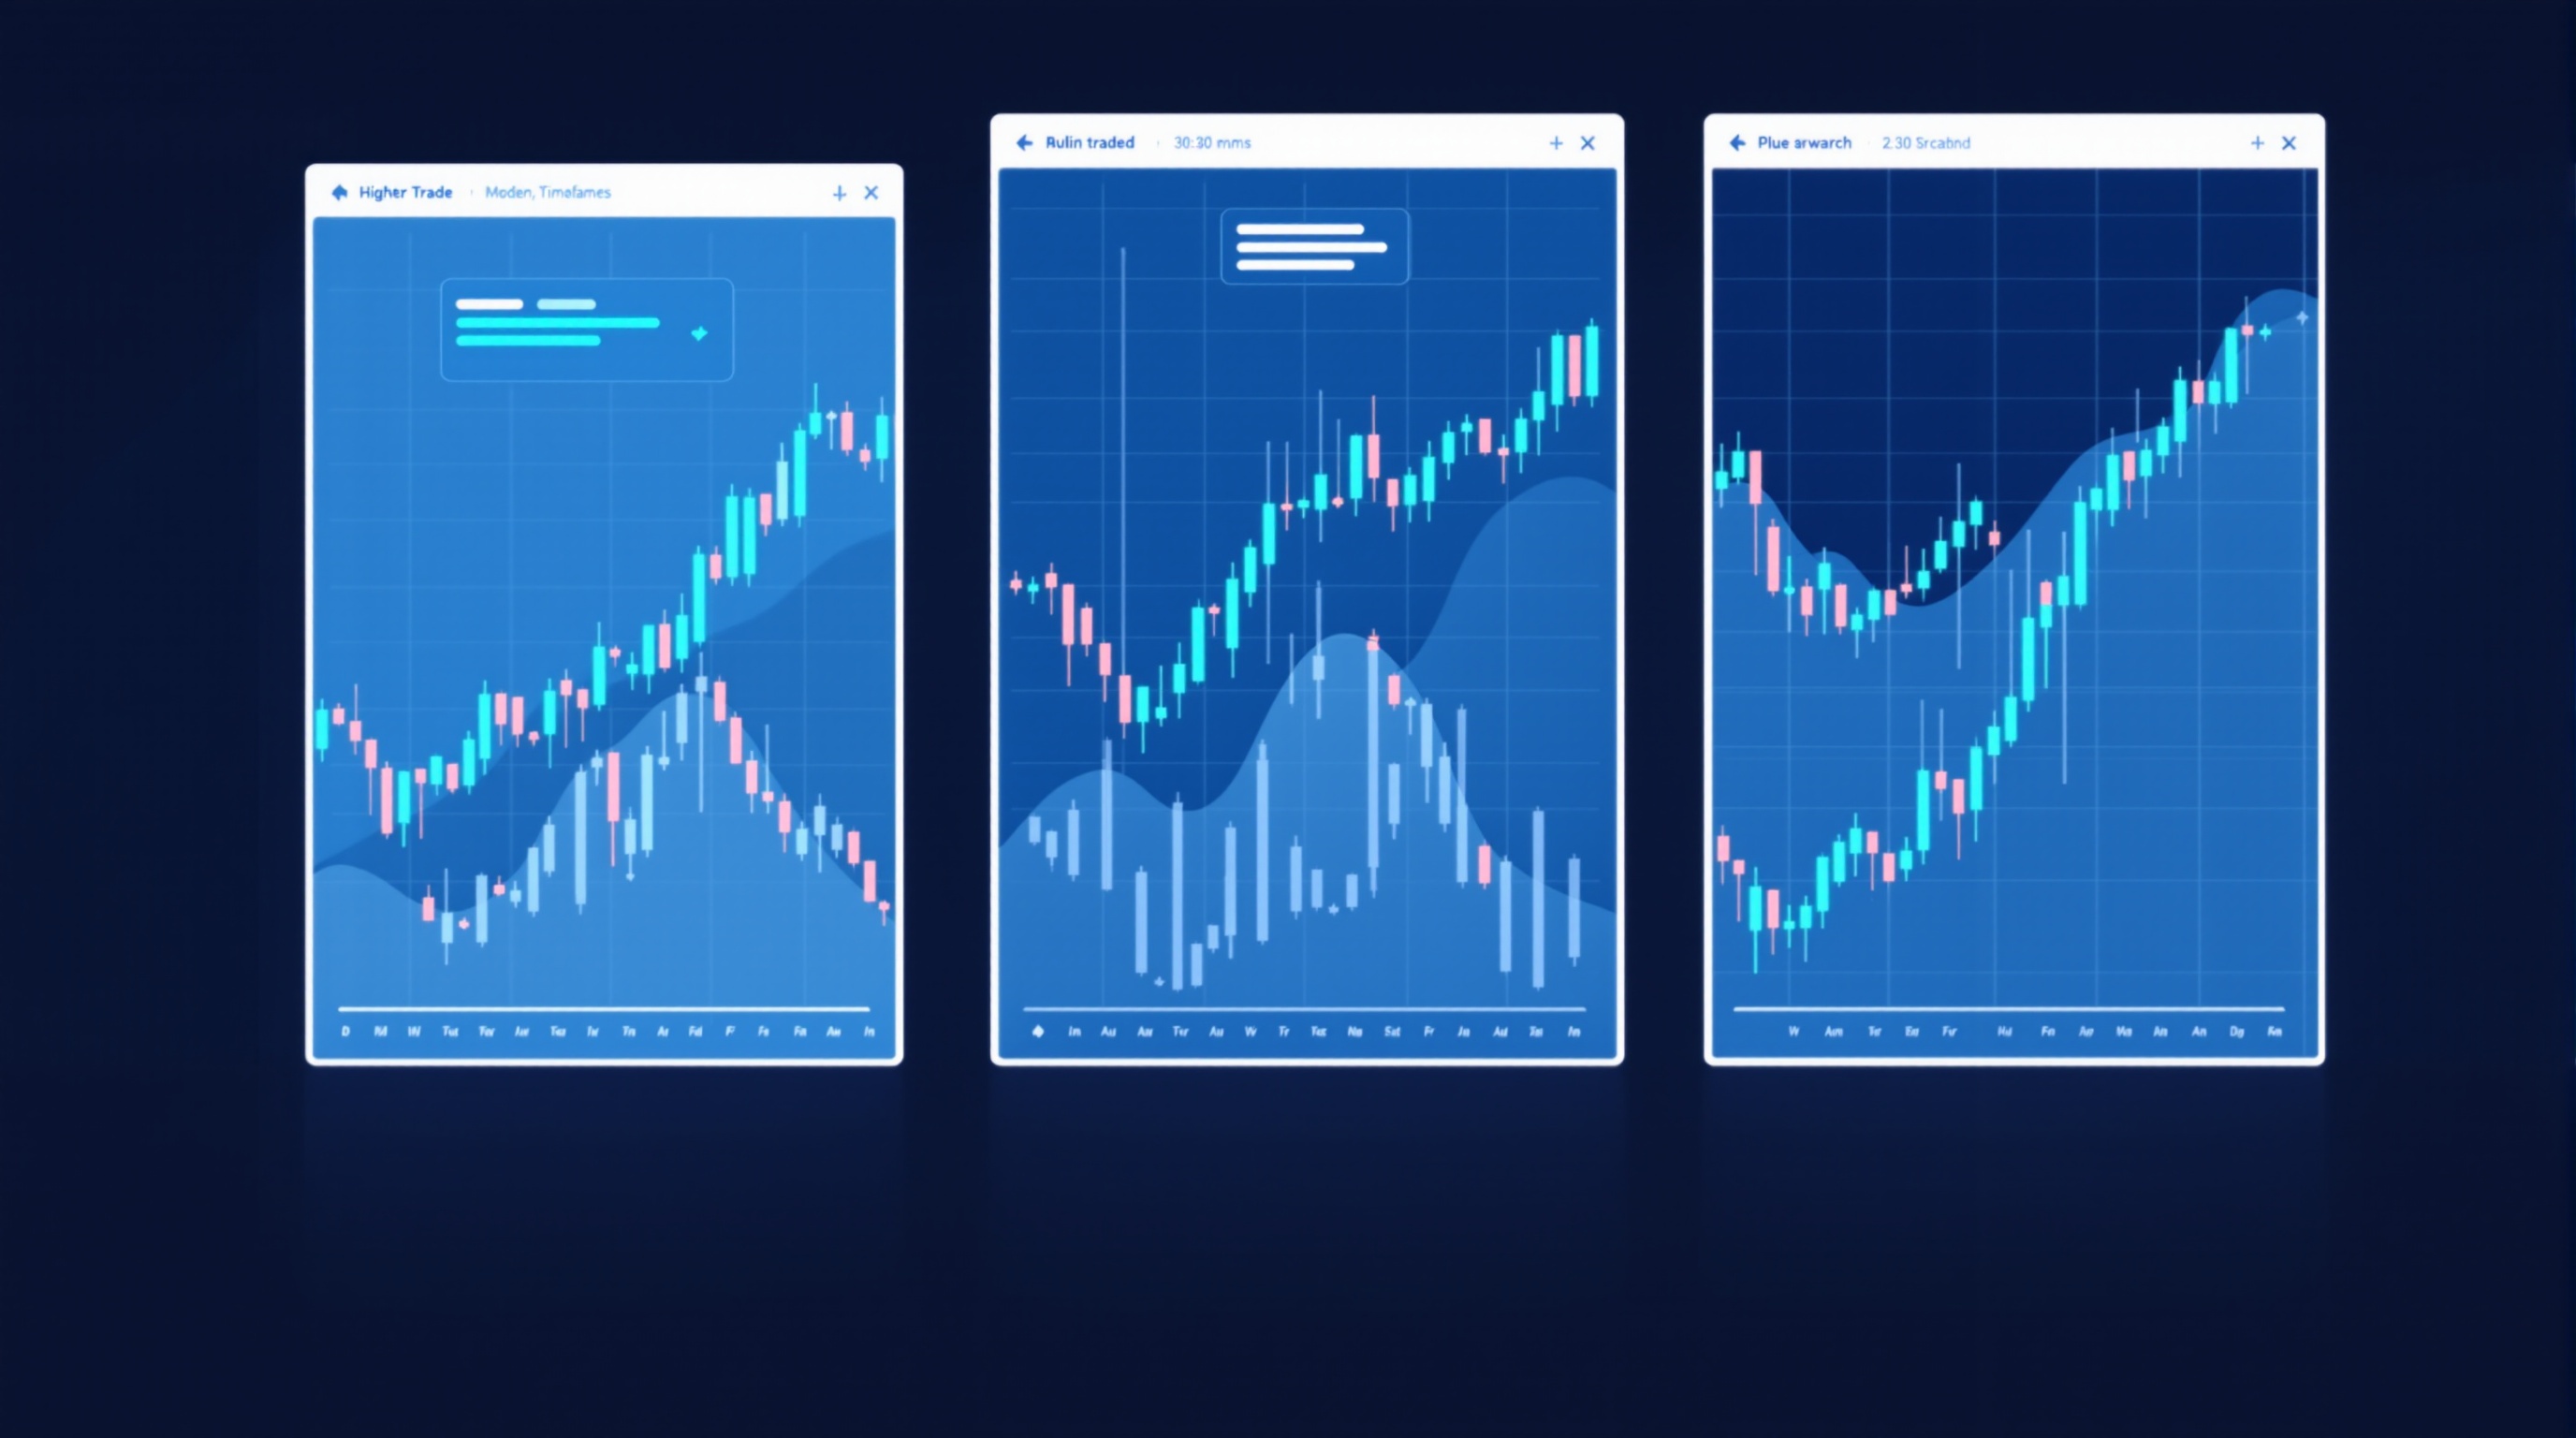
Candlestick Patterns That Actually Matter (Module 7)
Candlestick patterns that actually matter: the five worth learning, how to read them in context, and mistakes to avoid. PipTax FX Trading School Module 7.
 Intermediate
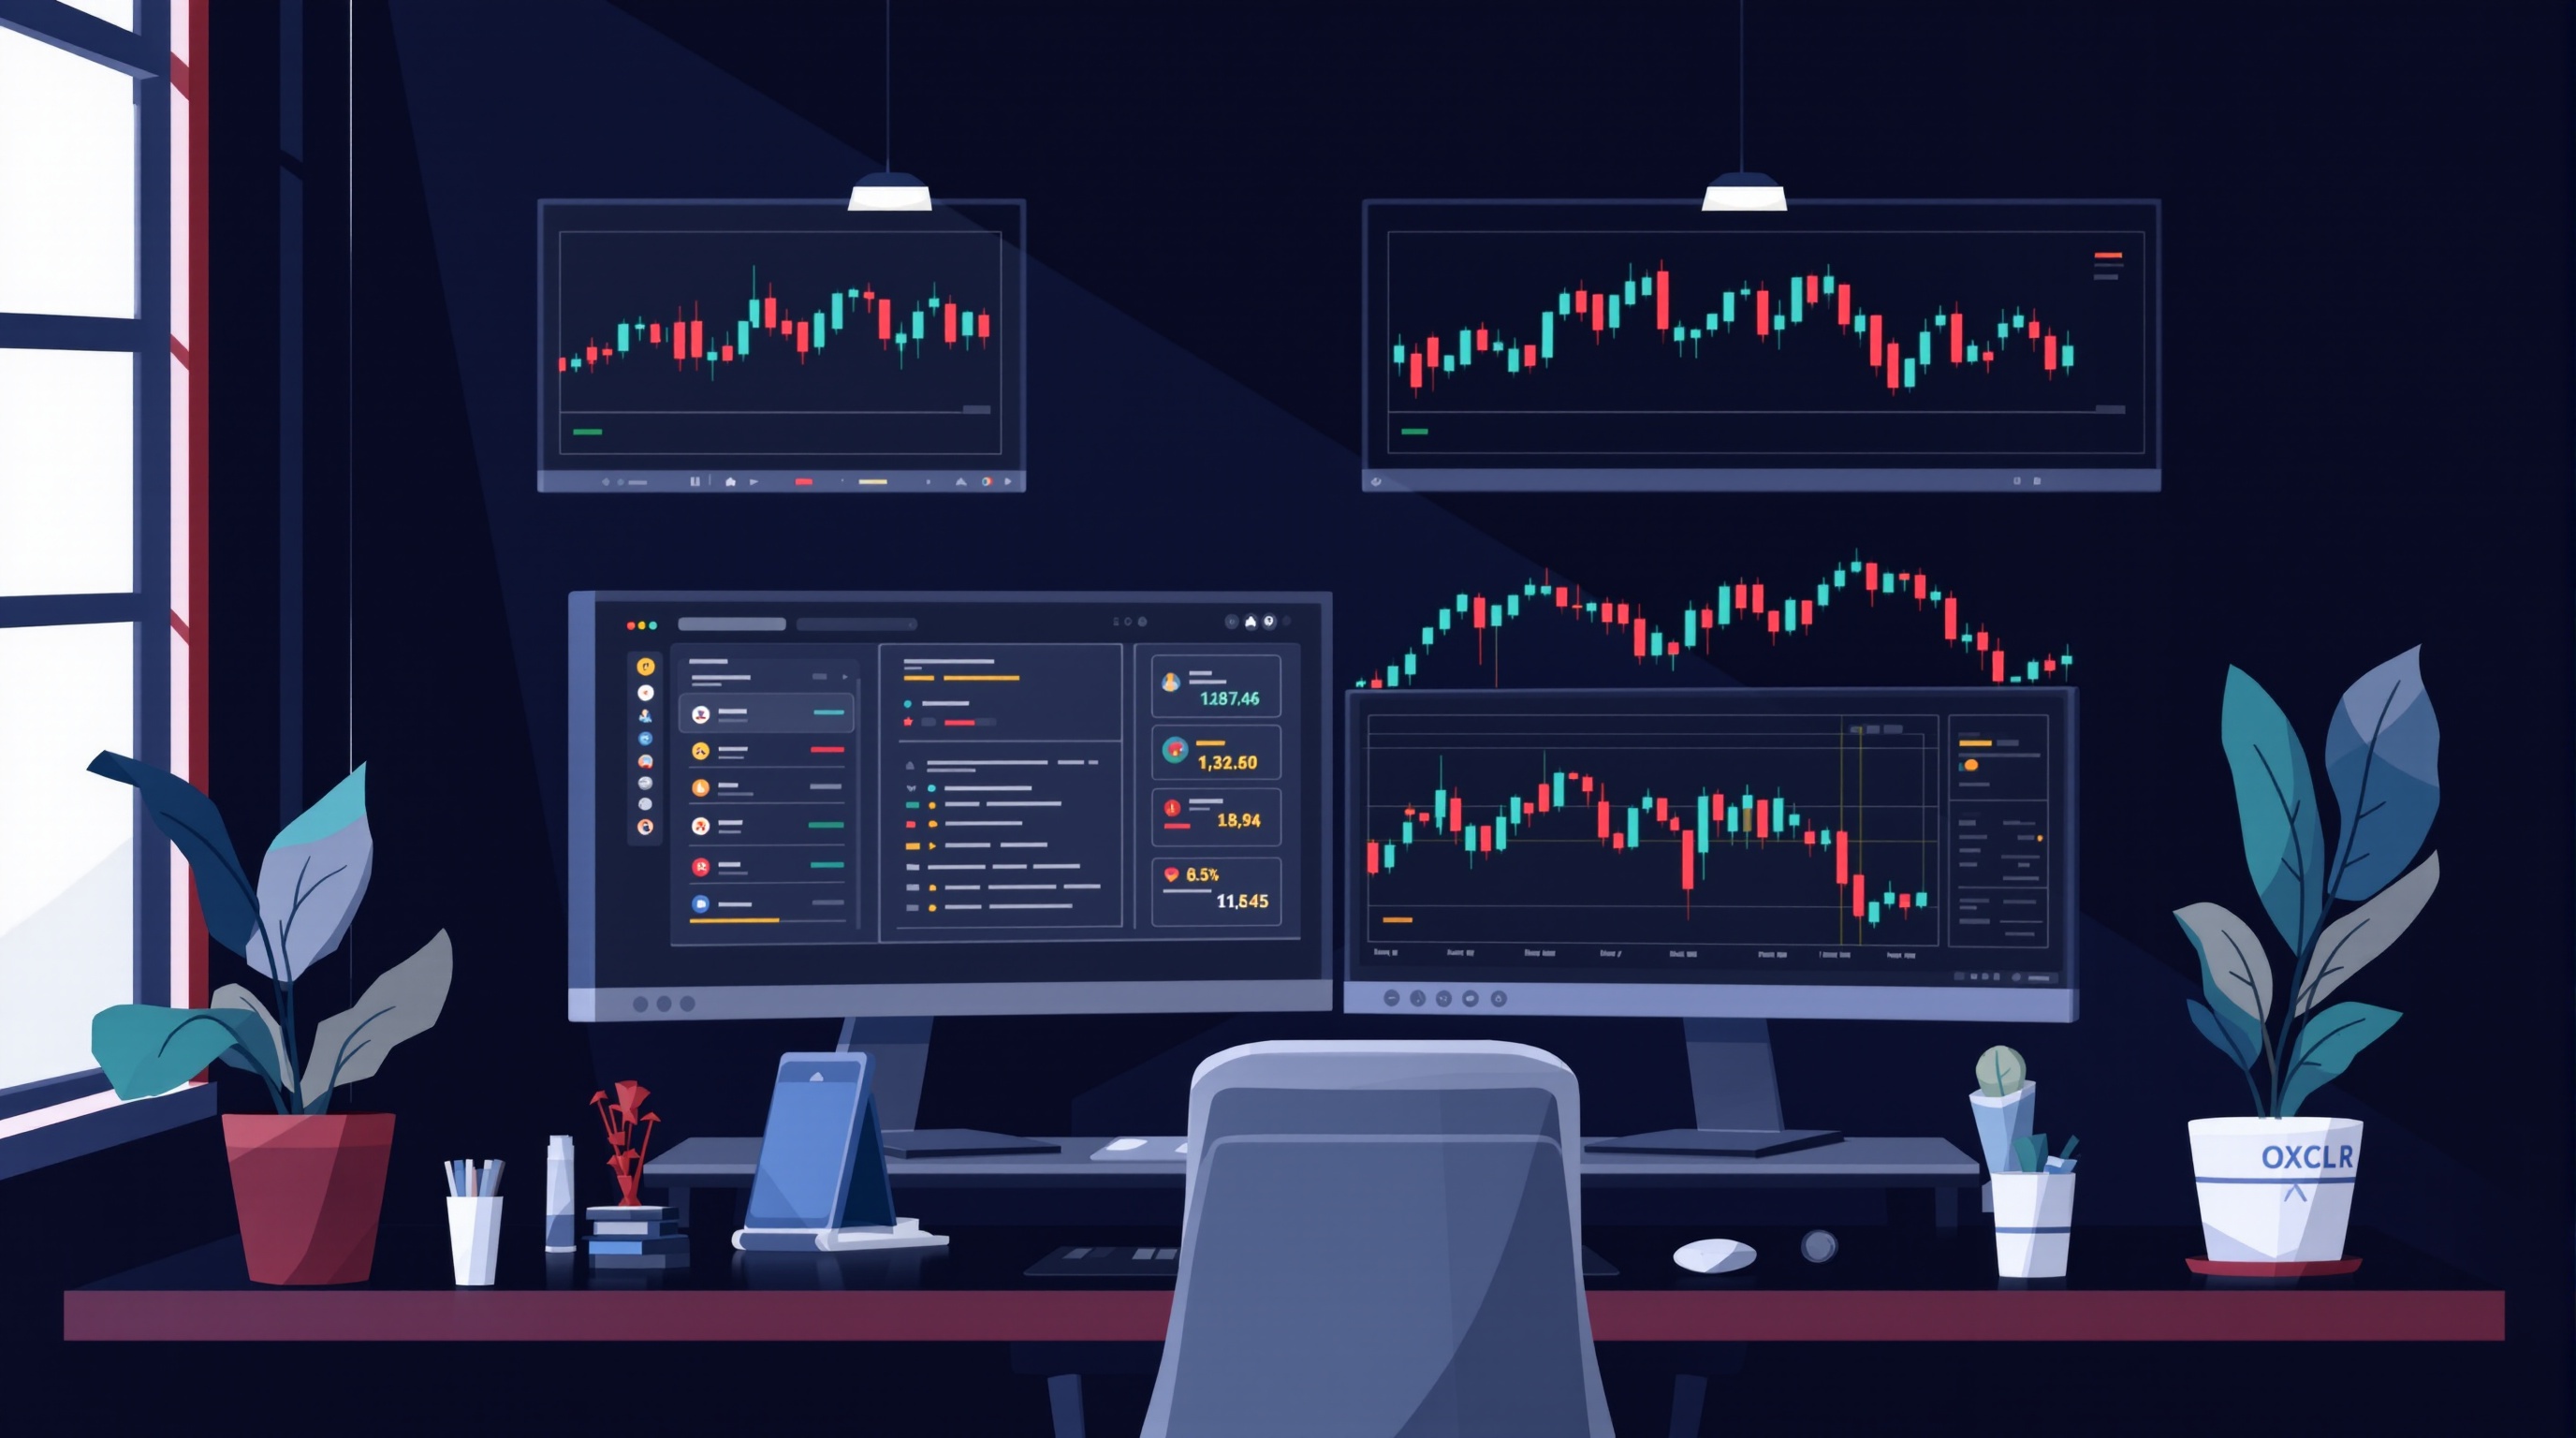
Multi-Timeframe Analysis Explained: A Practical Guide
Multi-timeframe analysis explained for intermediate traders: how to align trends across charts, avoid conflicting signals, and trade with more context.
 Intermediate
Building a Forex Watchlist That Actually Works
Learn how to build a forex watchlist that filters noise and sharpens price action reads, with a practical daily workflow for intermediate traders.
Module 8 · Risk mastery
 Intermediate
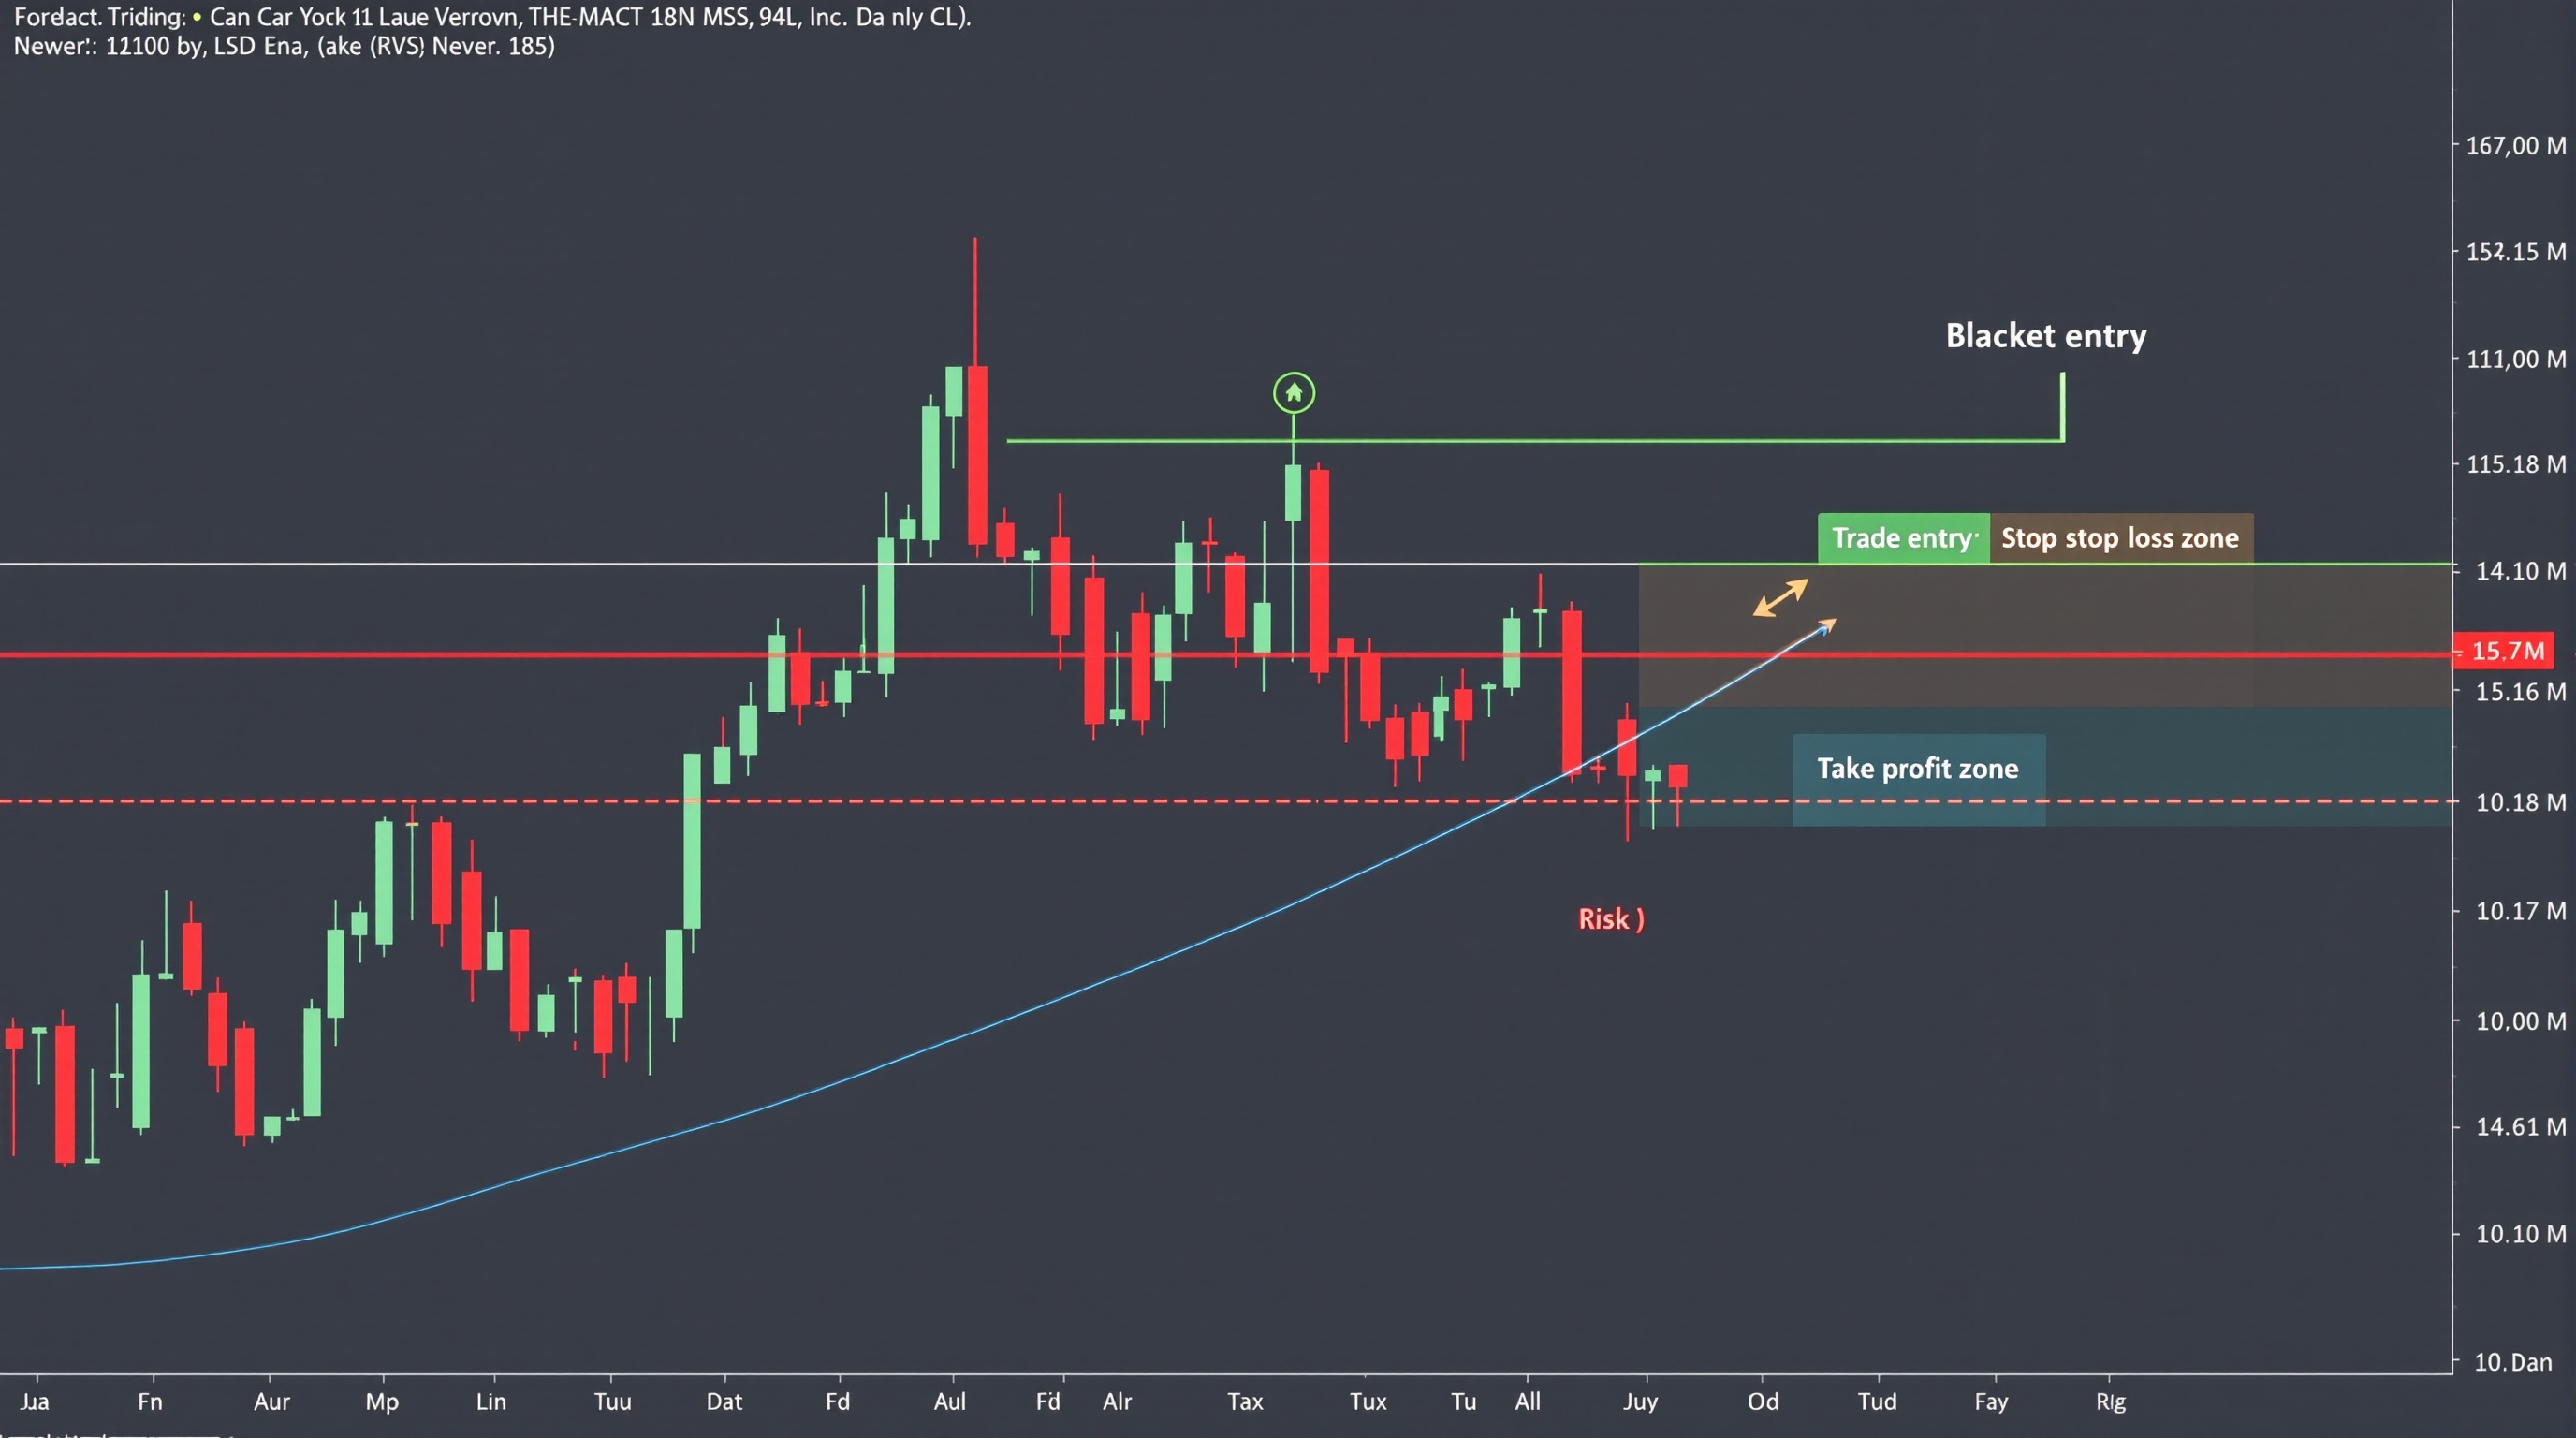
Risk-to-Reward Ratios and Why They Matter
Learn how risk-to-reward ratios work, why they matter more than win rate, and how to set a trading floor. Module 8 of the PipTax FX Trading School.
 Intermediate
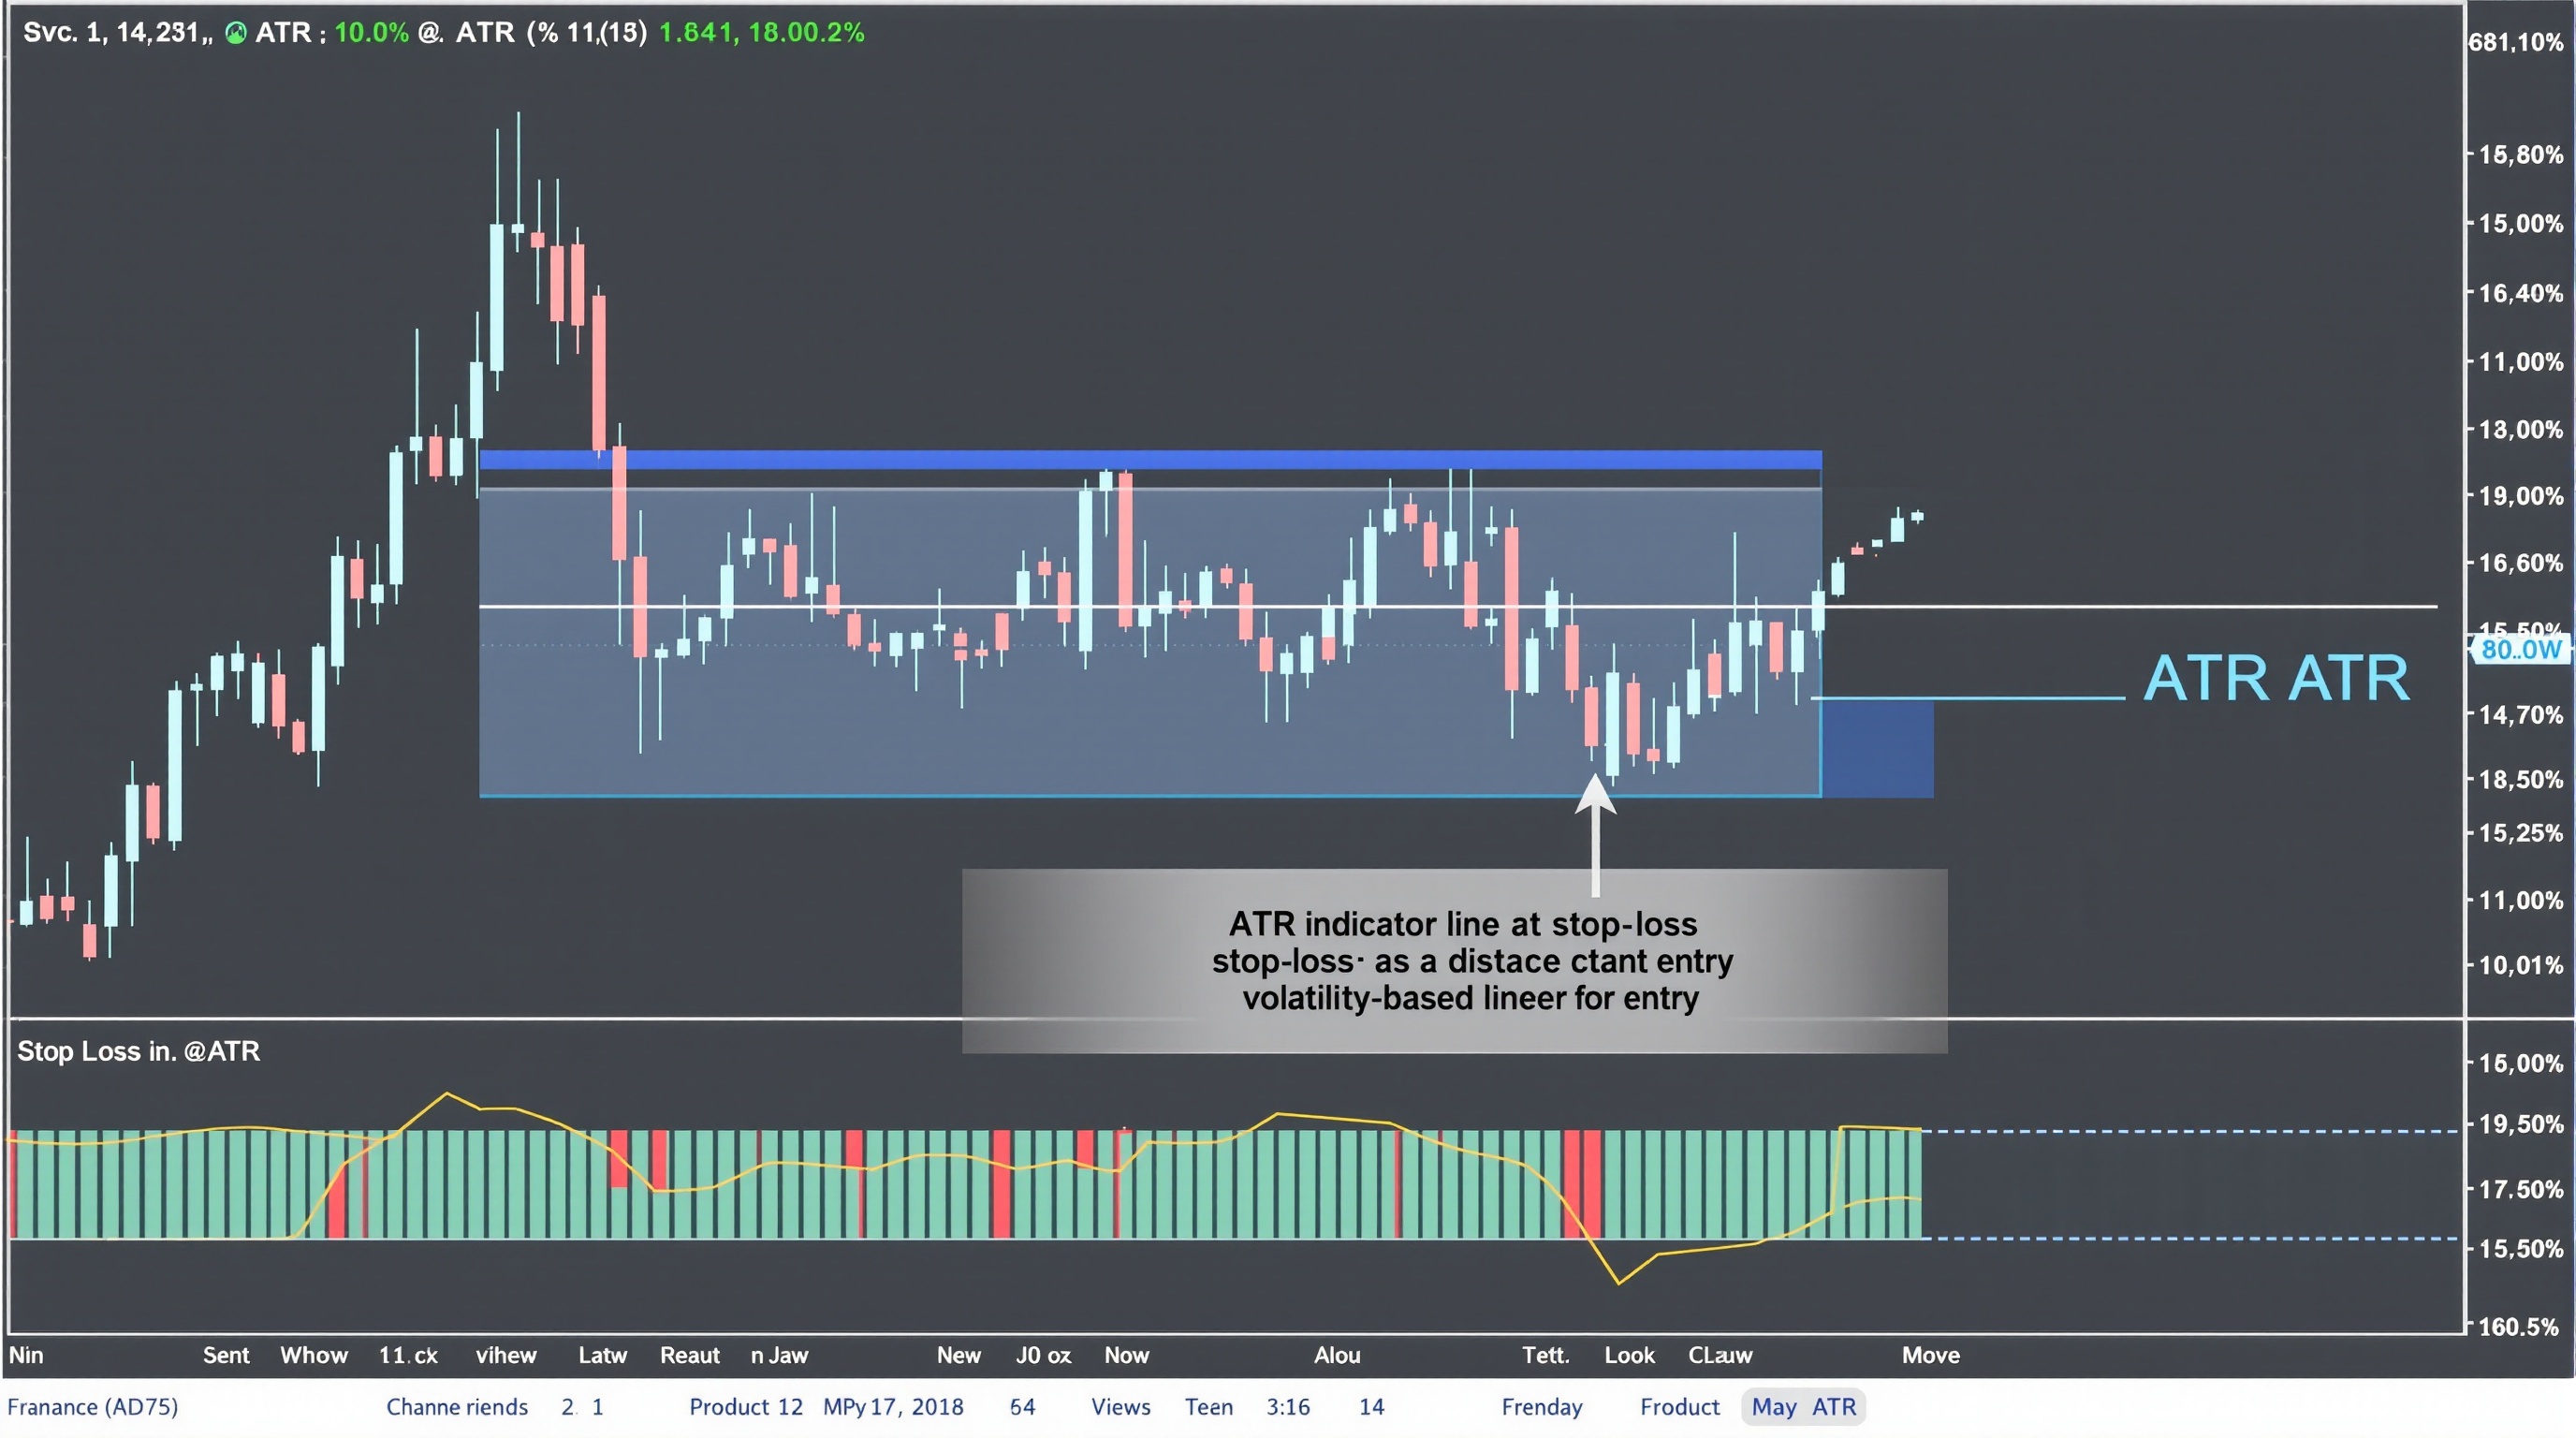
Setting Stops with the ATR Indicator
Learn how to set stops with the ATR indicator using a practical, volatility-based method that adapts to real market conditions.
 Intermediate
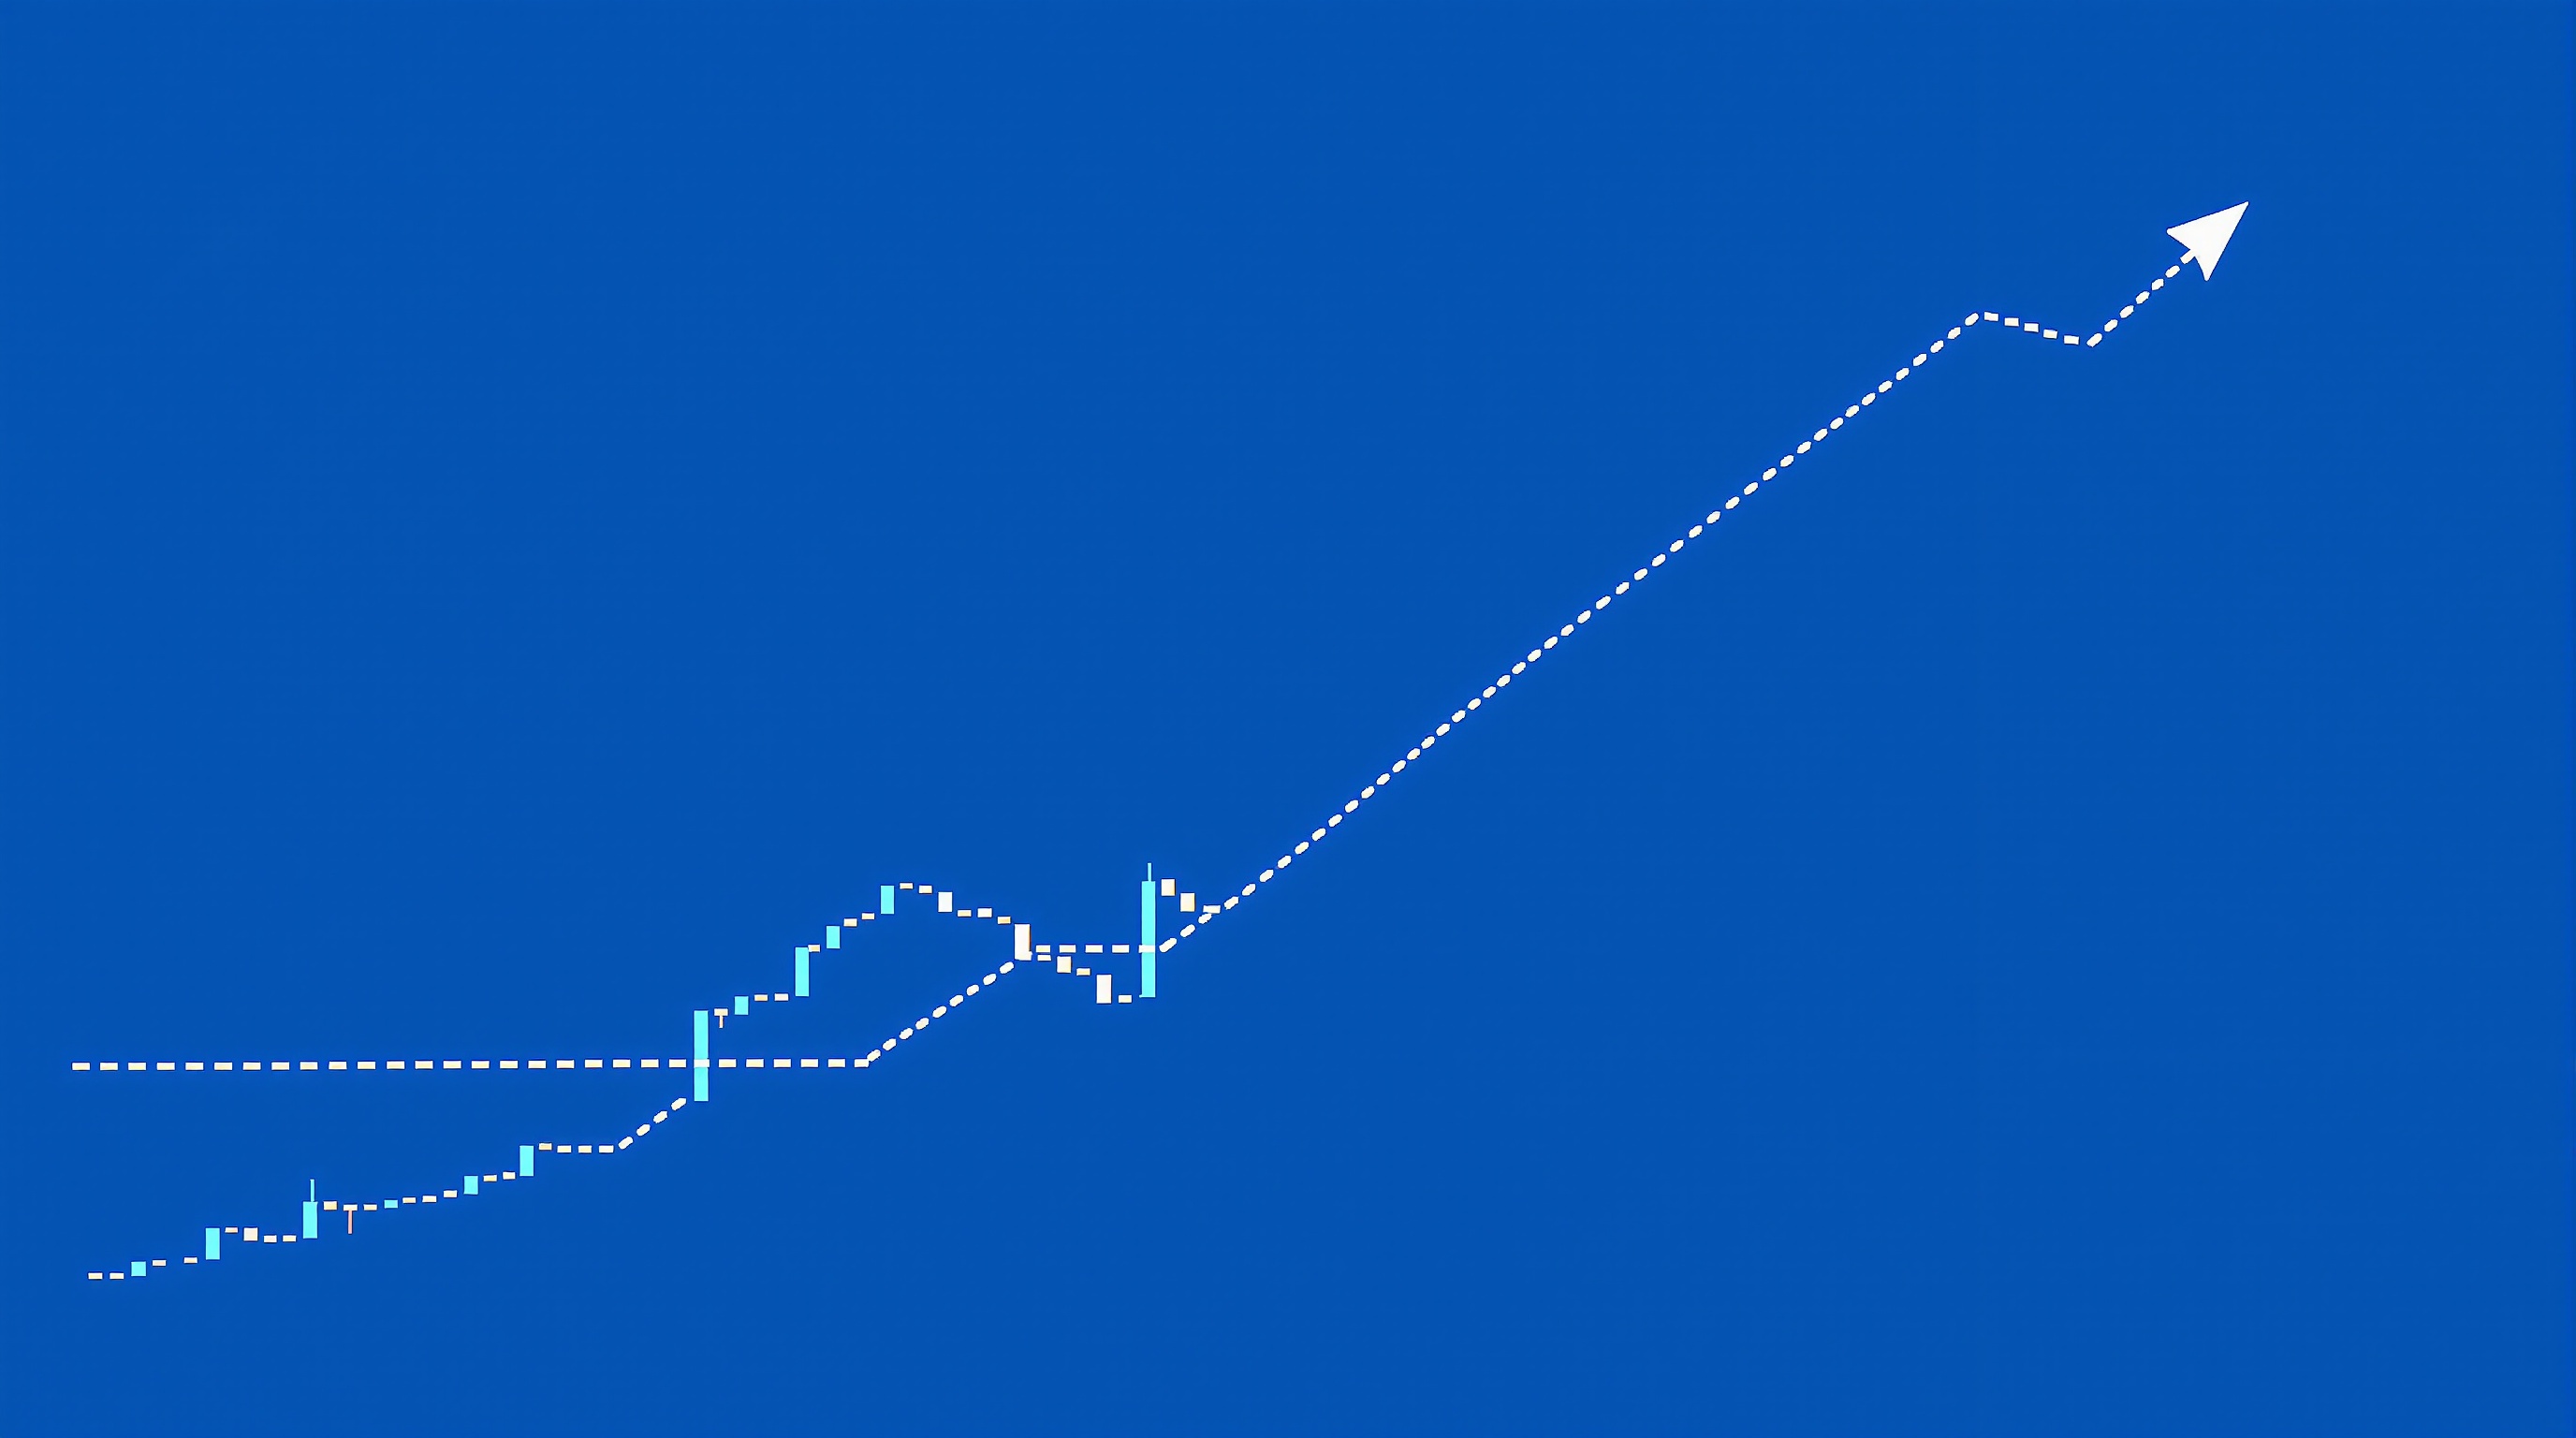
Trailing Stops: Locking In Profit (Module 8)
Trailing stops explained: how they lock in profit, common mistakes, and a practical setup for MetaTrader and IG platforms. Module 8 of PipTax FX School.
 Intermediate
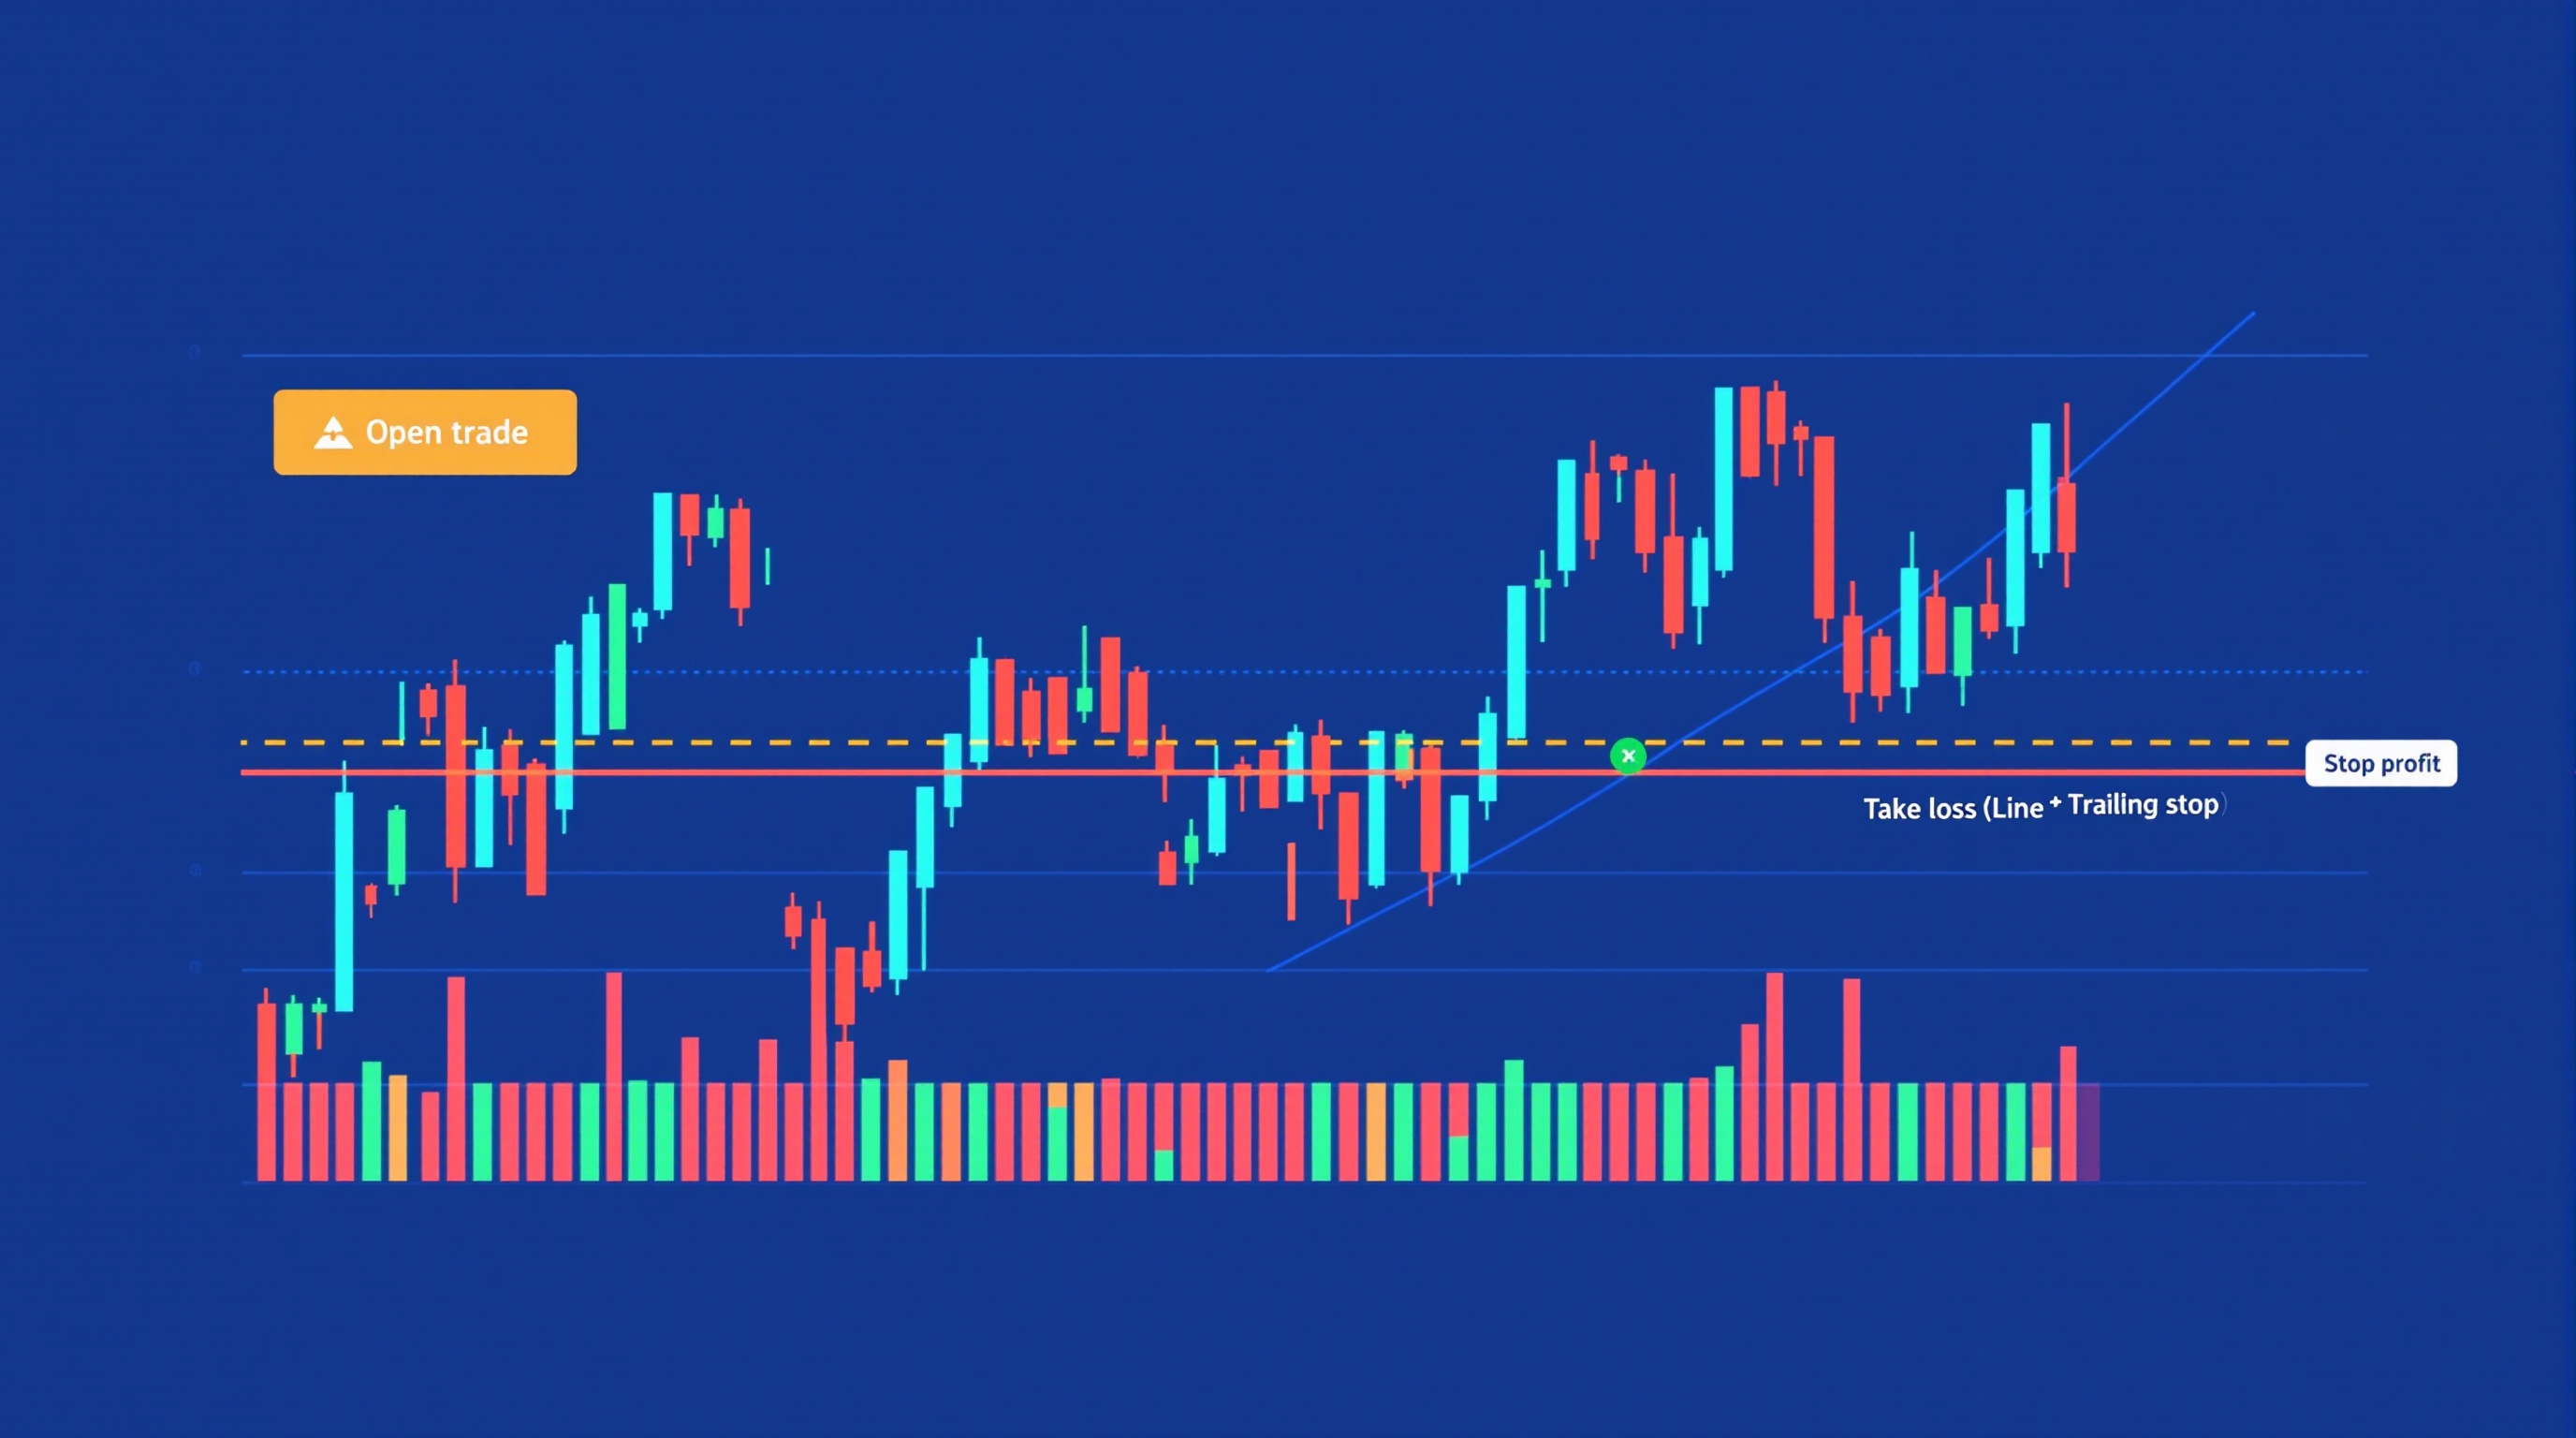
How to Manage an Open Trade: Module 8 Risk Mastery
Learn how to manage an open trade with a clear, rules-based process covering stops, targets, scaling and news events. Module 8 of the PipTax FX School.
 Intermediate
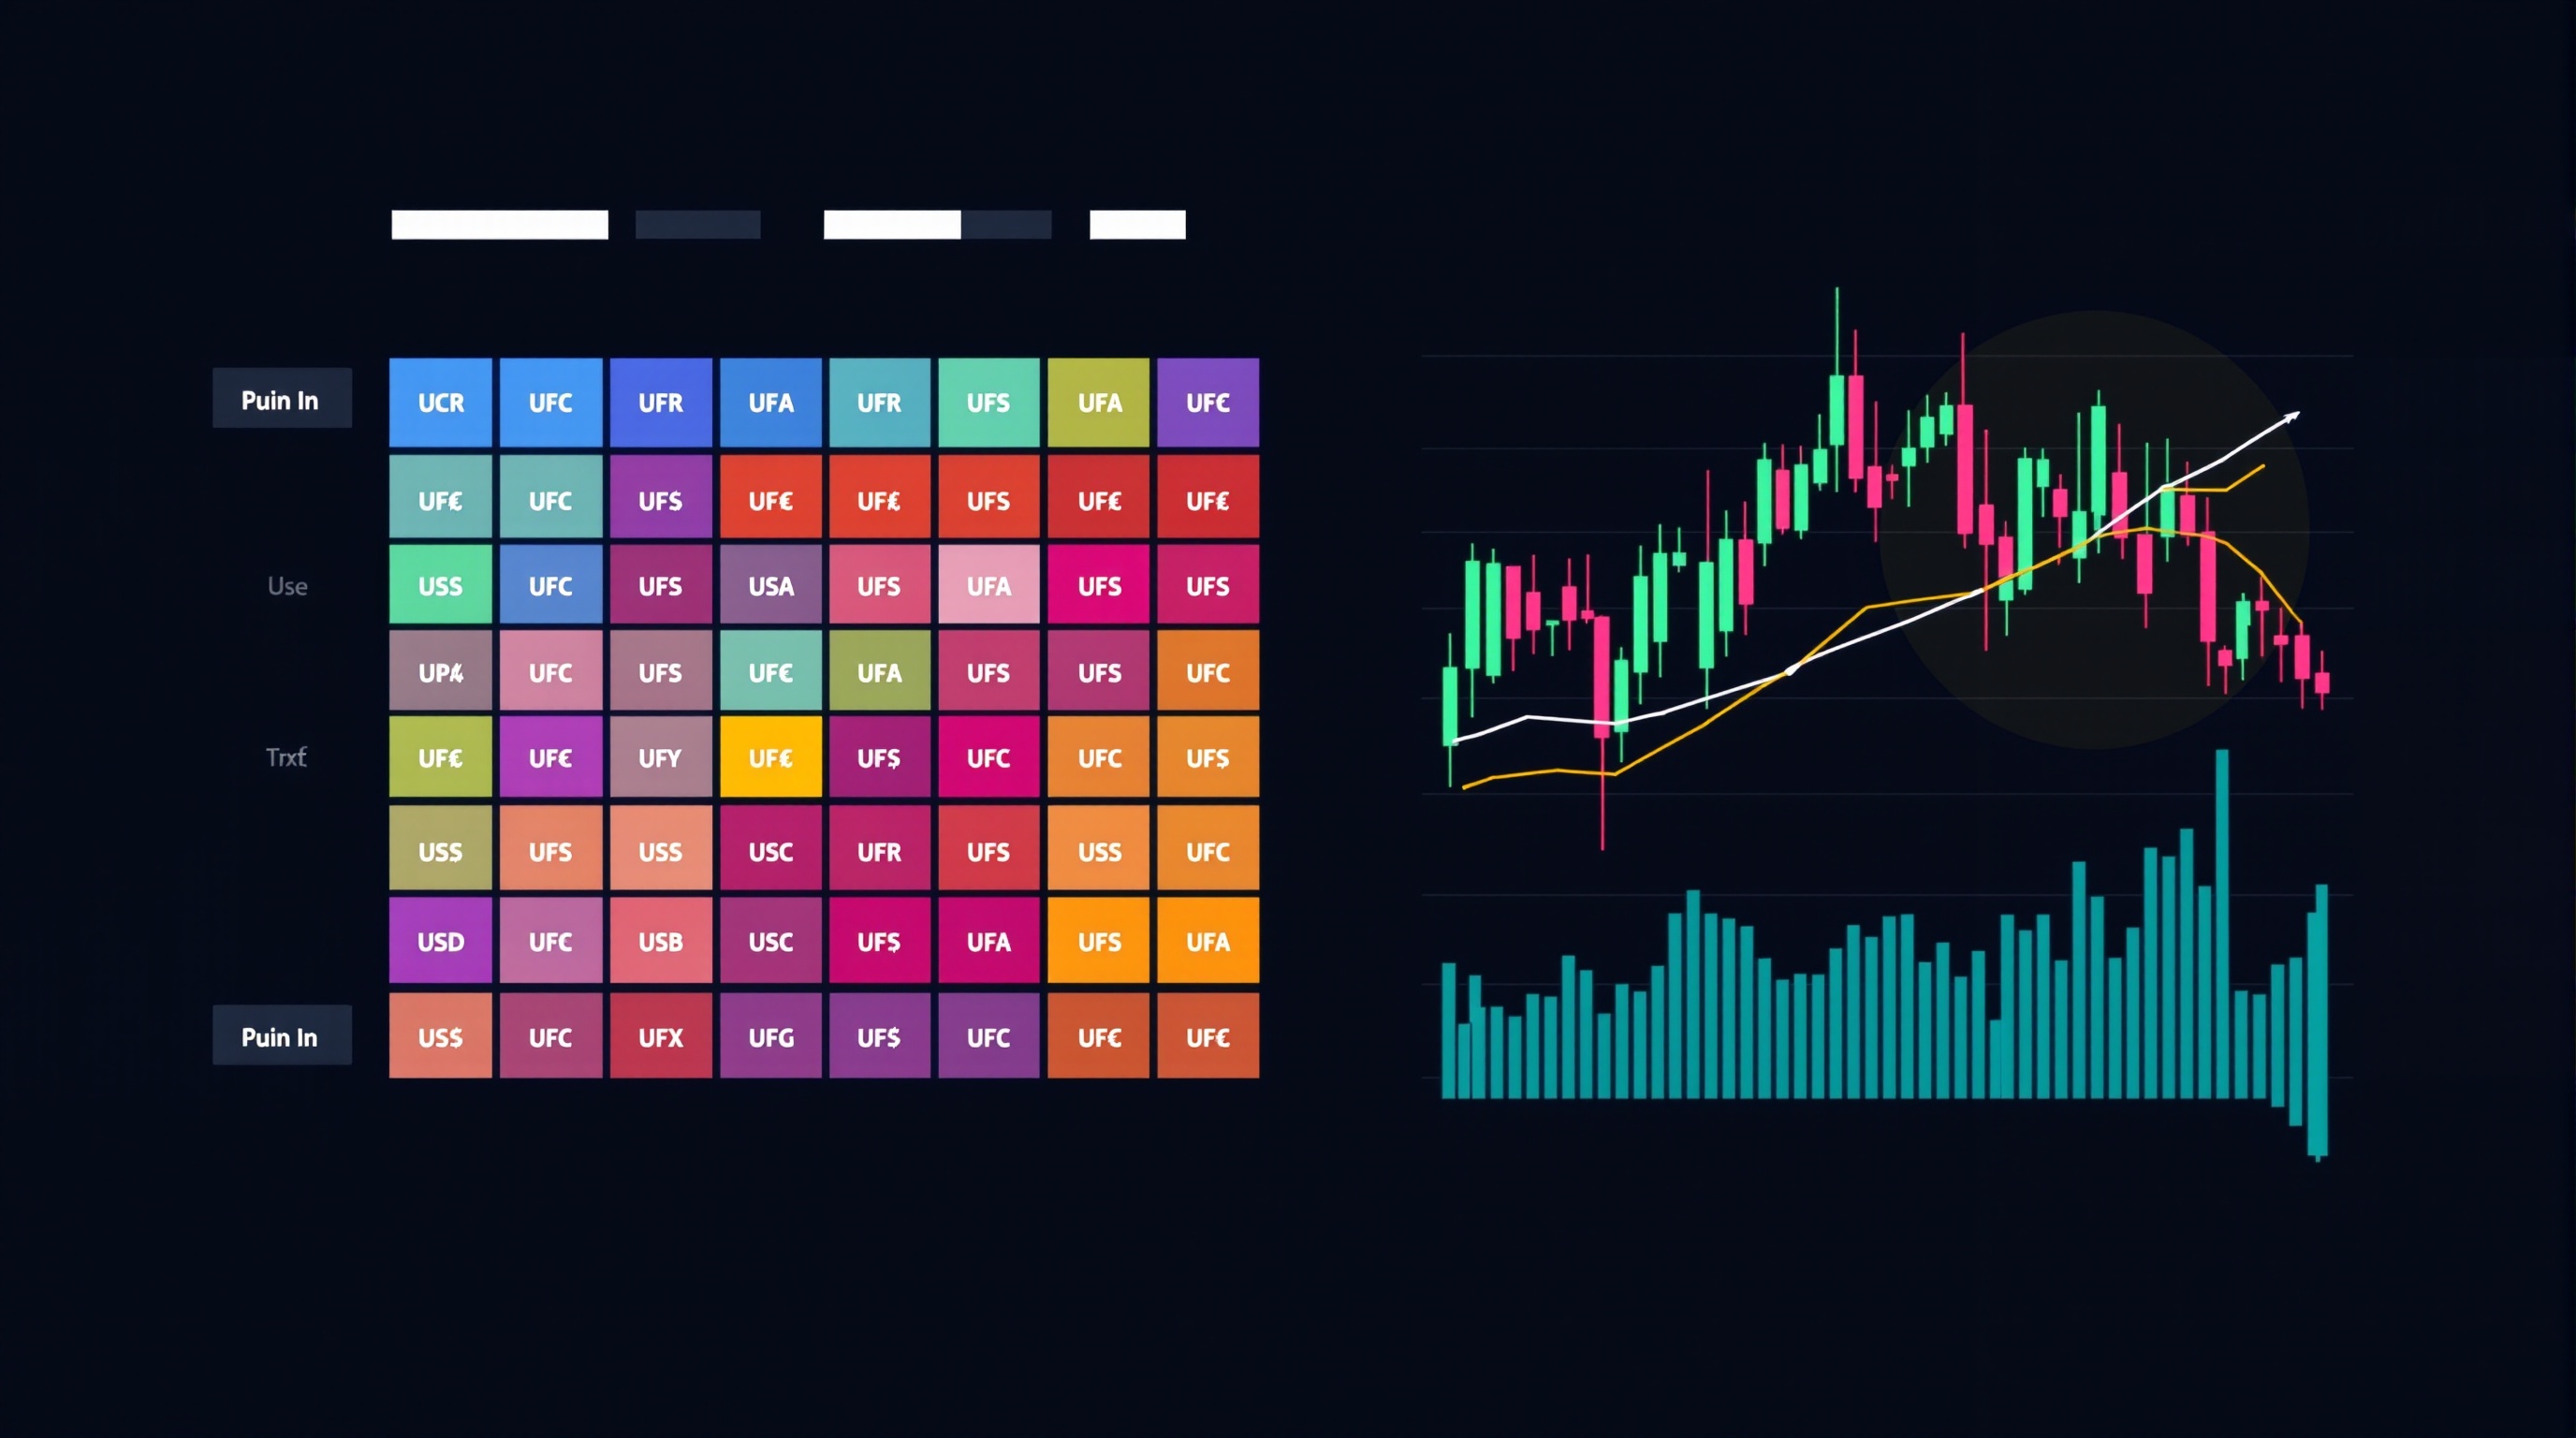
Currency Correlation and Hidden Risk in FX Trading
Currency correlation can hide real risk in your FX account. Learn how to spot it, measure it, and manage position sizing properly.
Module 9 · Cost & execution
 Intermediate
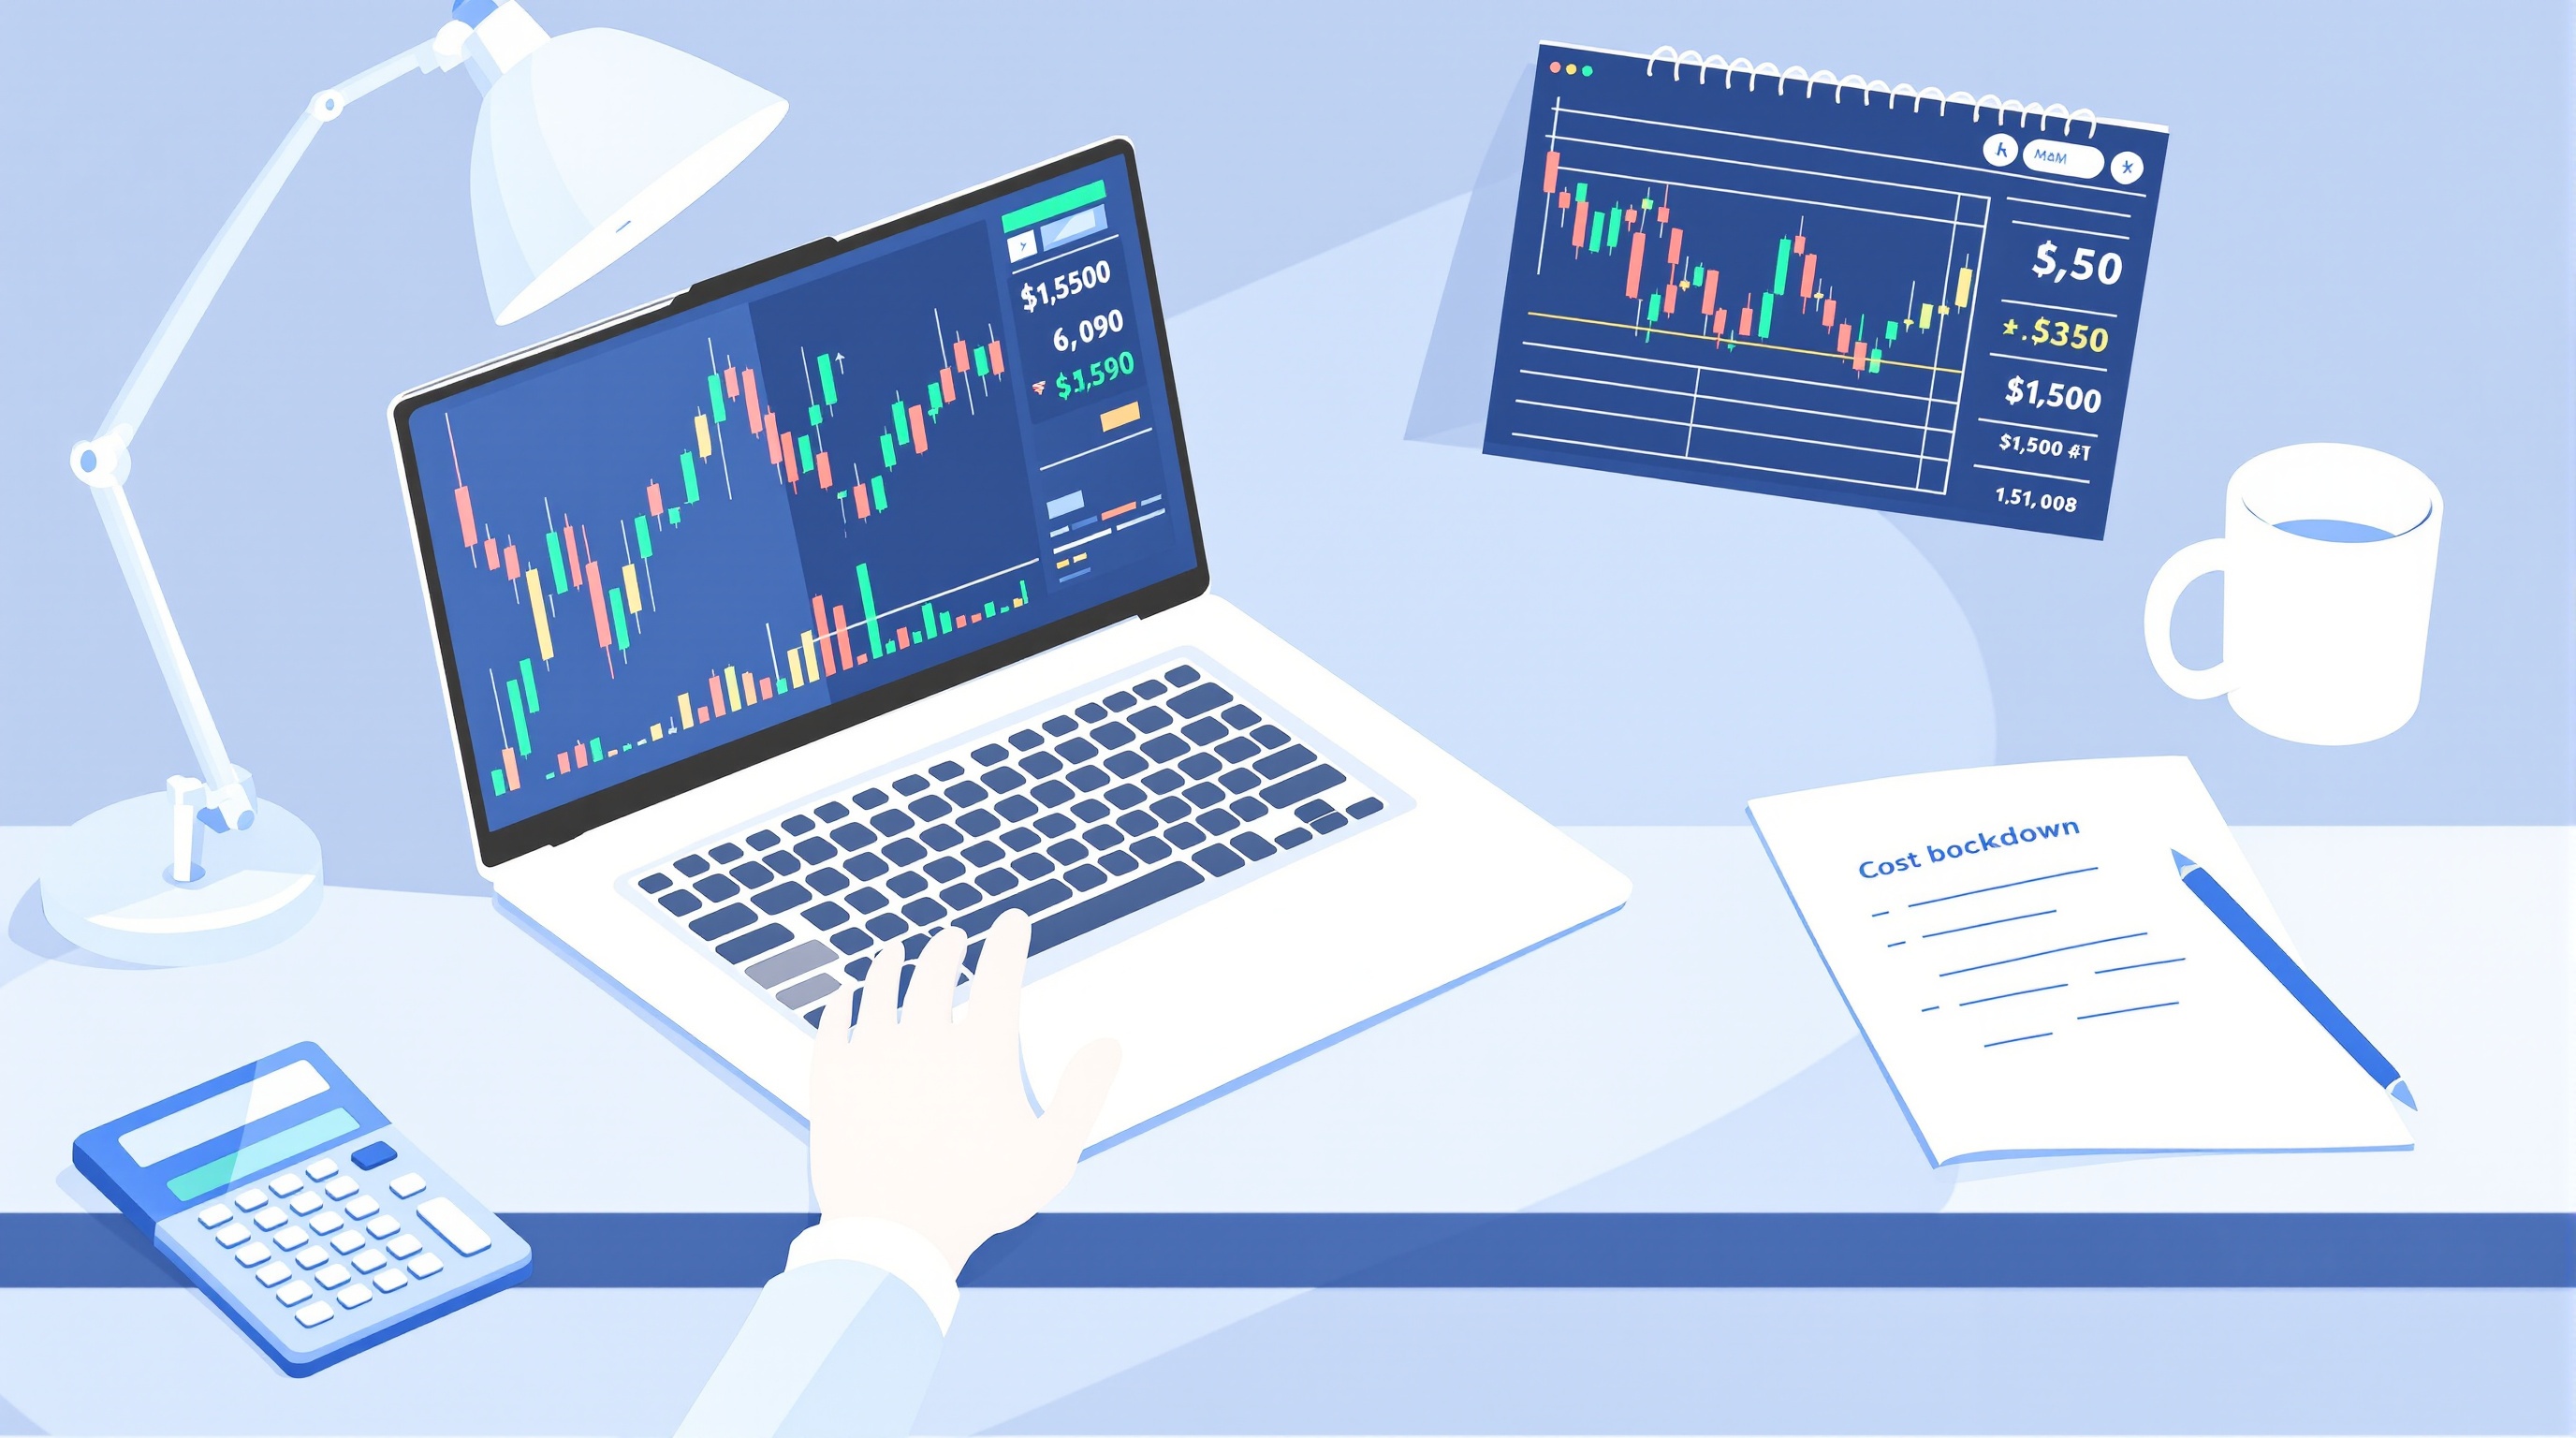
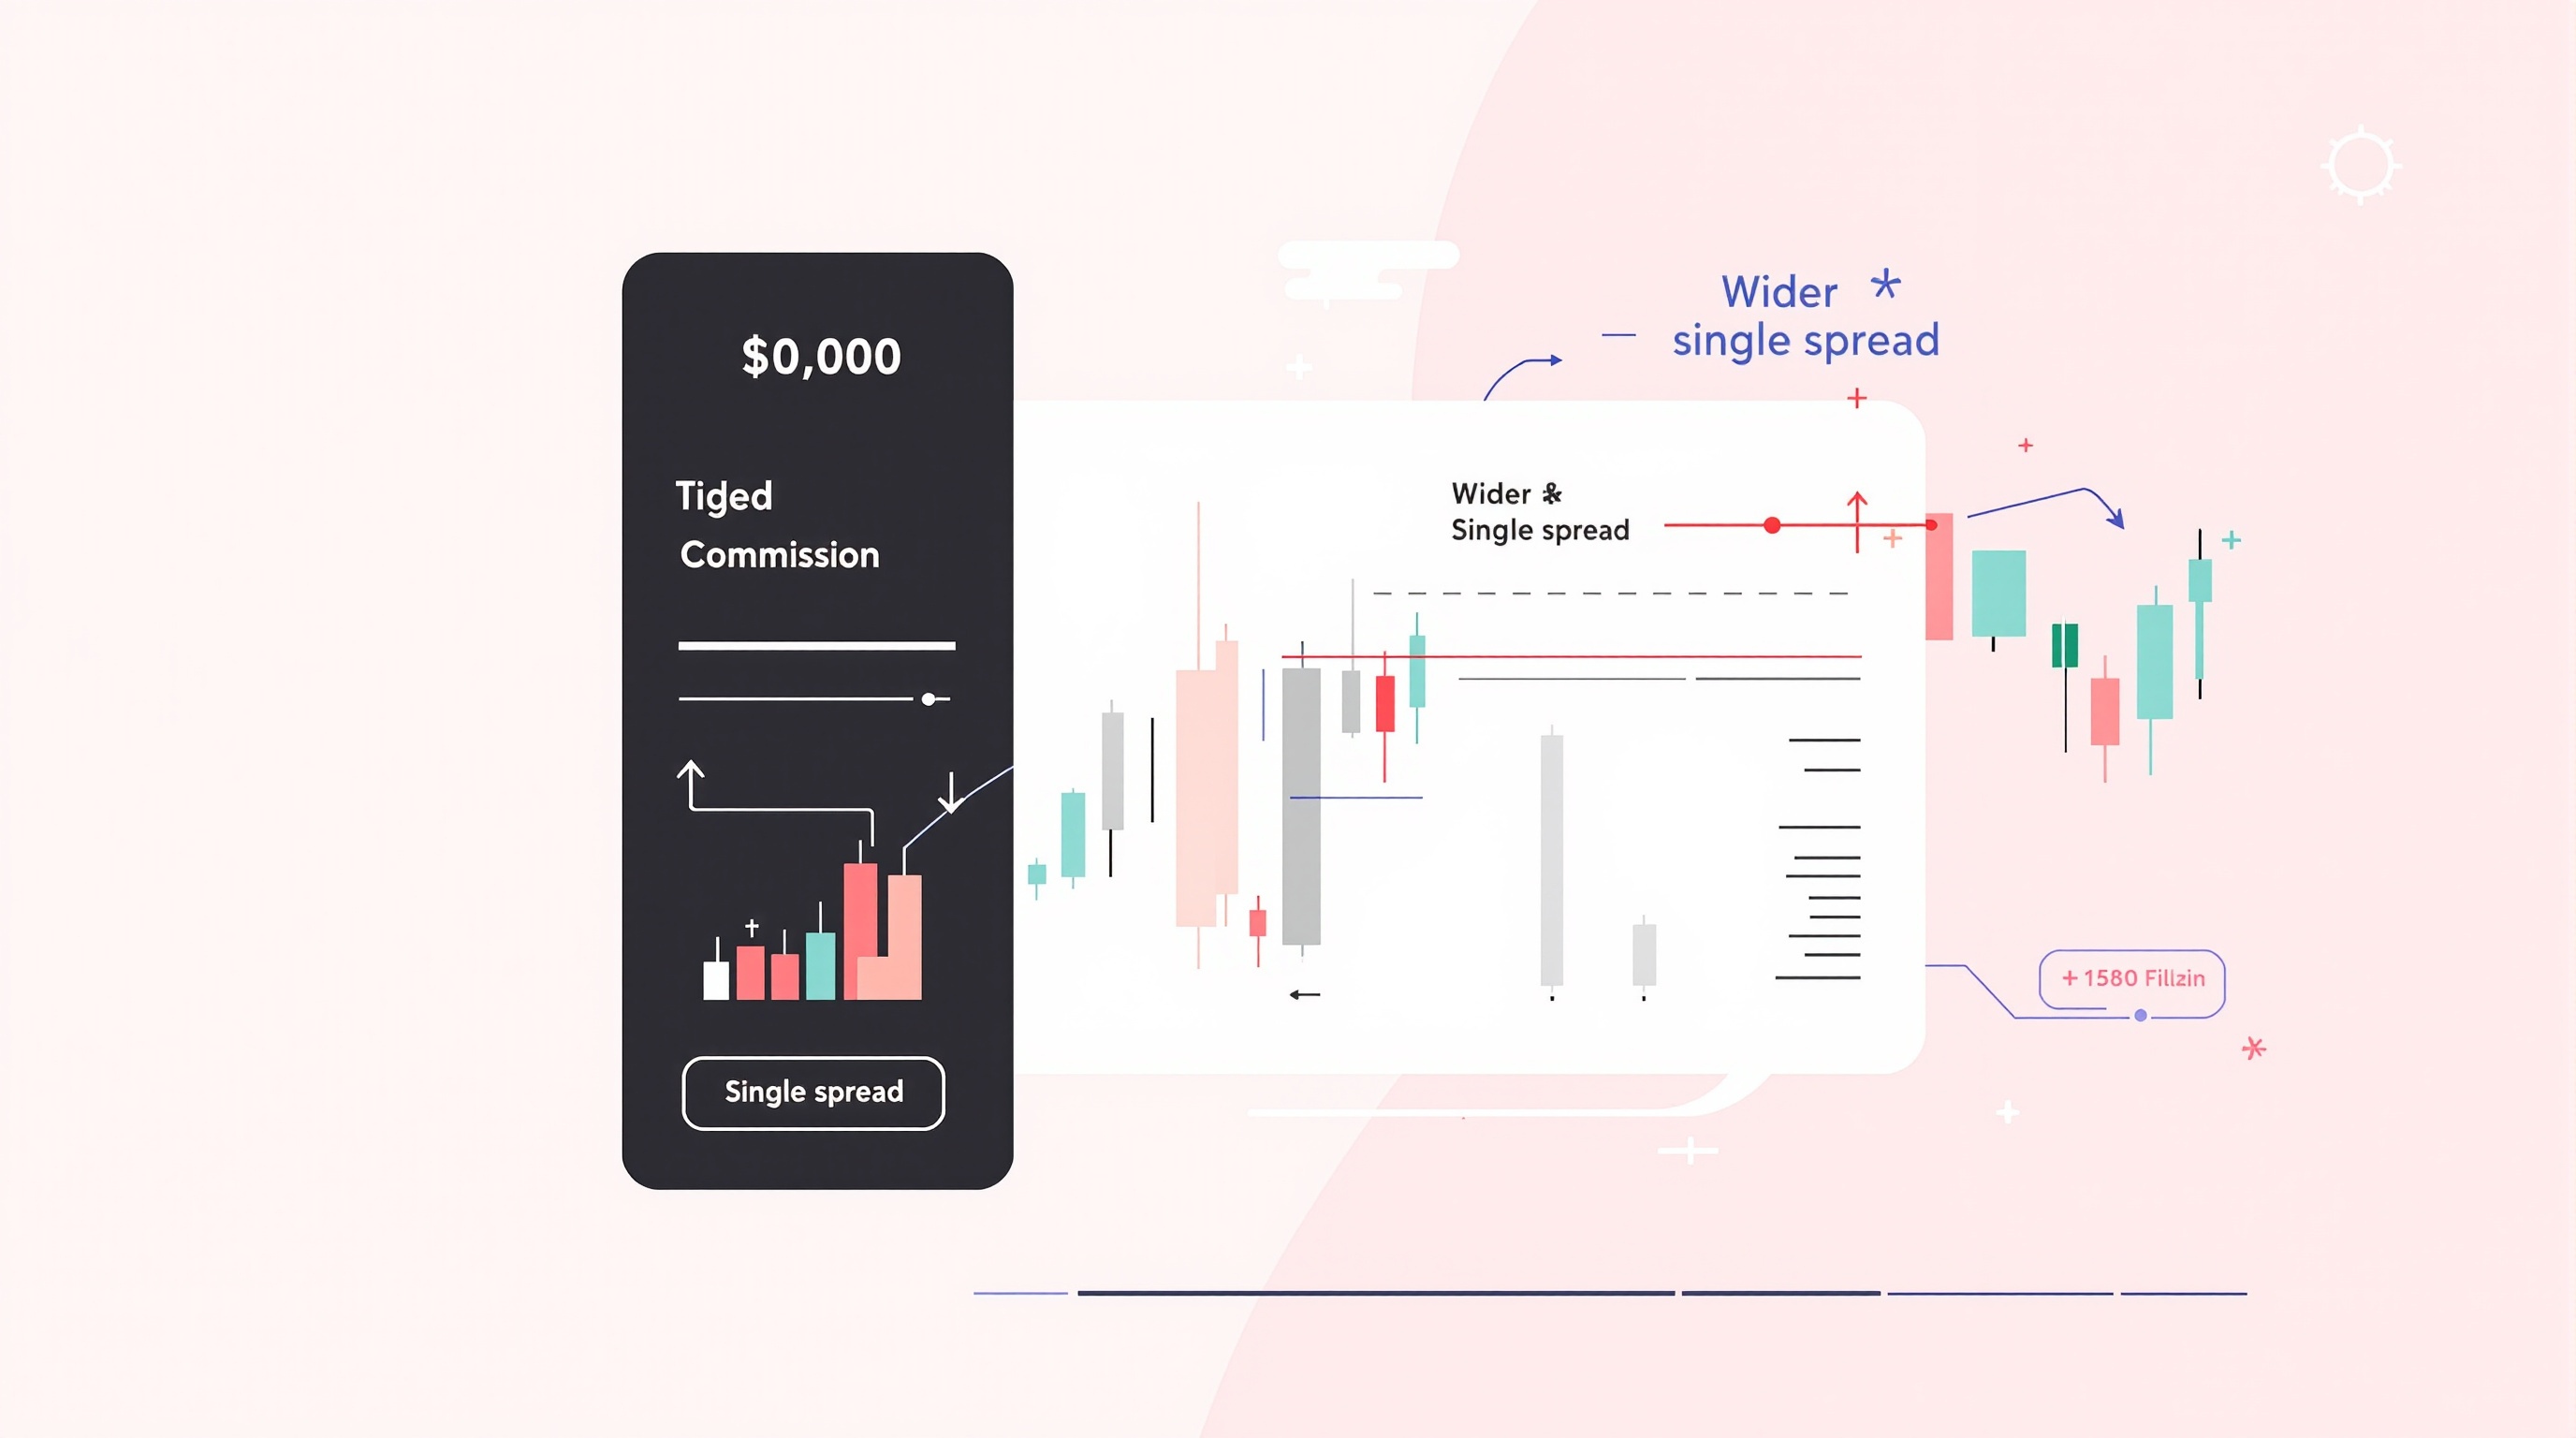
Spread and Commission: Working Out Your True Trading Cost
Learn how to work out your true trading cost from spread and commission, with a step-by-step formula and real broker examples.
 Intermediate
Swap-Aware Trading: Understanding the Overnight Cost
Swap-aware trading explained: how overnight swap charges work, how to check them, and how they affect strategy choice. Module 9, PipTax FX Trading School.
 Intermediate
Raw/ECN vs Standard Accounts: Which Costs Less?
Raw/ECN vs standard accounts explained: how spreads, commissions and execution differ, and how to work out which one actually costs less for you.
Module 10 · Craft
 Intermediate
Trading Journal: How to Keep One That Improves You
Learn how to keep a trading journal that actually improves your results, with a practical template UK traders can start using today.
 Intermediate
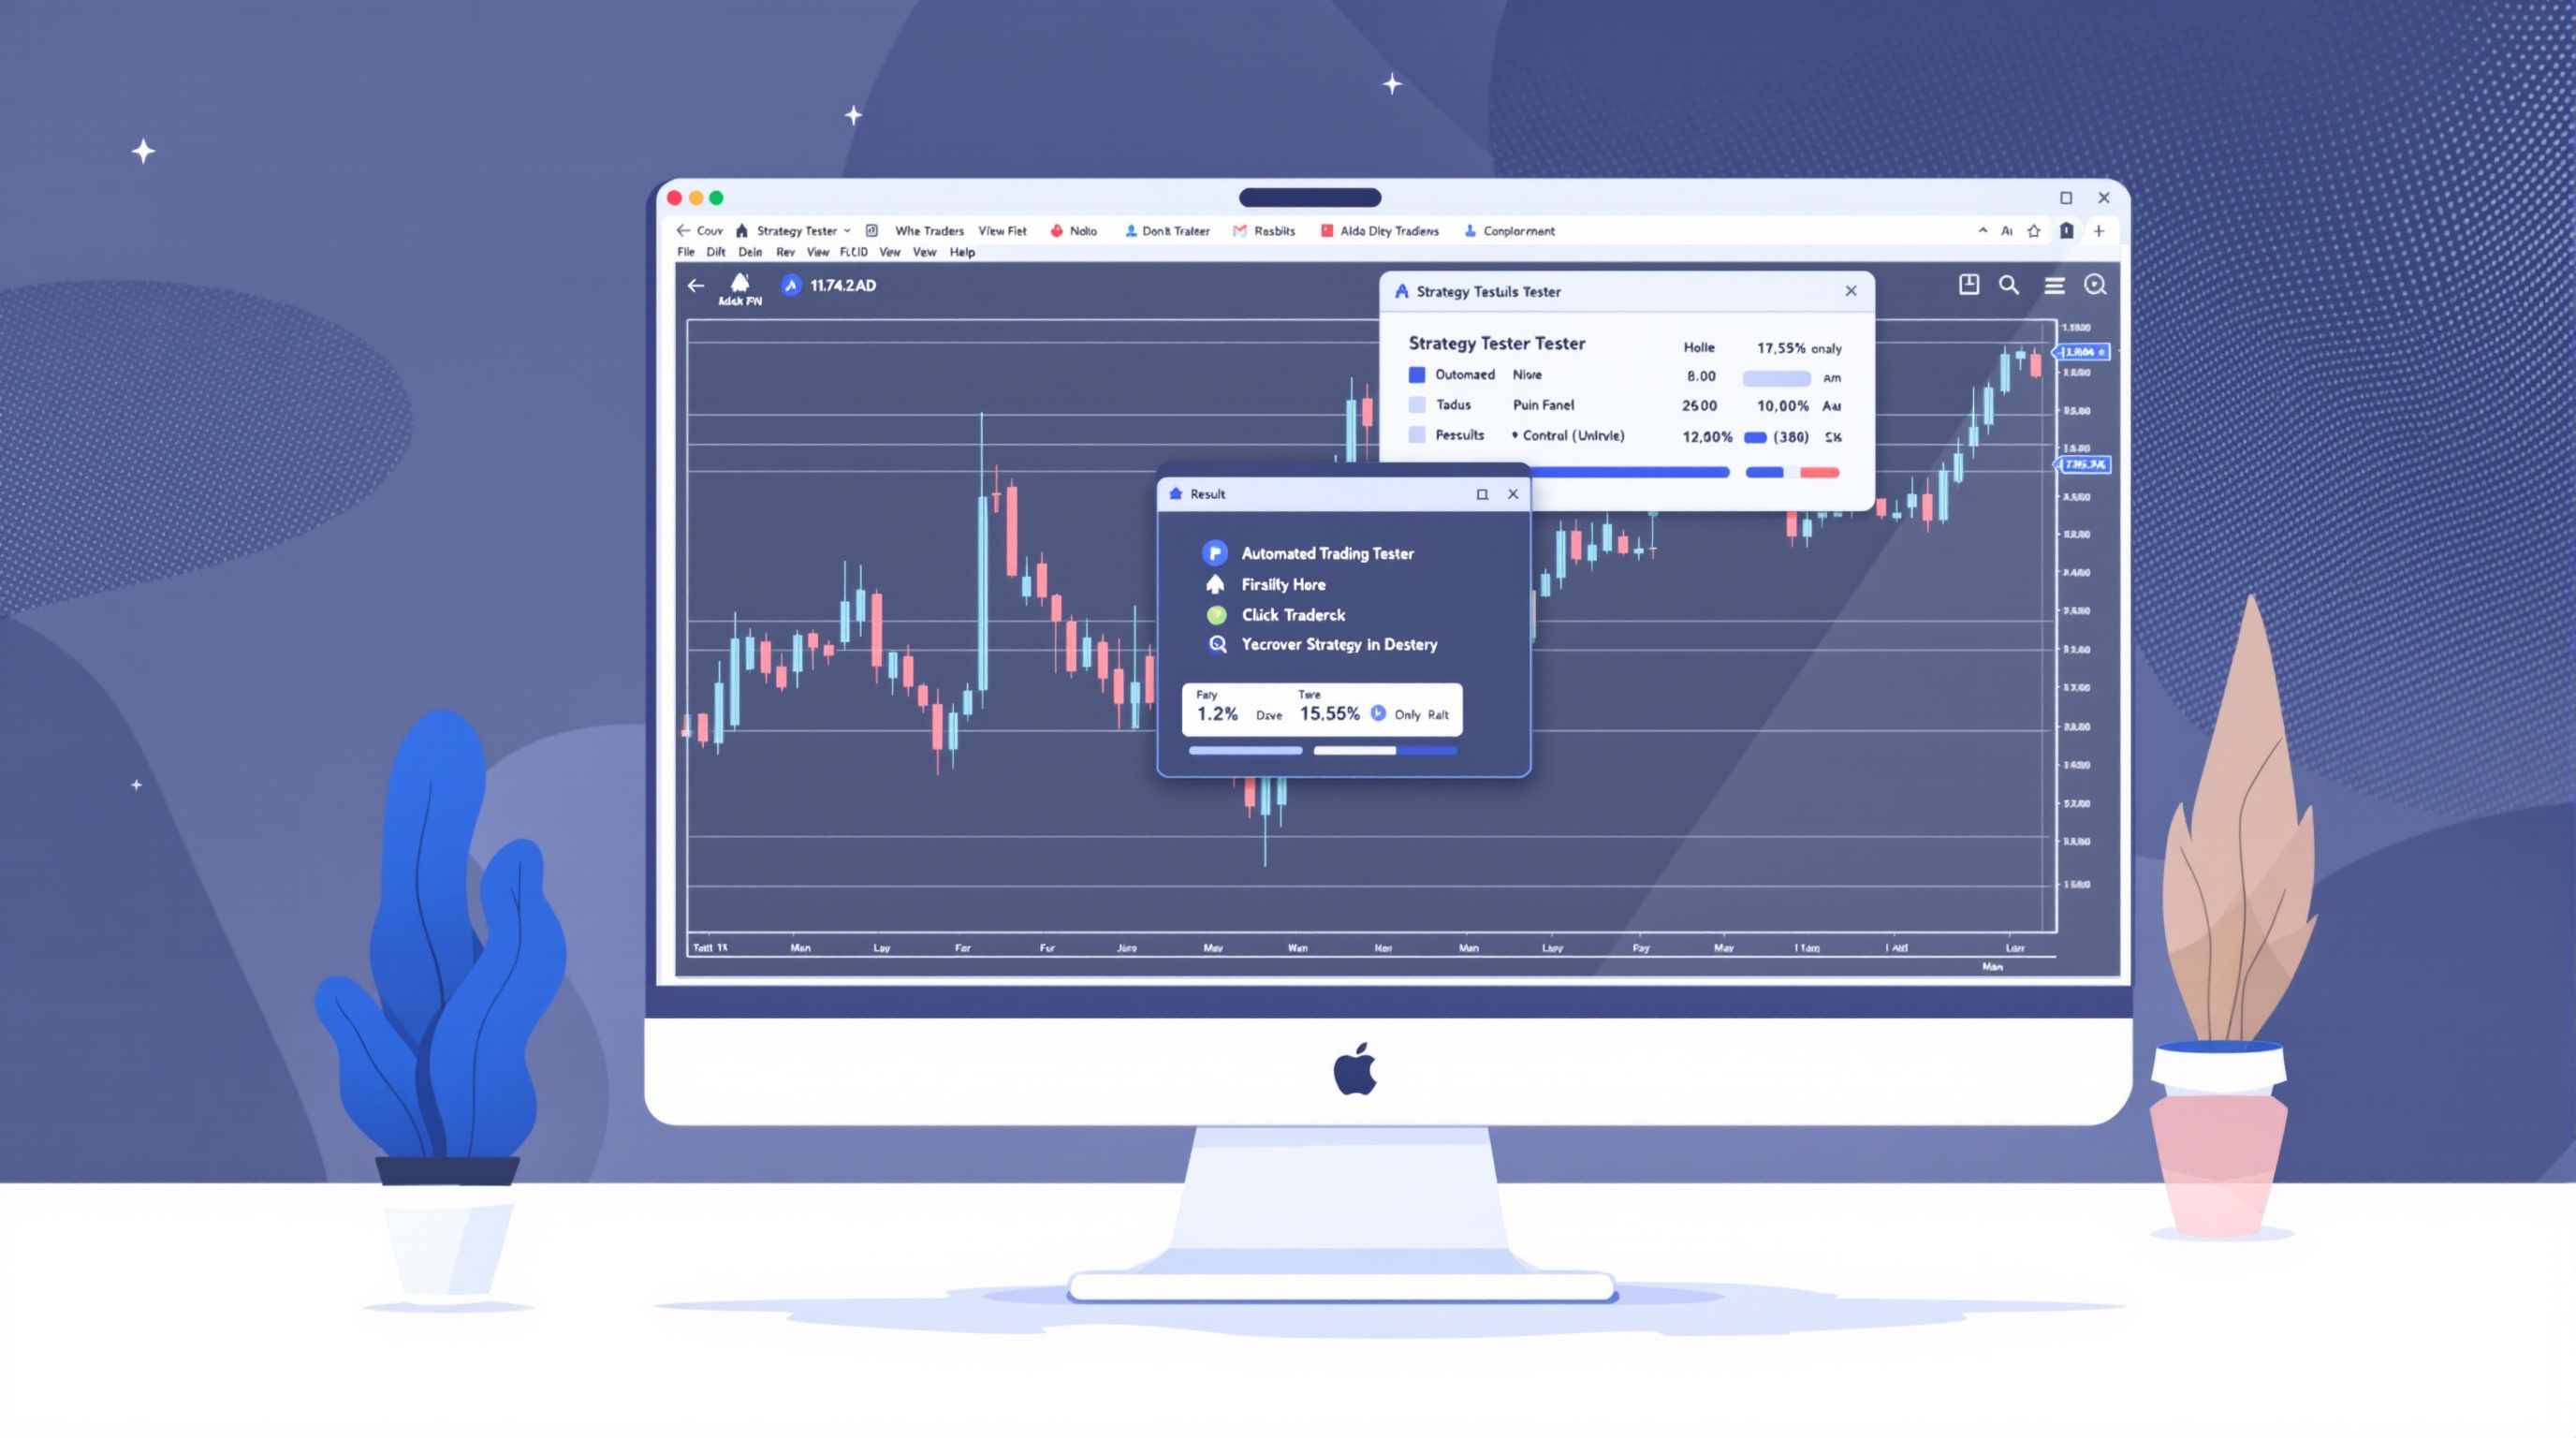
How to Backtest a Strategy Manually
Learn how to backtest a strategy manually with a step-by-step workflow, honest record-keeping, and real cost checks before risking live money.
 Intermediate
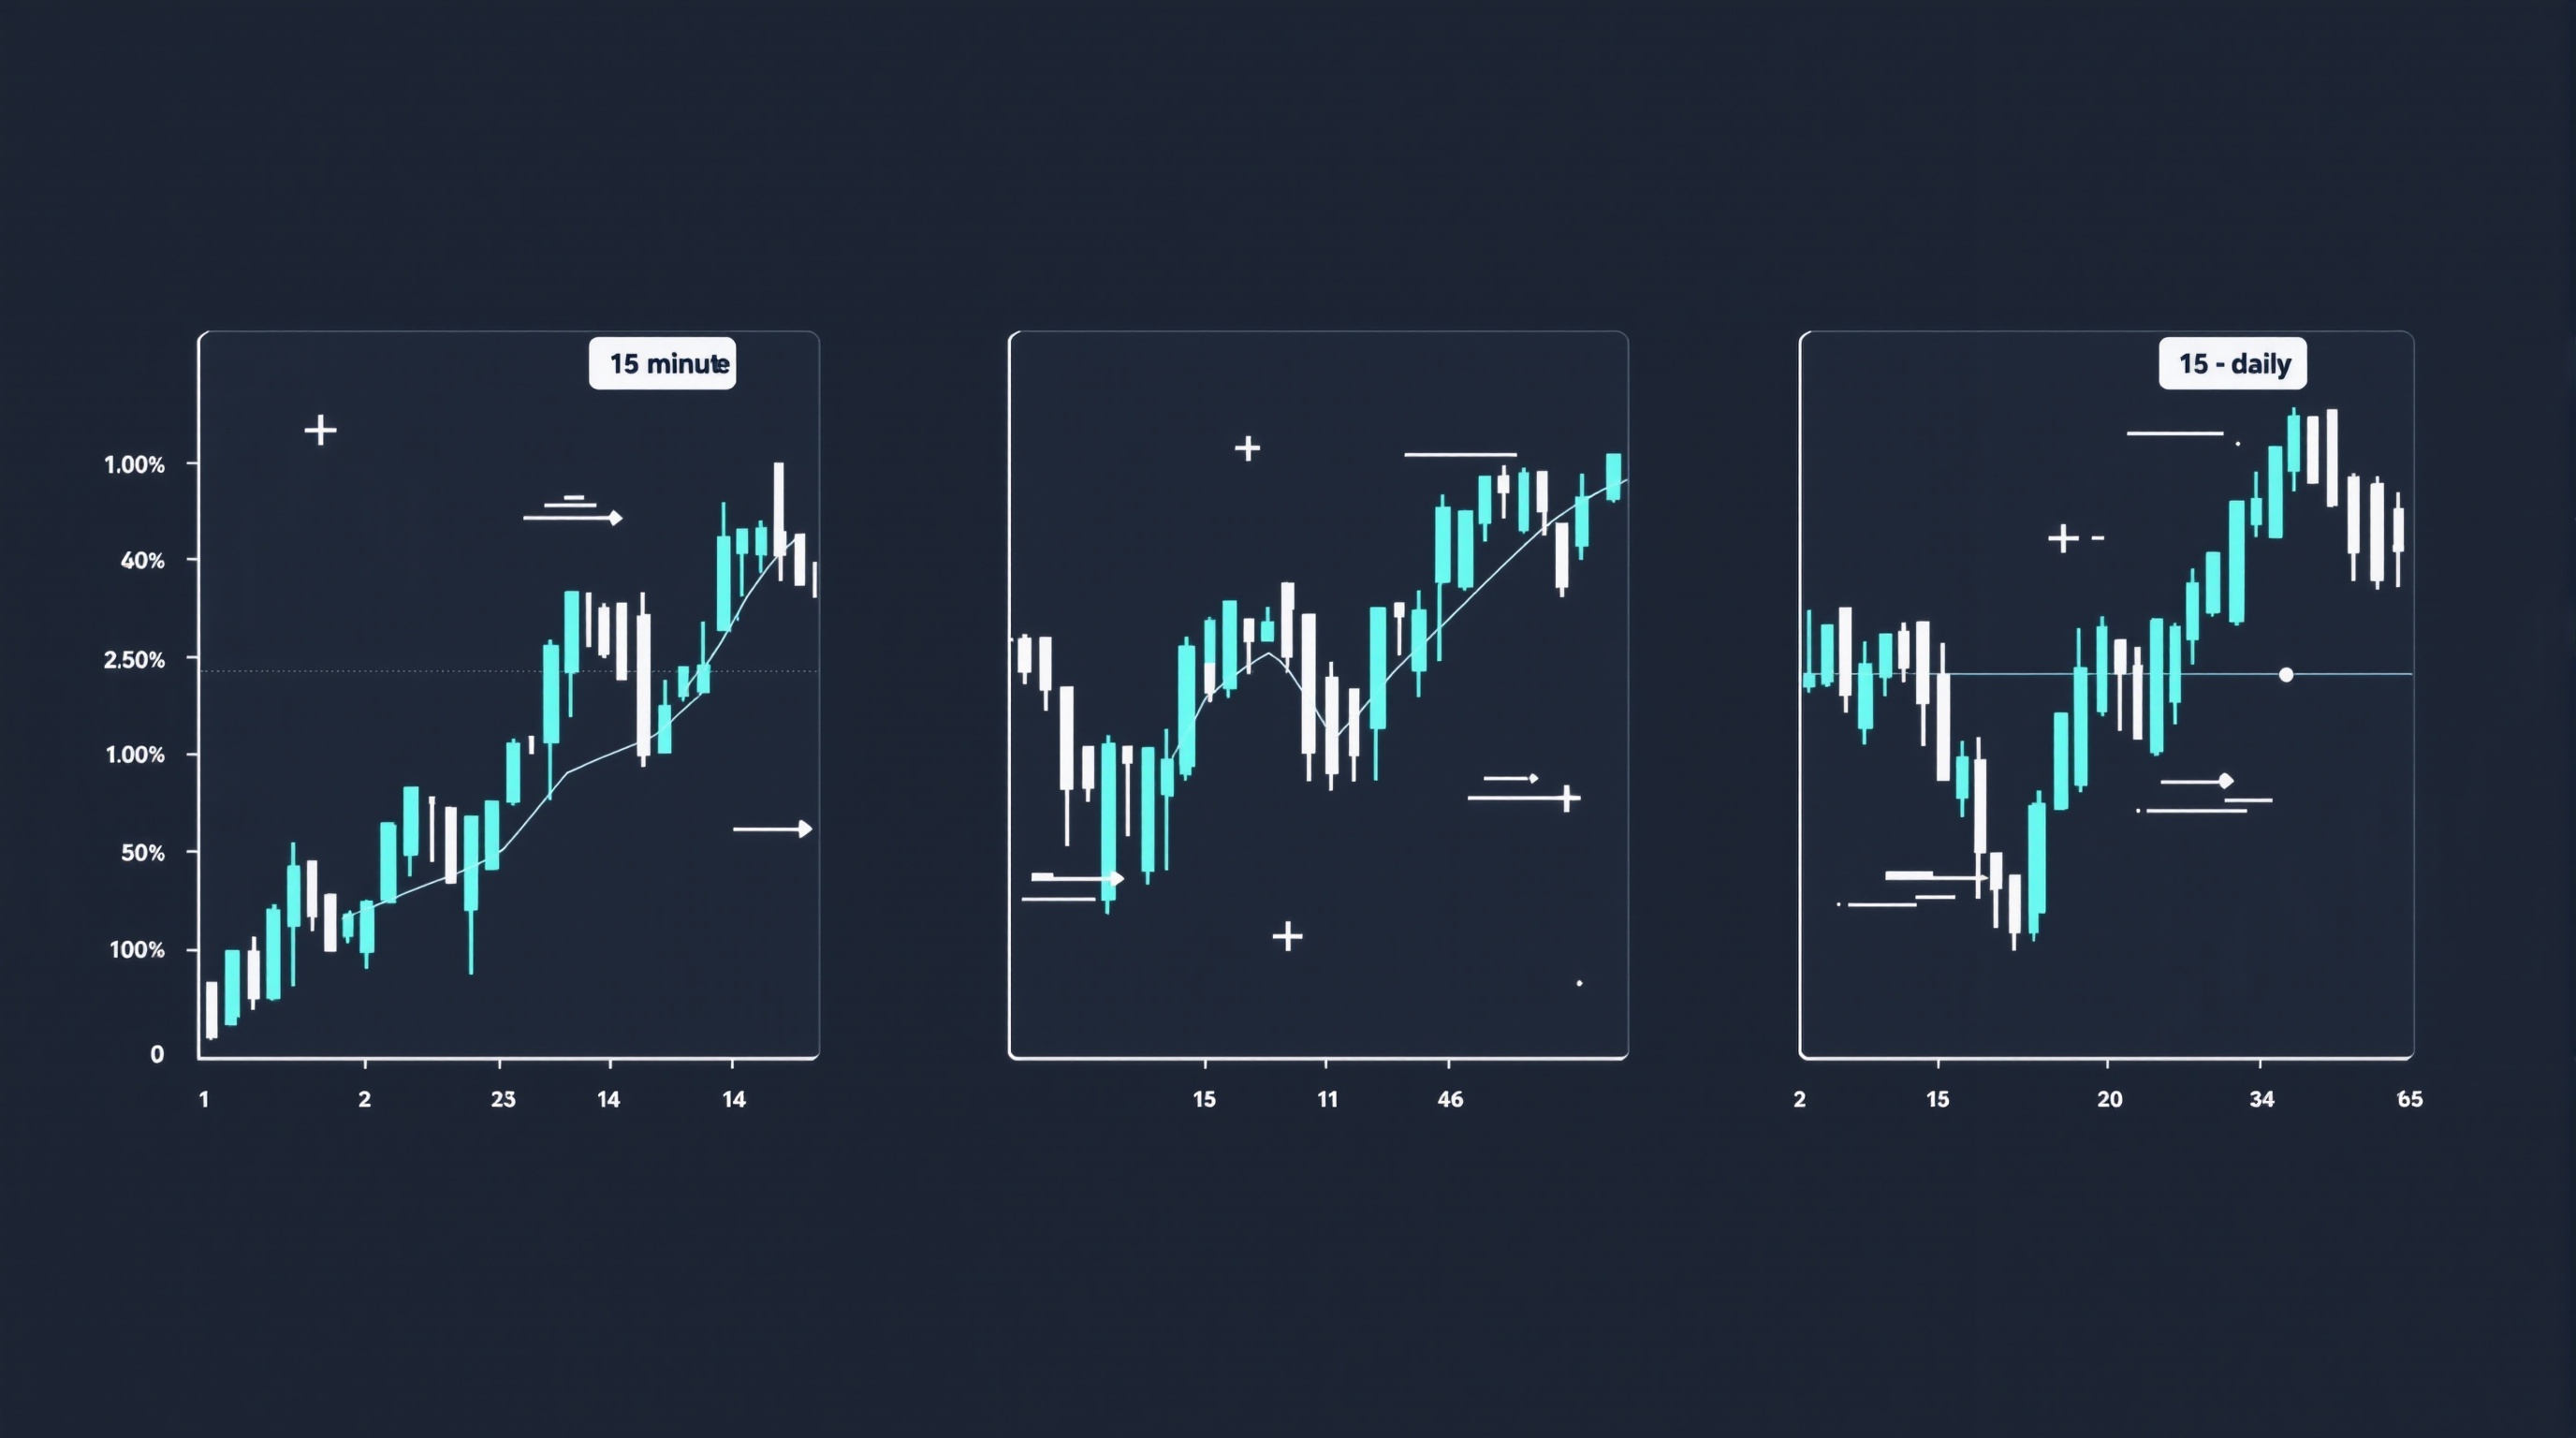
Introduction to Expert Advisors in MetaTrader
A practical guide to Expert Advisors in MetaTrader: what they are, how they work, and how to test one safely before risking real money.
 Intermediate
Scalping vs Day Trading vs Swing Trading Explained
Scalping vs day trading vs swing trading: how each style works, what it costs, and how to pick one that fits your life. Module 10 · Craft.
 Intermediate
News Trading Basics and the Economic Calendar
Learn news trading basics: how to read the economic calendar, manage spread widening and slippage, and build a sensible risk plan around releases.
 Intermediate
Handling Drawdown Without Blowing Up
Learn how to handle drawdown in forex trading without blowing your account, with position sizing rules, risk caps and a practical drawdown workflow.
Module 11 · Market structure
 Pro
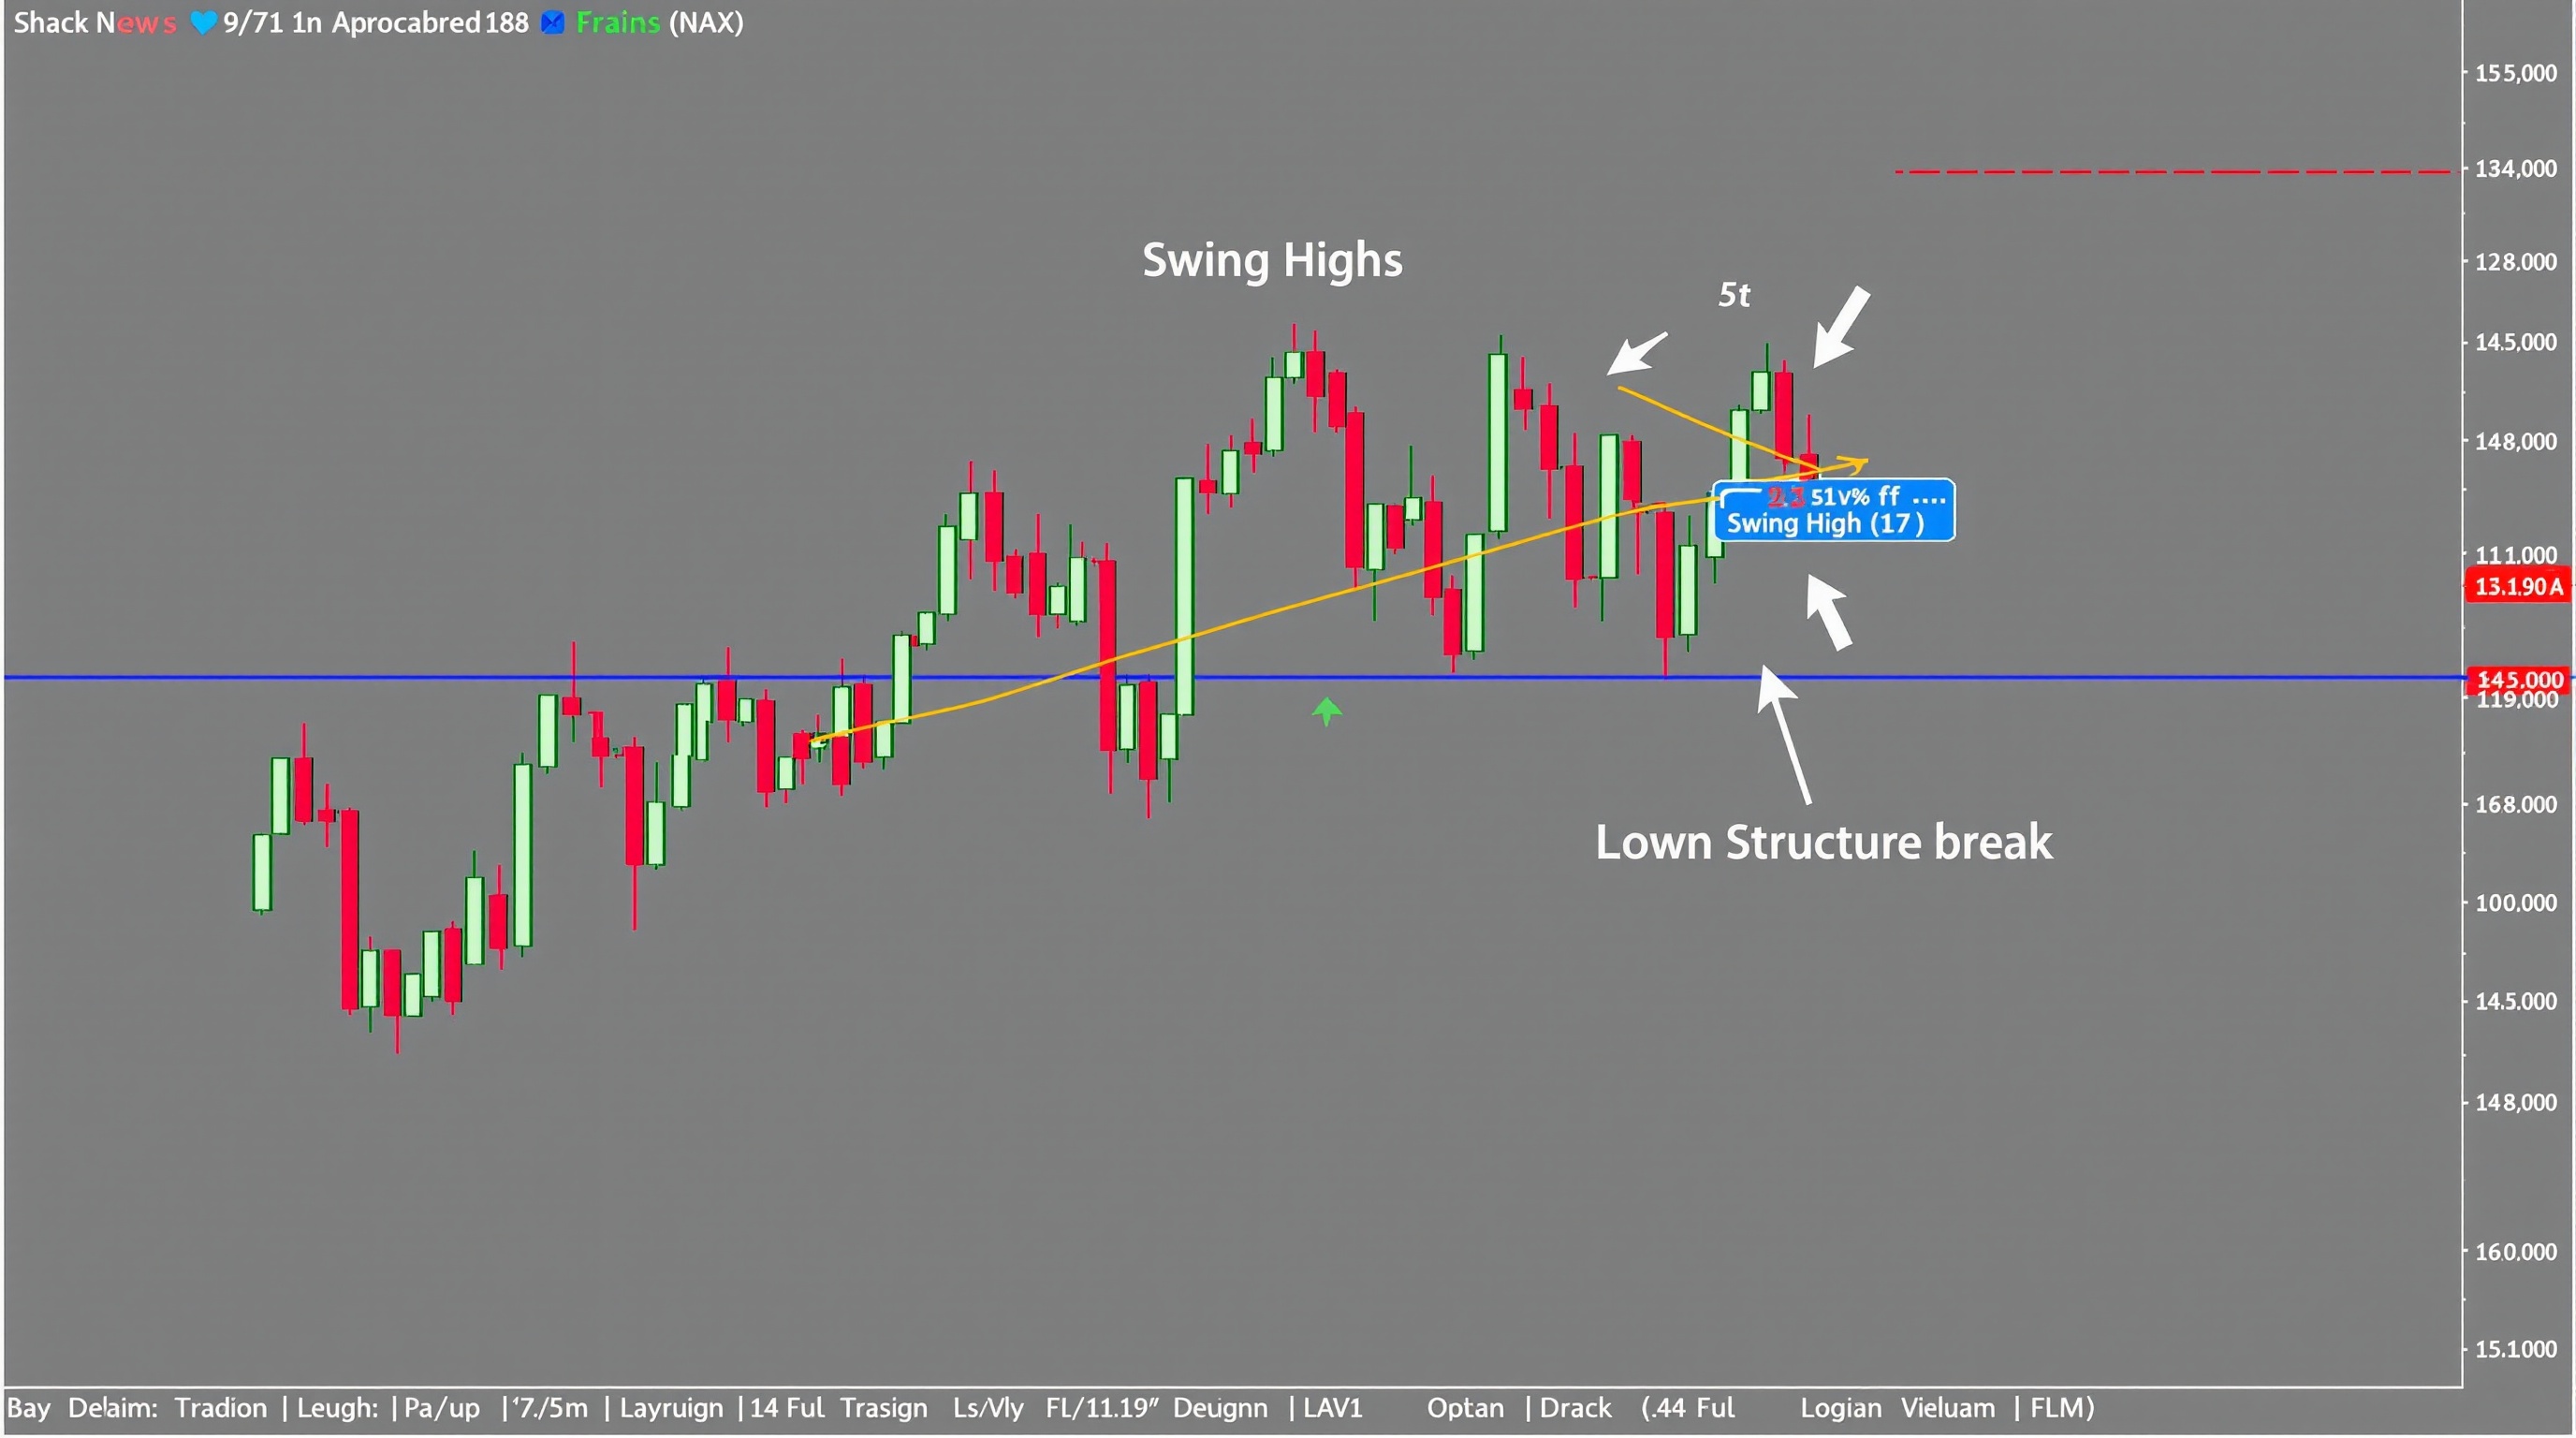
ProReading Market Structure: Highs, Lows and Trends
Learn to read market structure — swing highs, swing lows and trend shifts — with a practical, no-hype workflow for FX traders.
 Pro
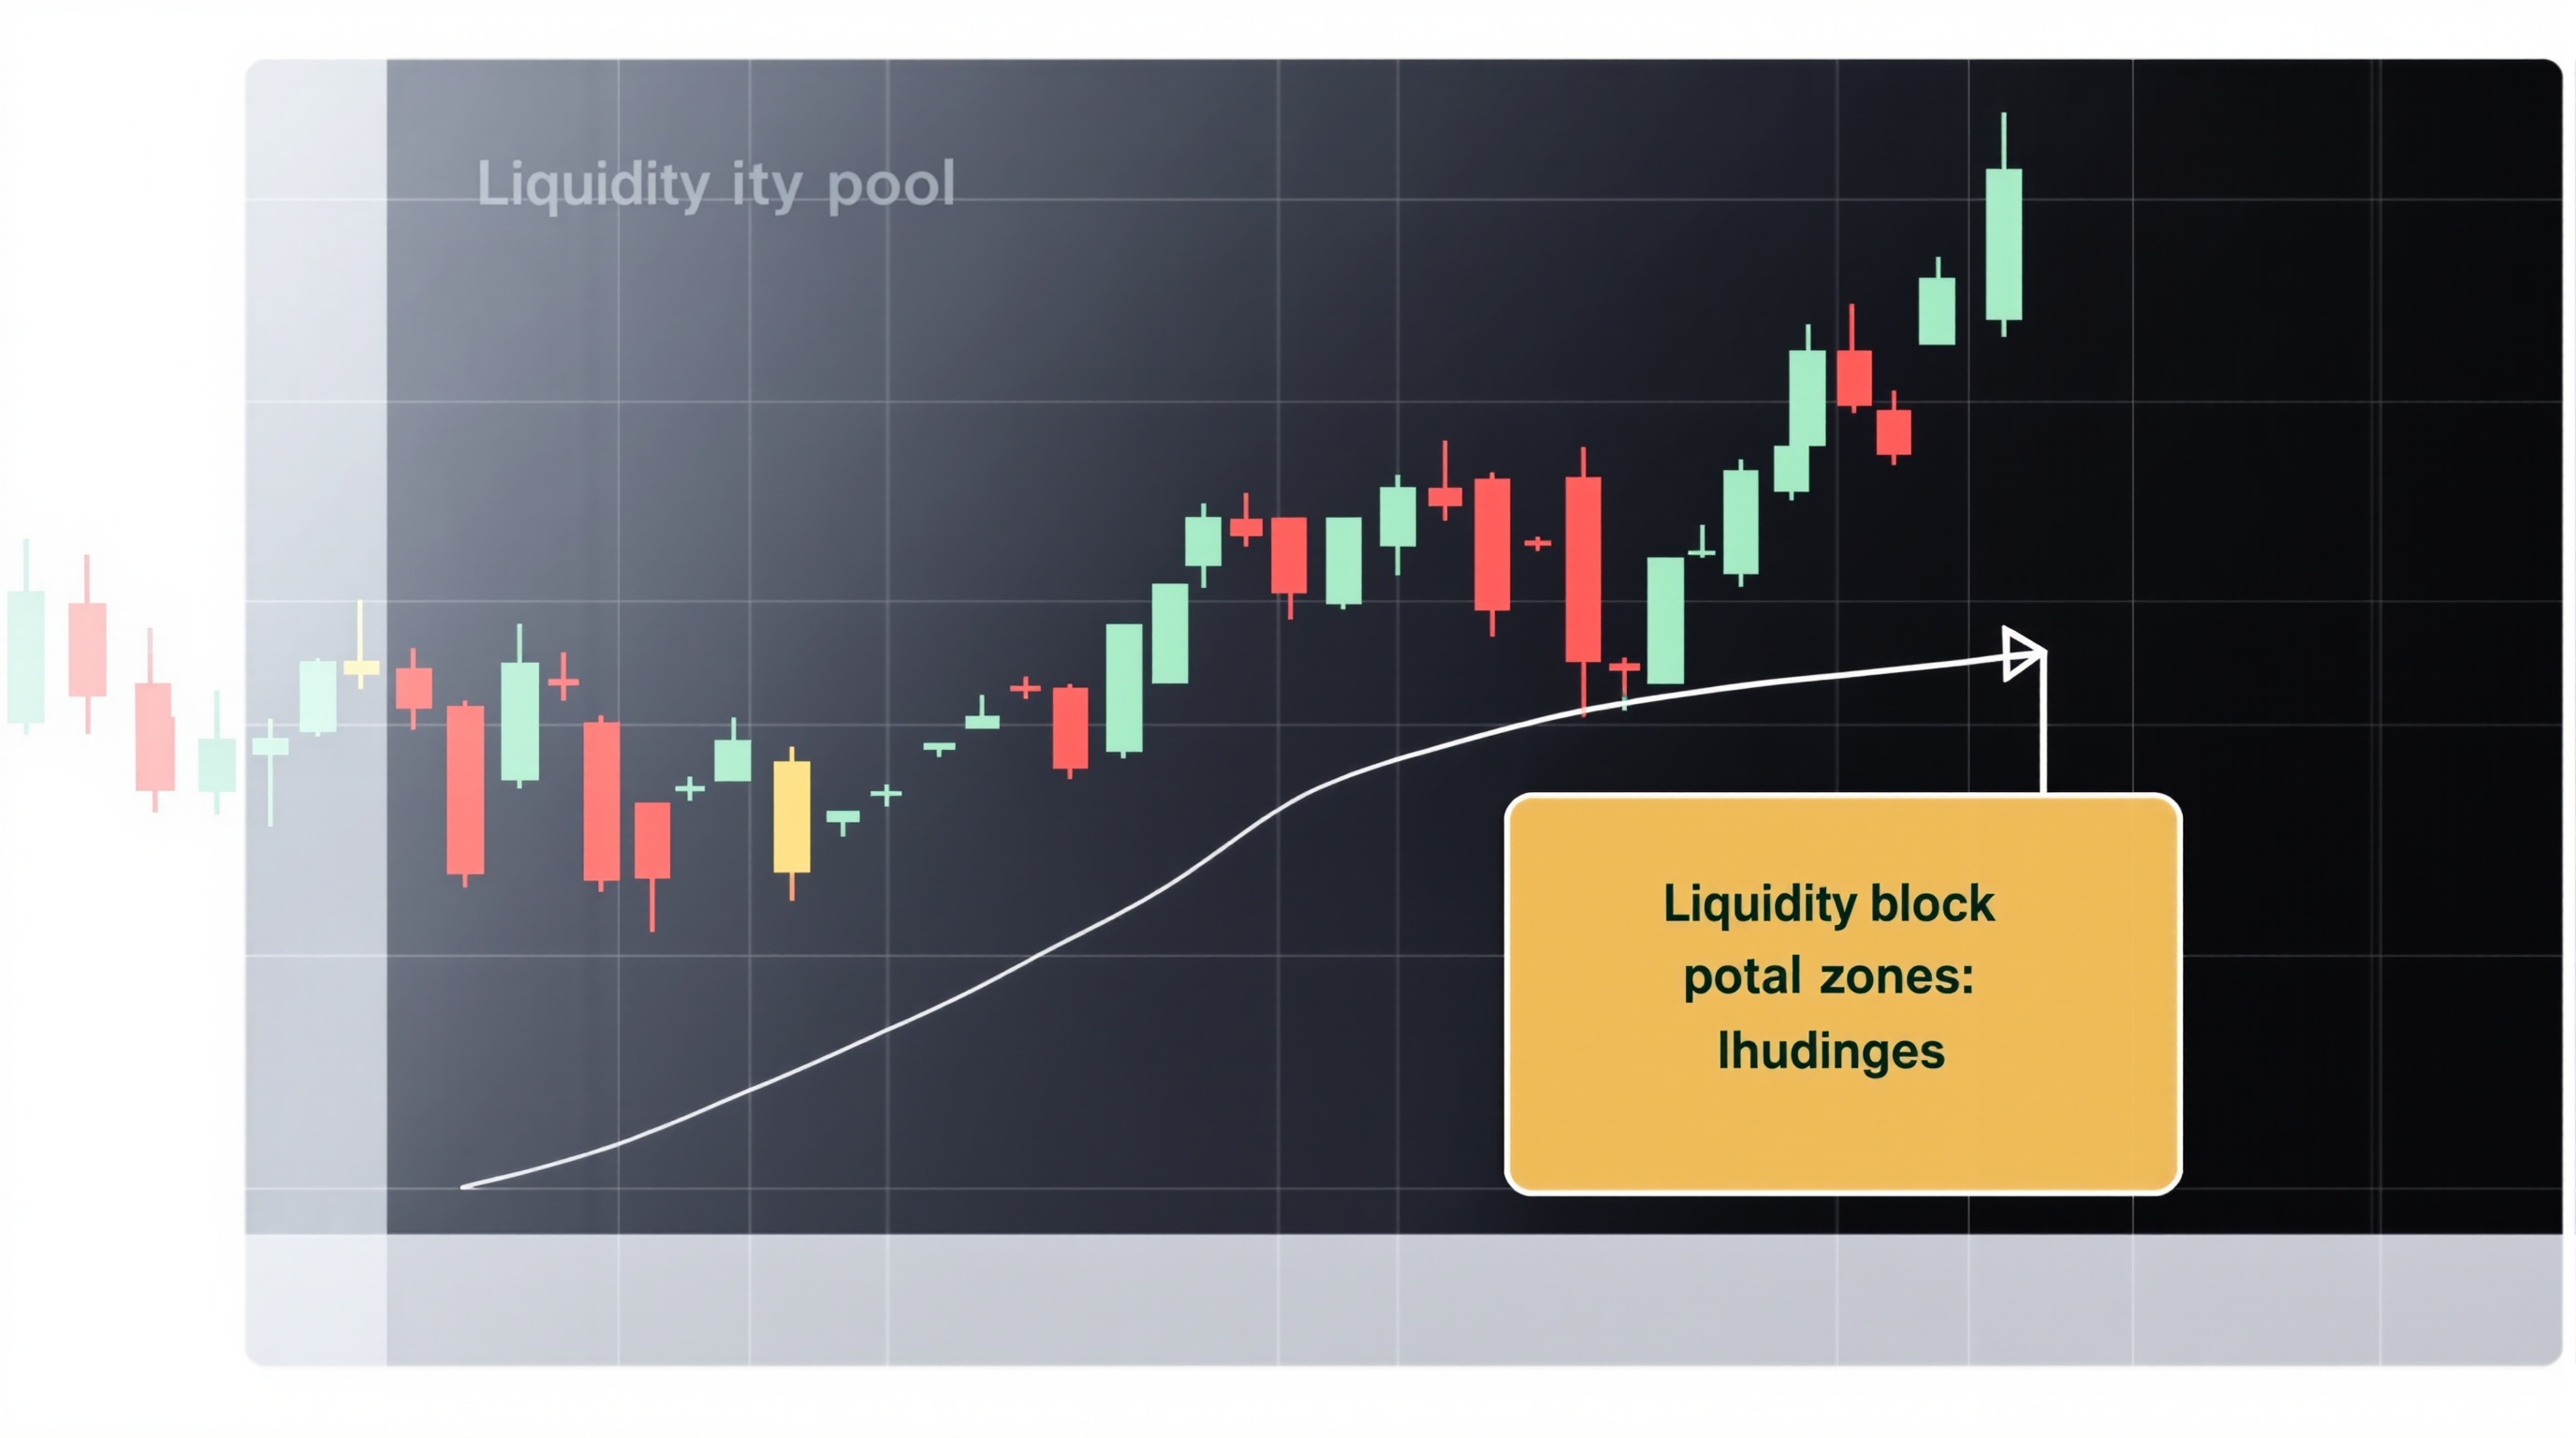
ProLiquidity, Order Blocks & Stop Hunts (Module 11)
Learn how liquidity, order blocks and stop hunts really work in FX markets, and how to trade market structure without chasing false breaks.
 Pro
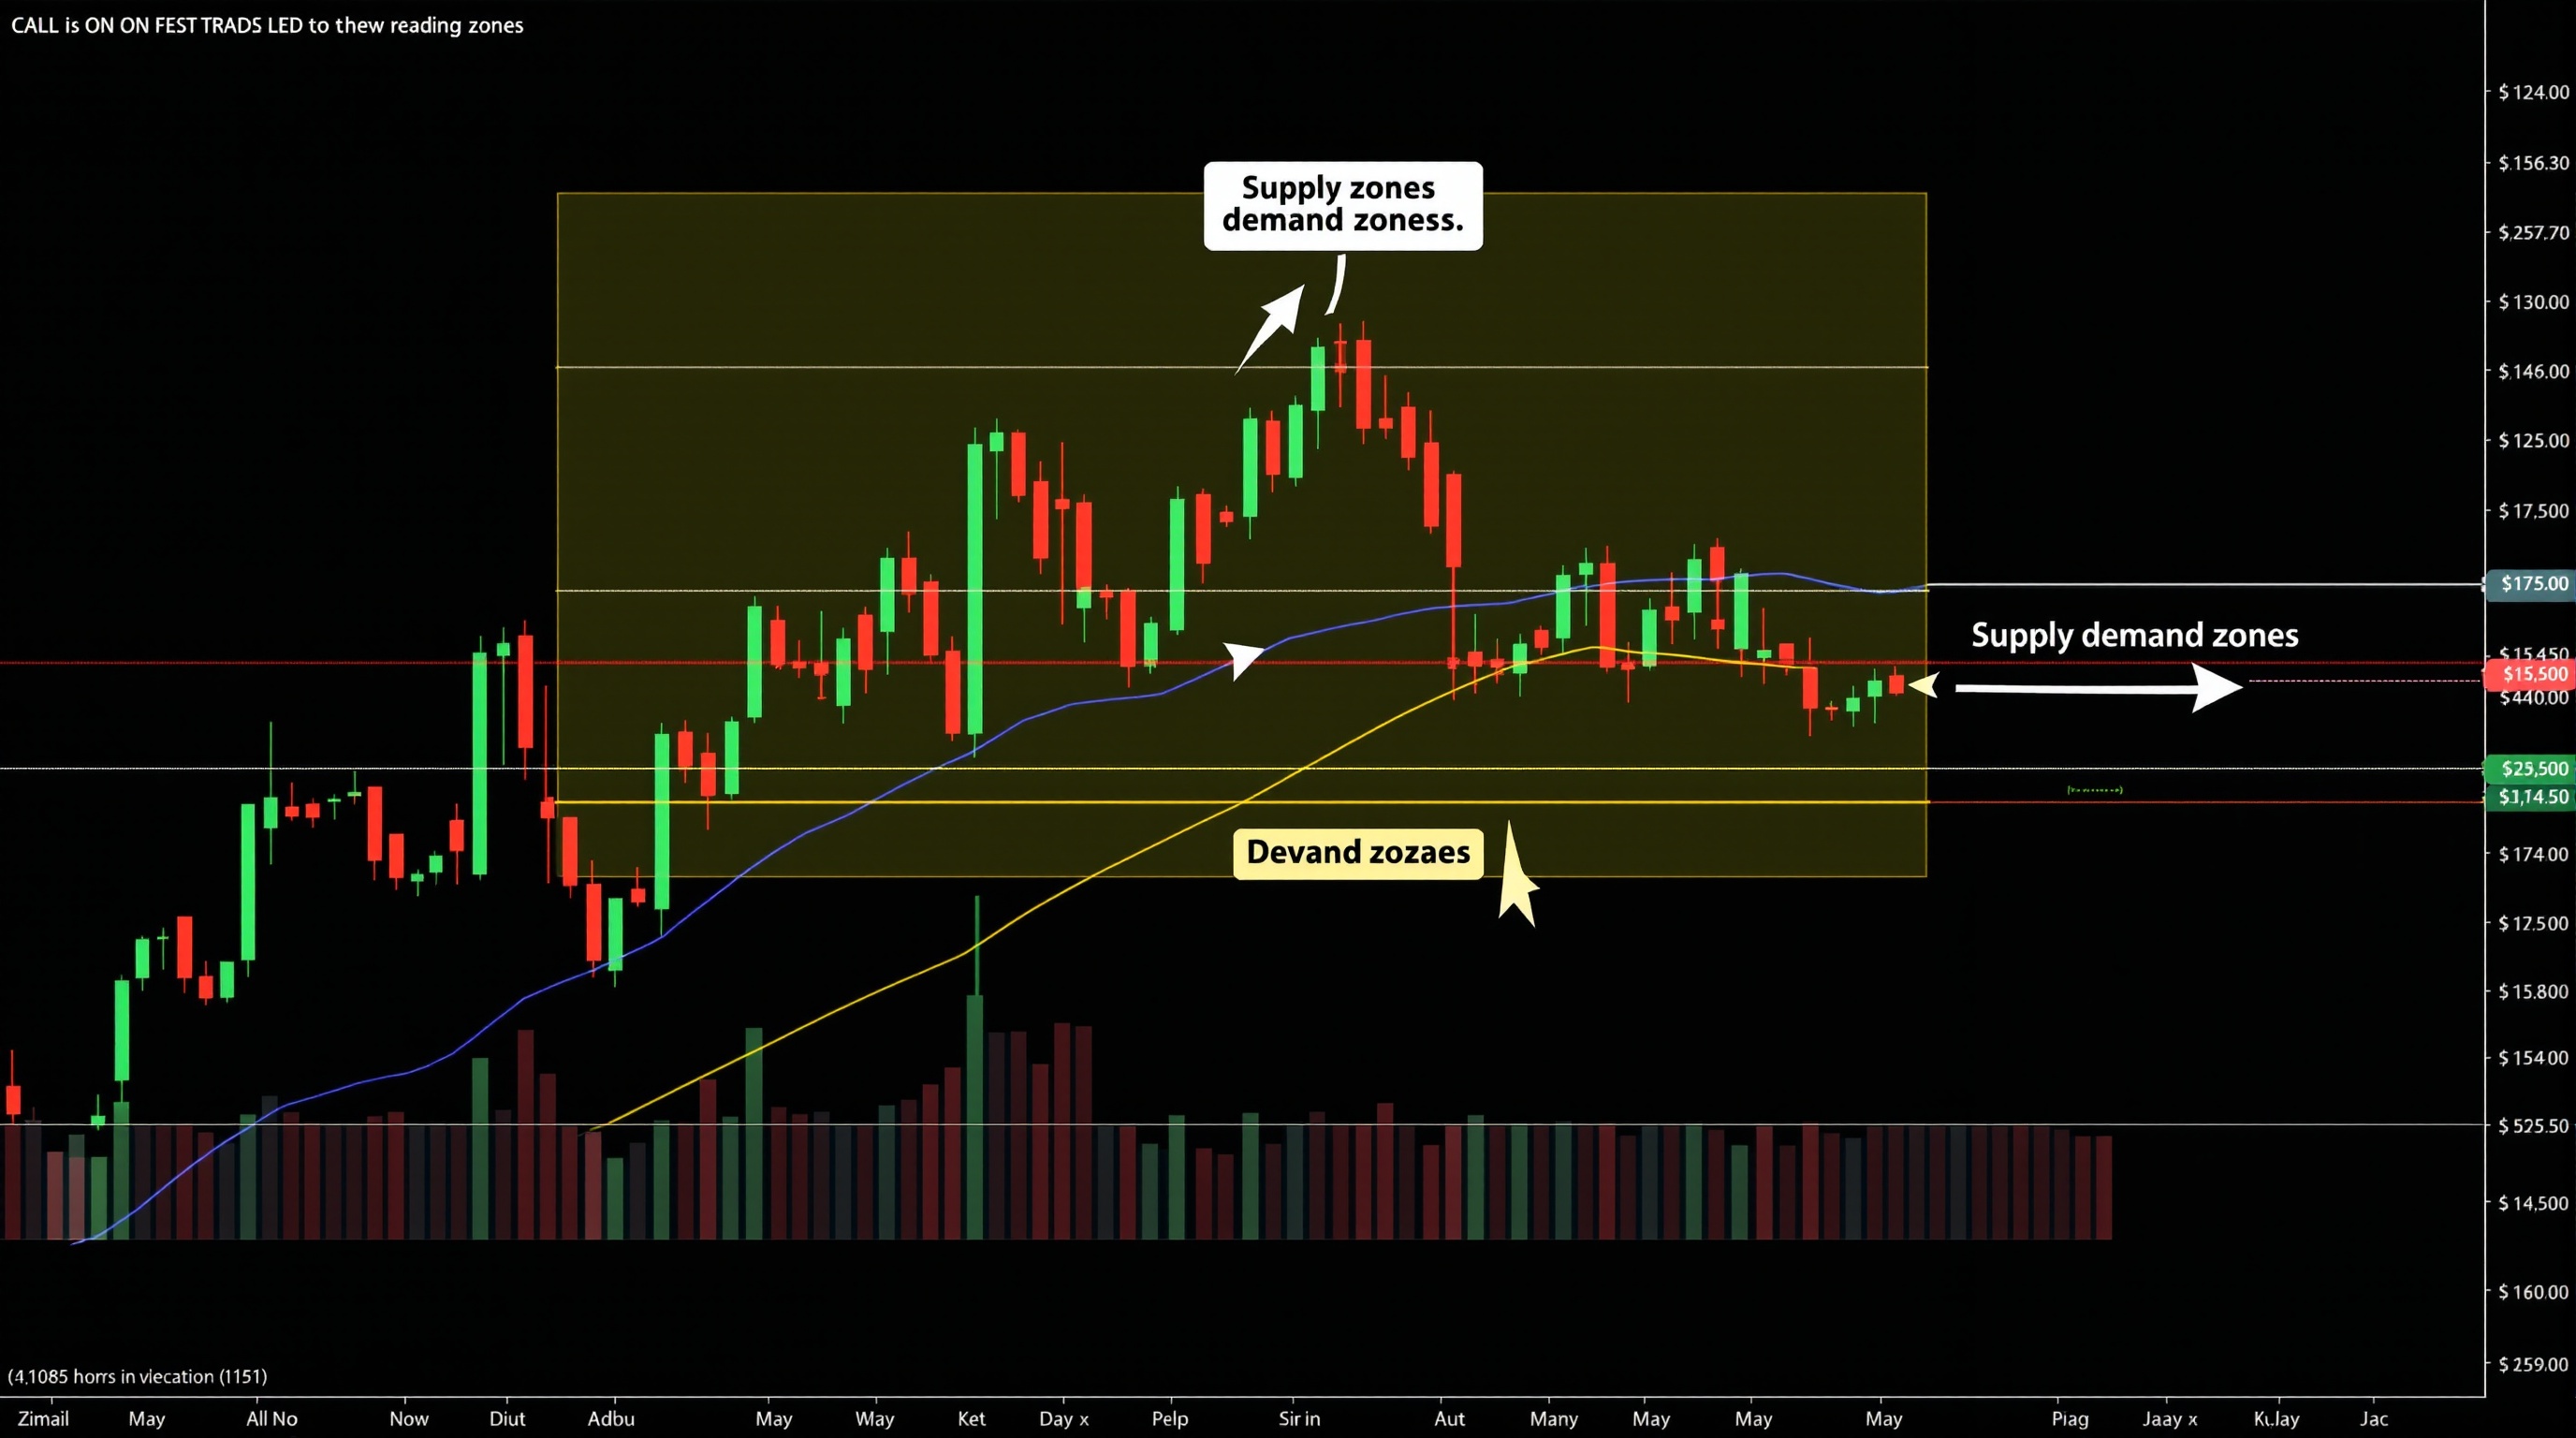
ProSupply and Demand Zones in Practice (Module 11)
Supply and demand zones explained for pro-level traders: how to draw them, grade them, and trade them with proper risk control. Module 11.
 Pro
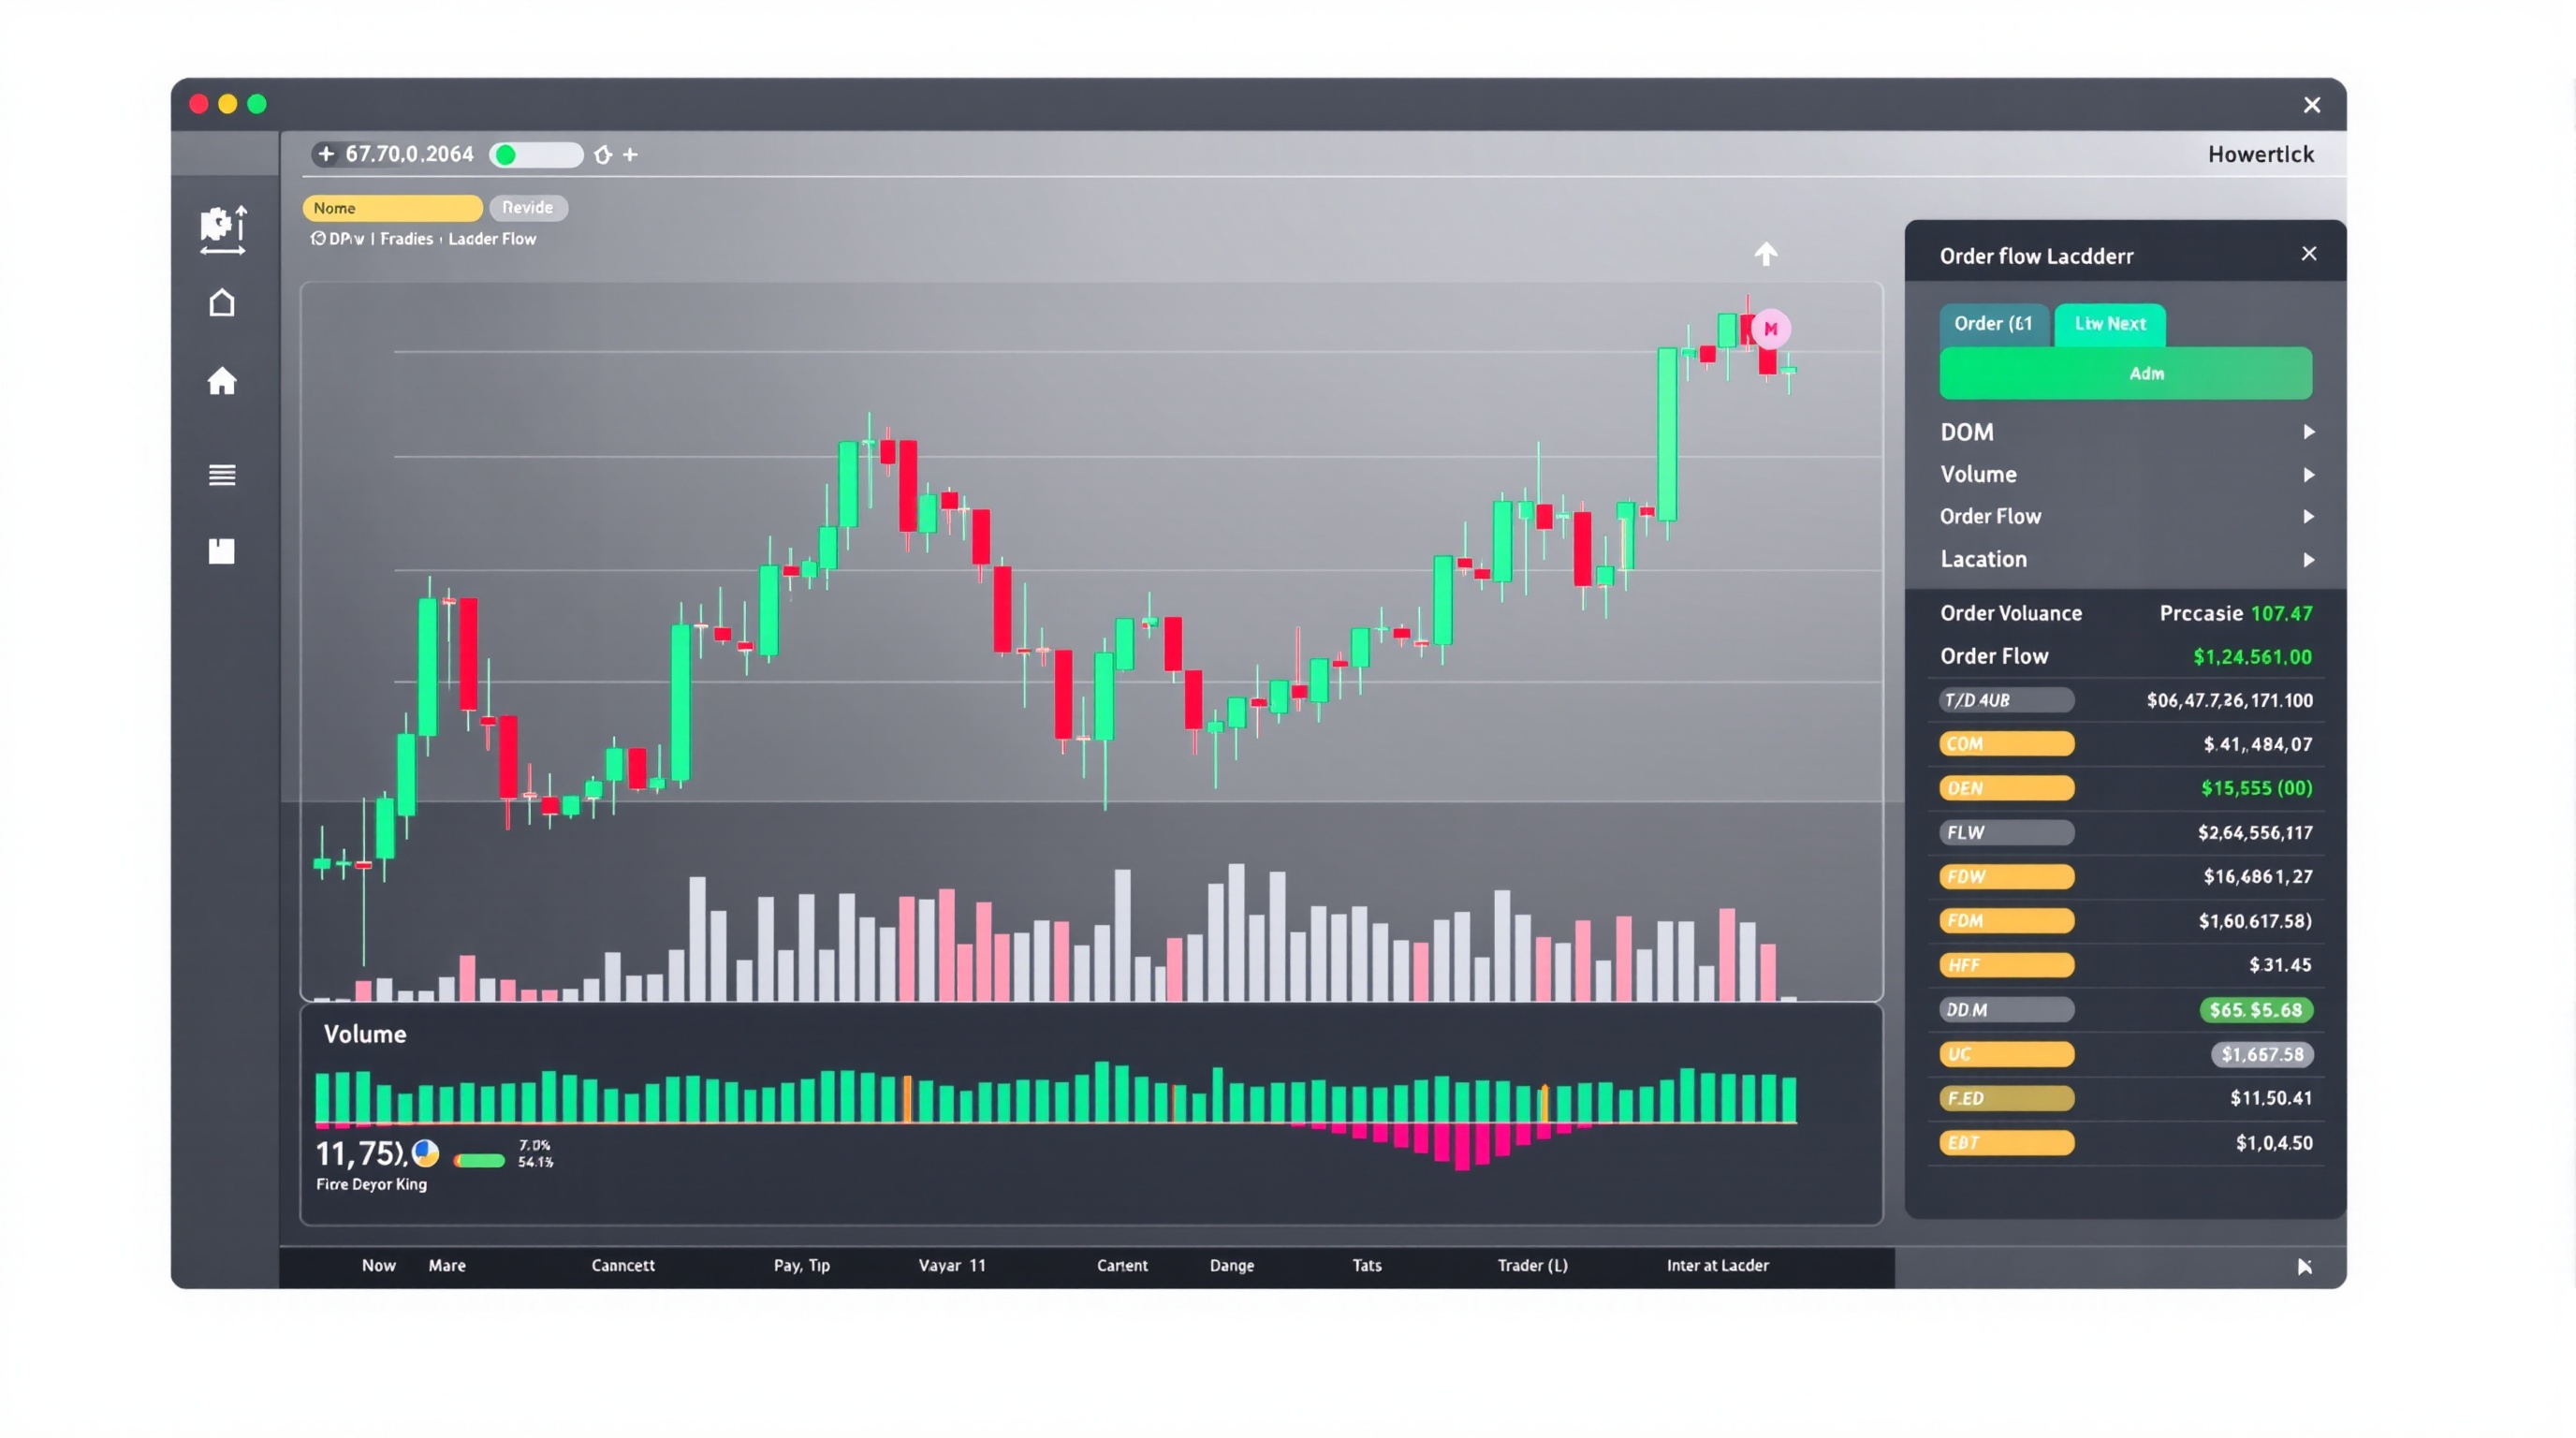
ProVolume & Order Flow Basics for Retail Traders
Learn volume and order flow basics for retail traders — what retail volume really shows, how to read it, and its limits. Module 11, PipTax FX School.
 Pro
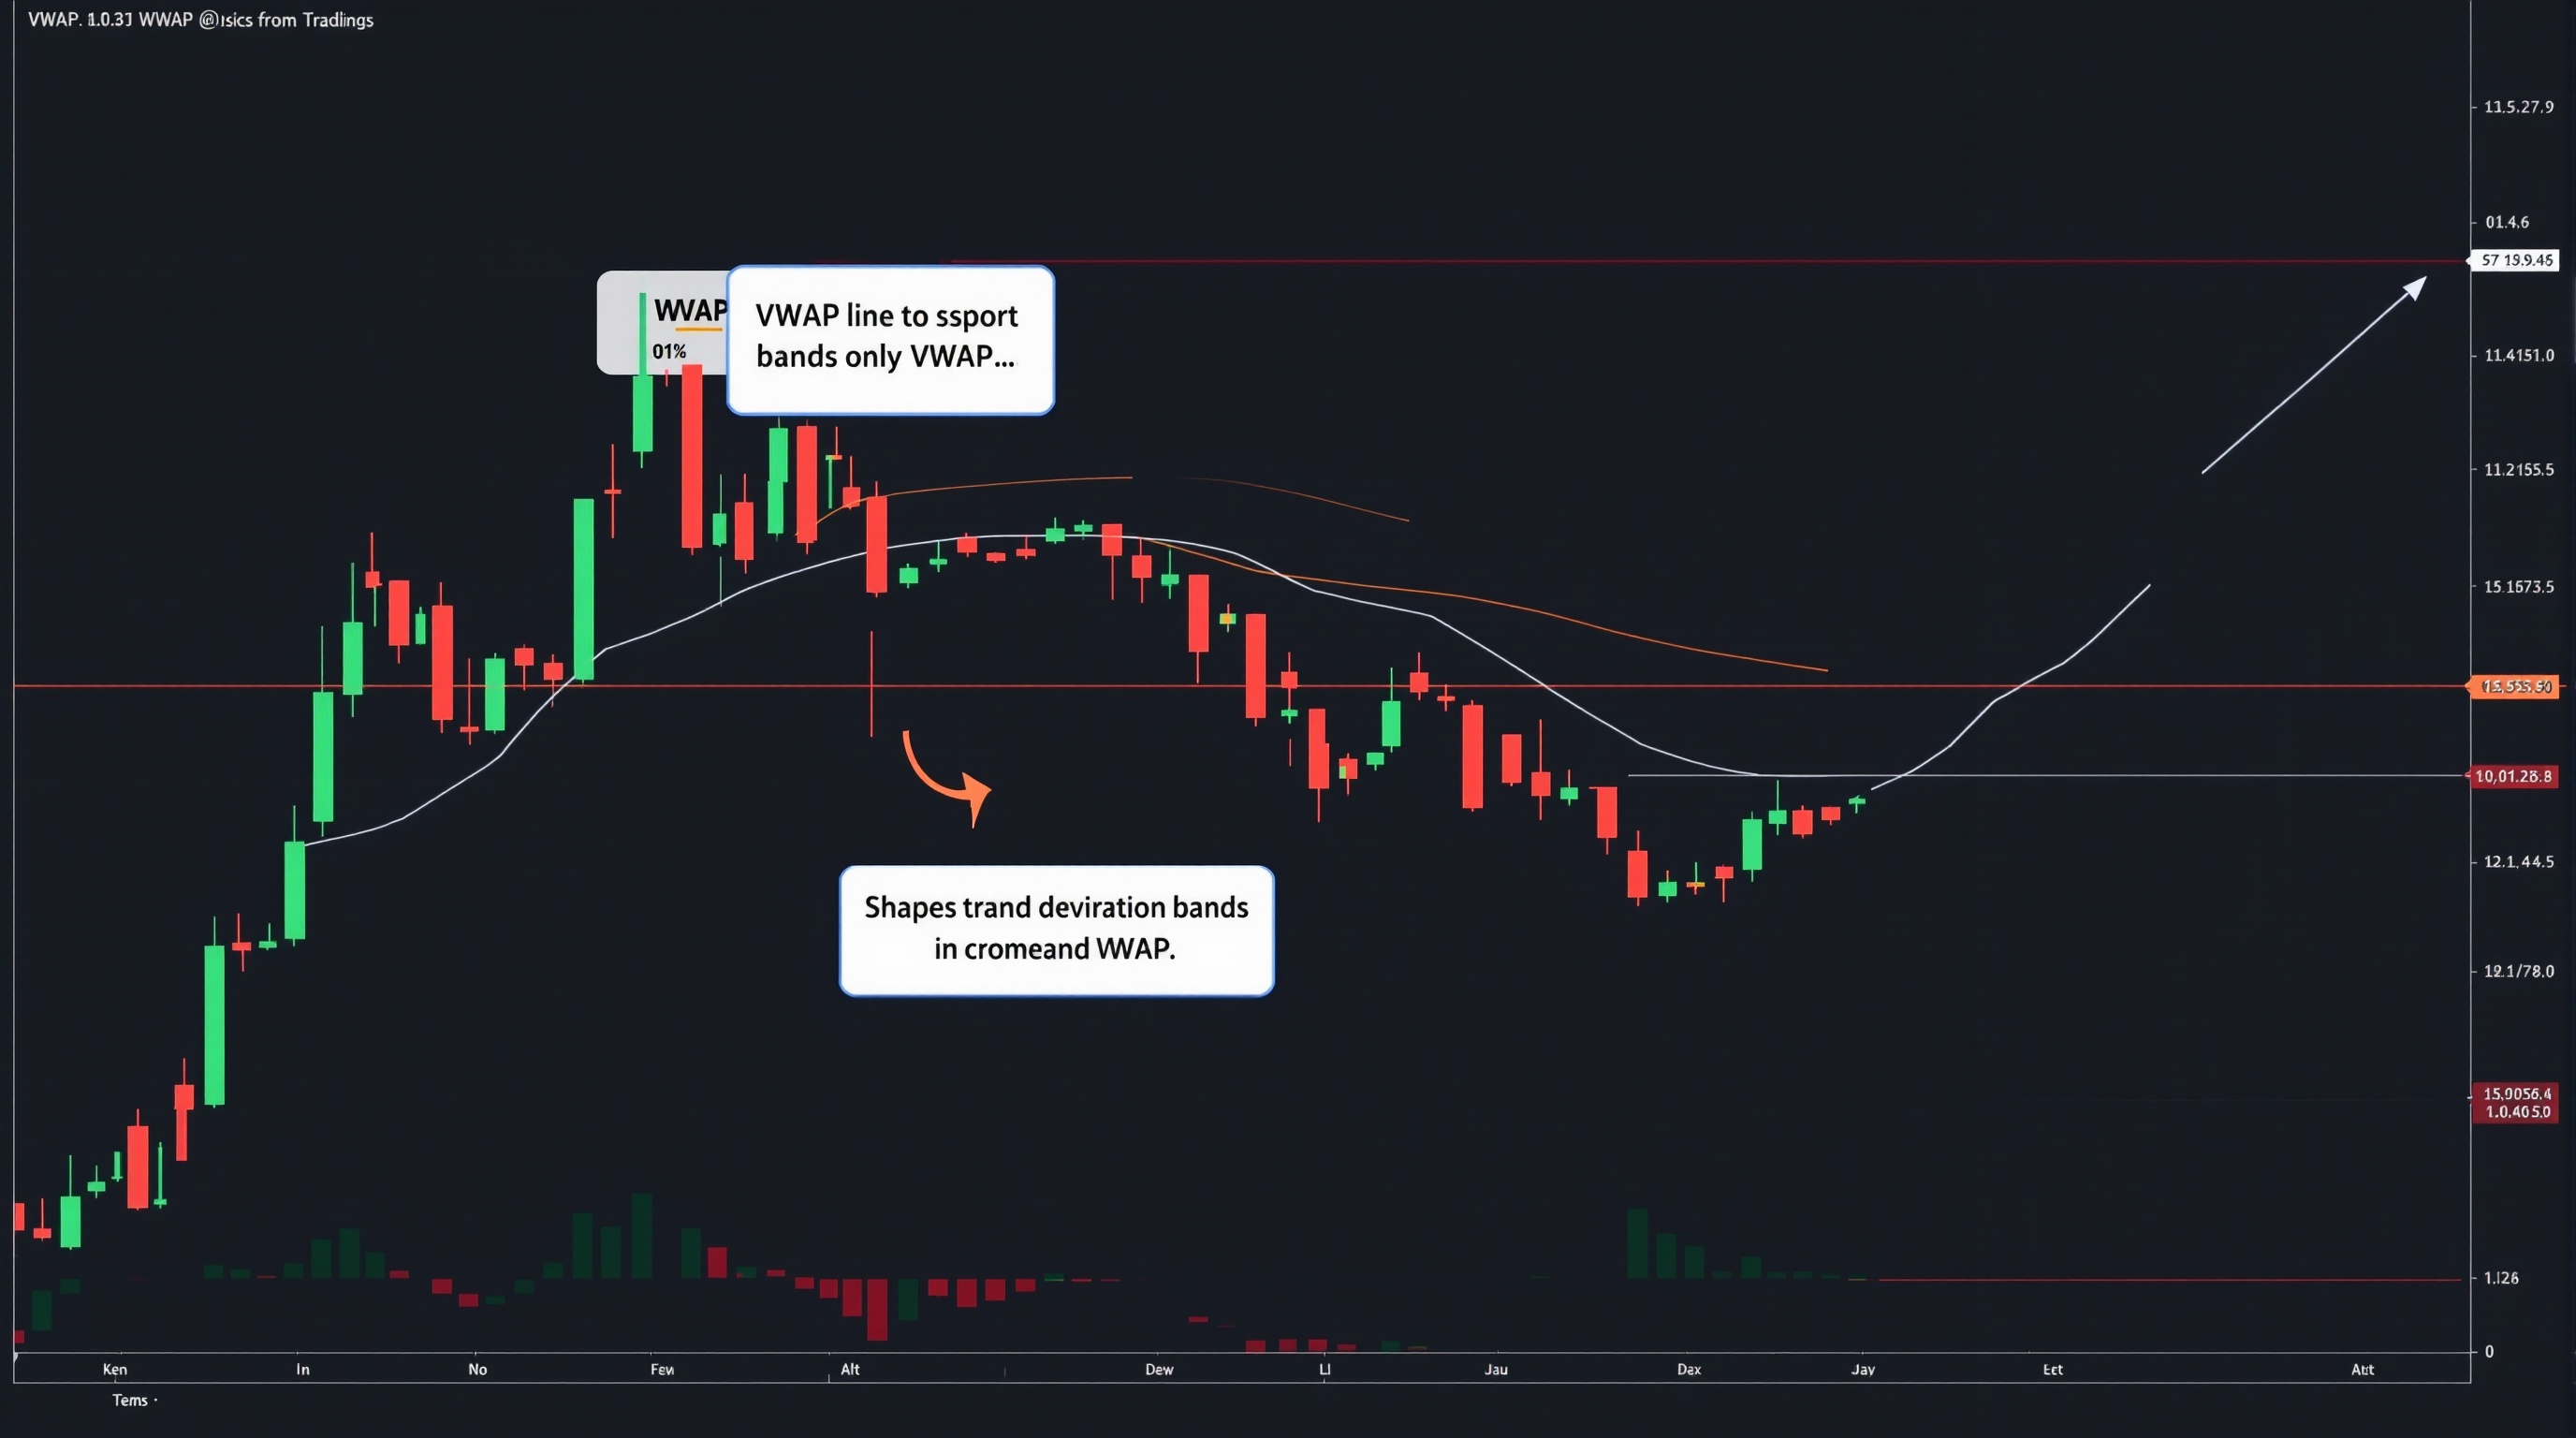
ProUsing VWAP as a Professional Reference | FX School
Using VWAP as a professional reference in FX: how it's built, its limits on retail data, and a practical workflow to apply it properly.
Module 12 · Execution
 Pro
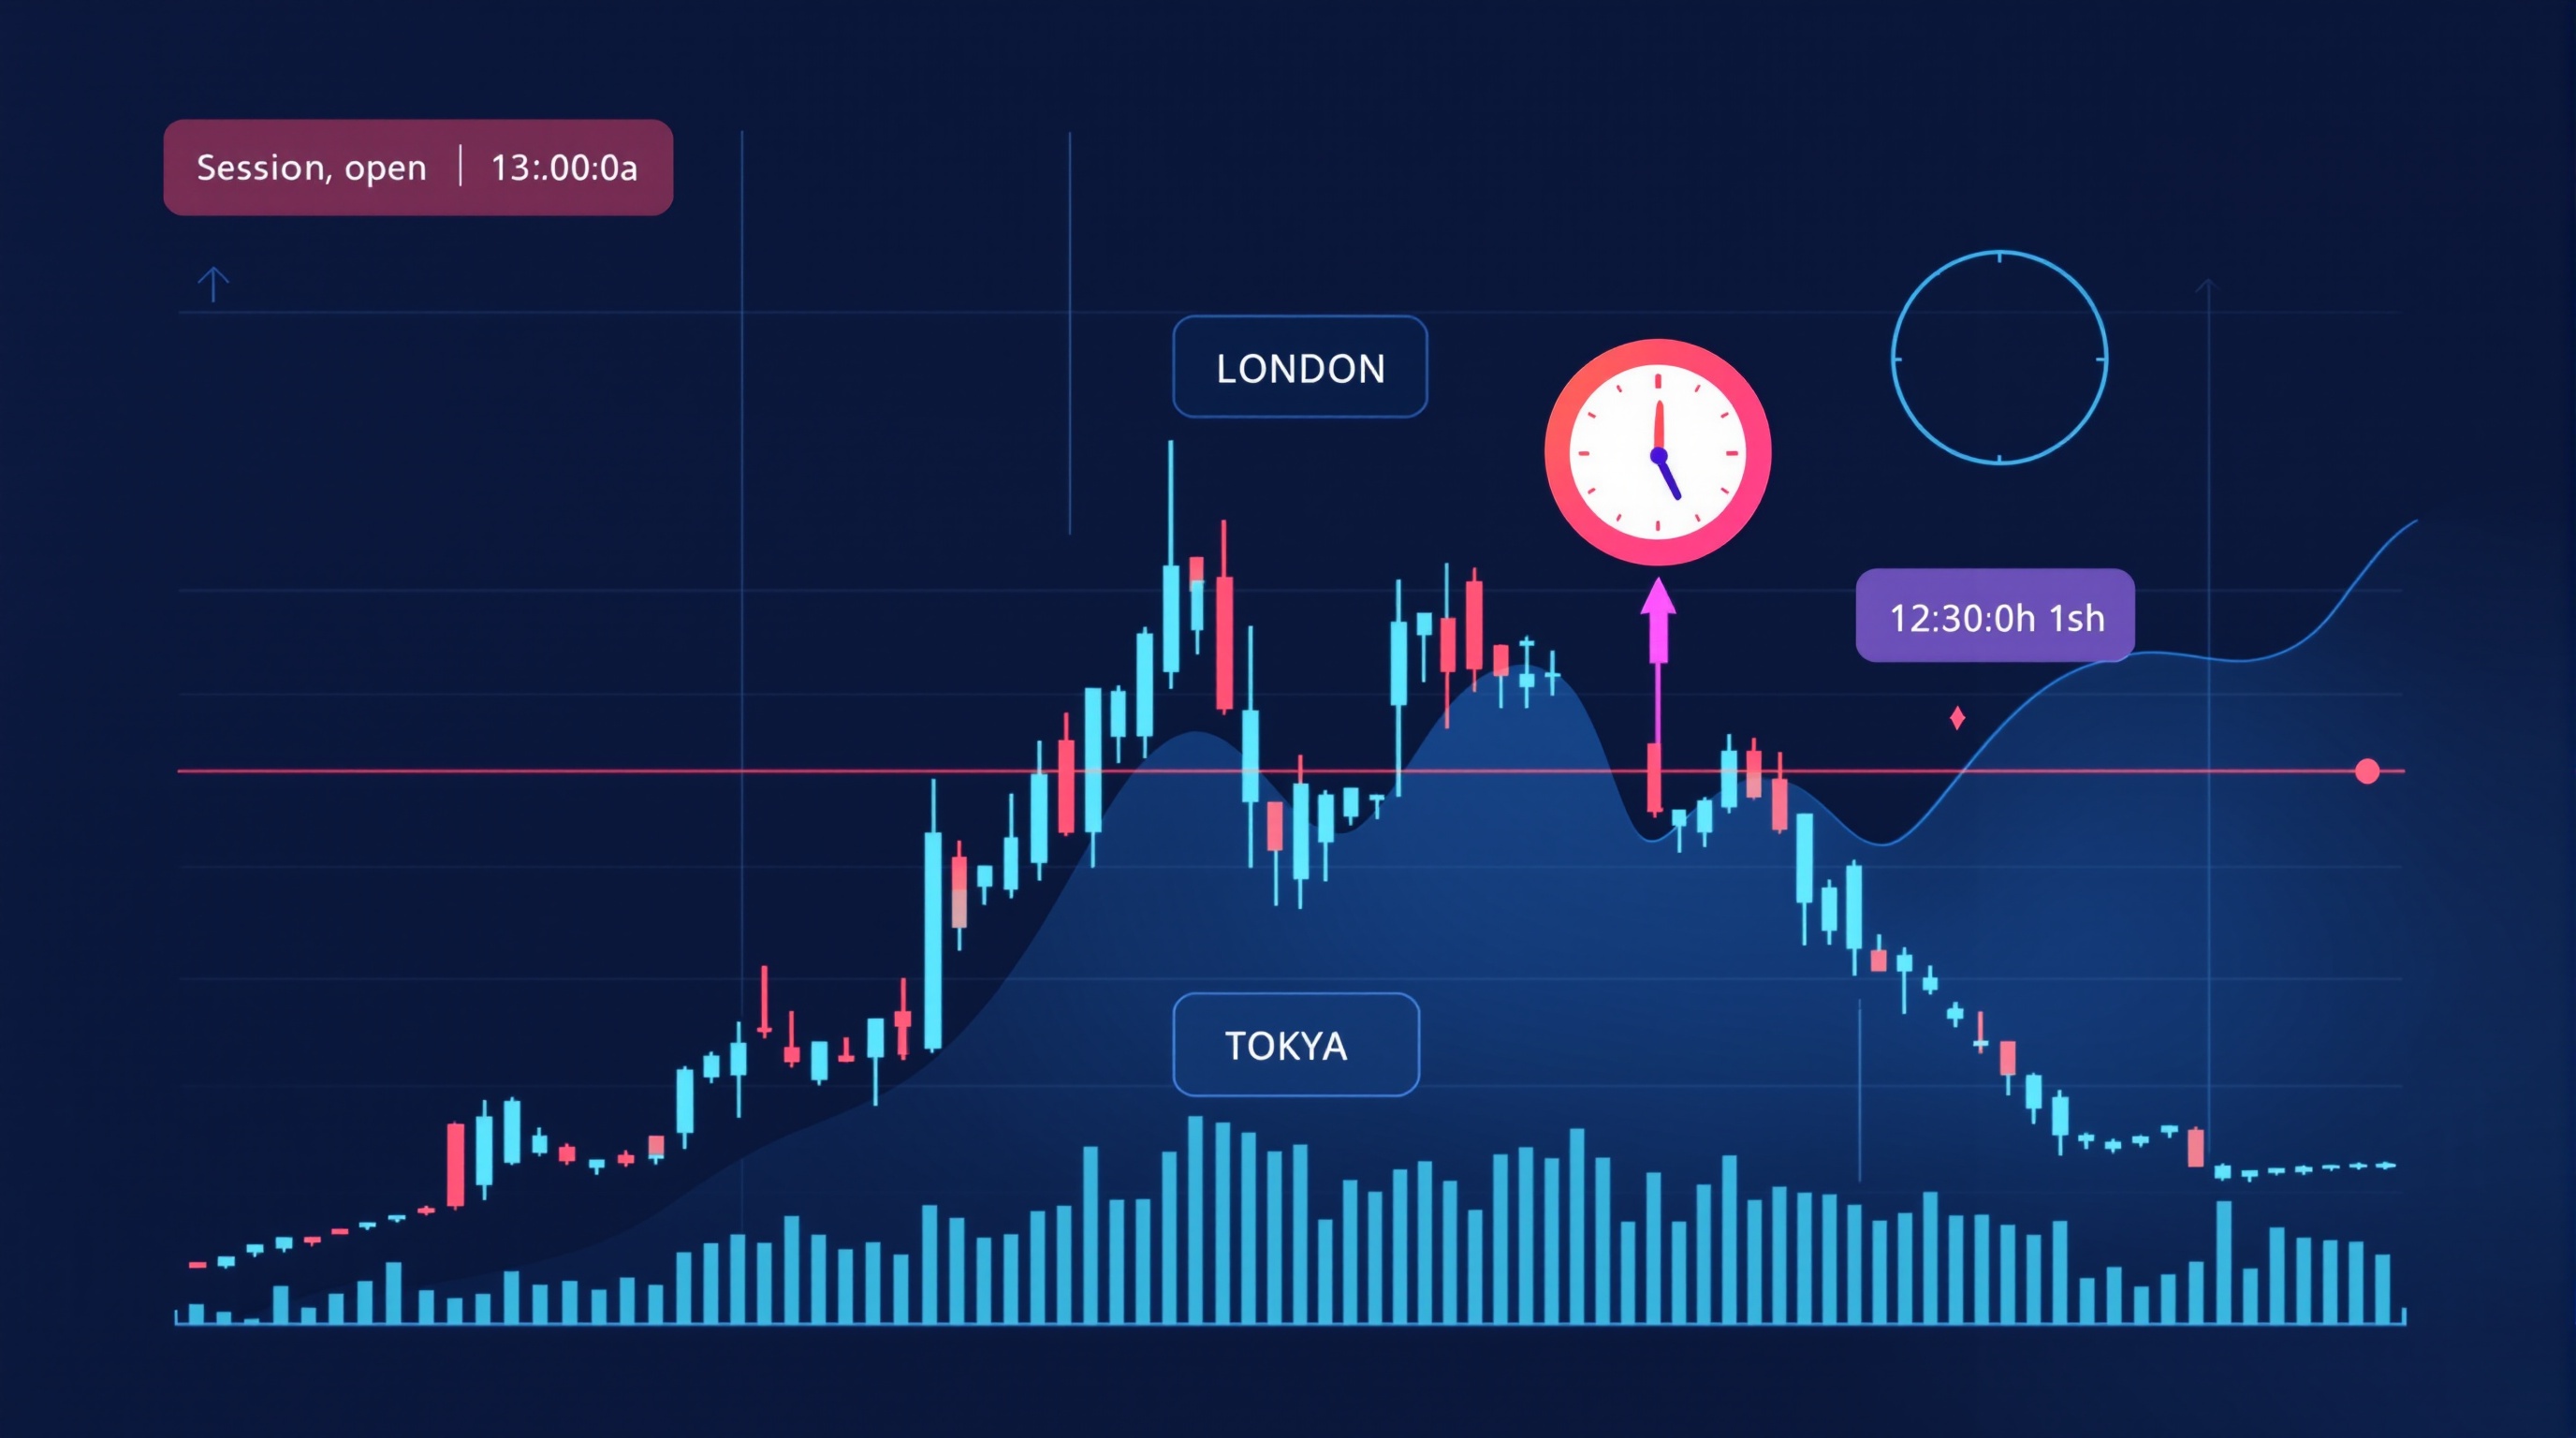
ProTrading the London Open: A Pro Execution Playbook
Trading the London open explained: pro-level execution tactics, spread traps, and a checklist for FX traders. Module 12 of the PipTax FX Trading School.
 Pro
ProTrading News and NFP Safely: A Pro Execution Guide
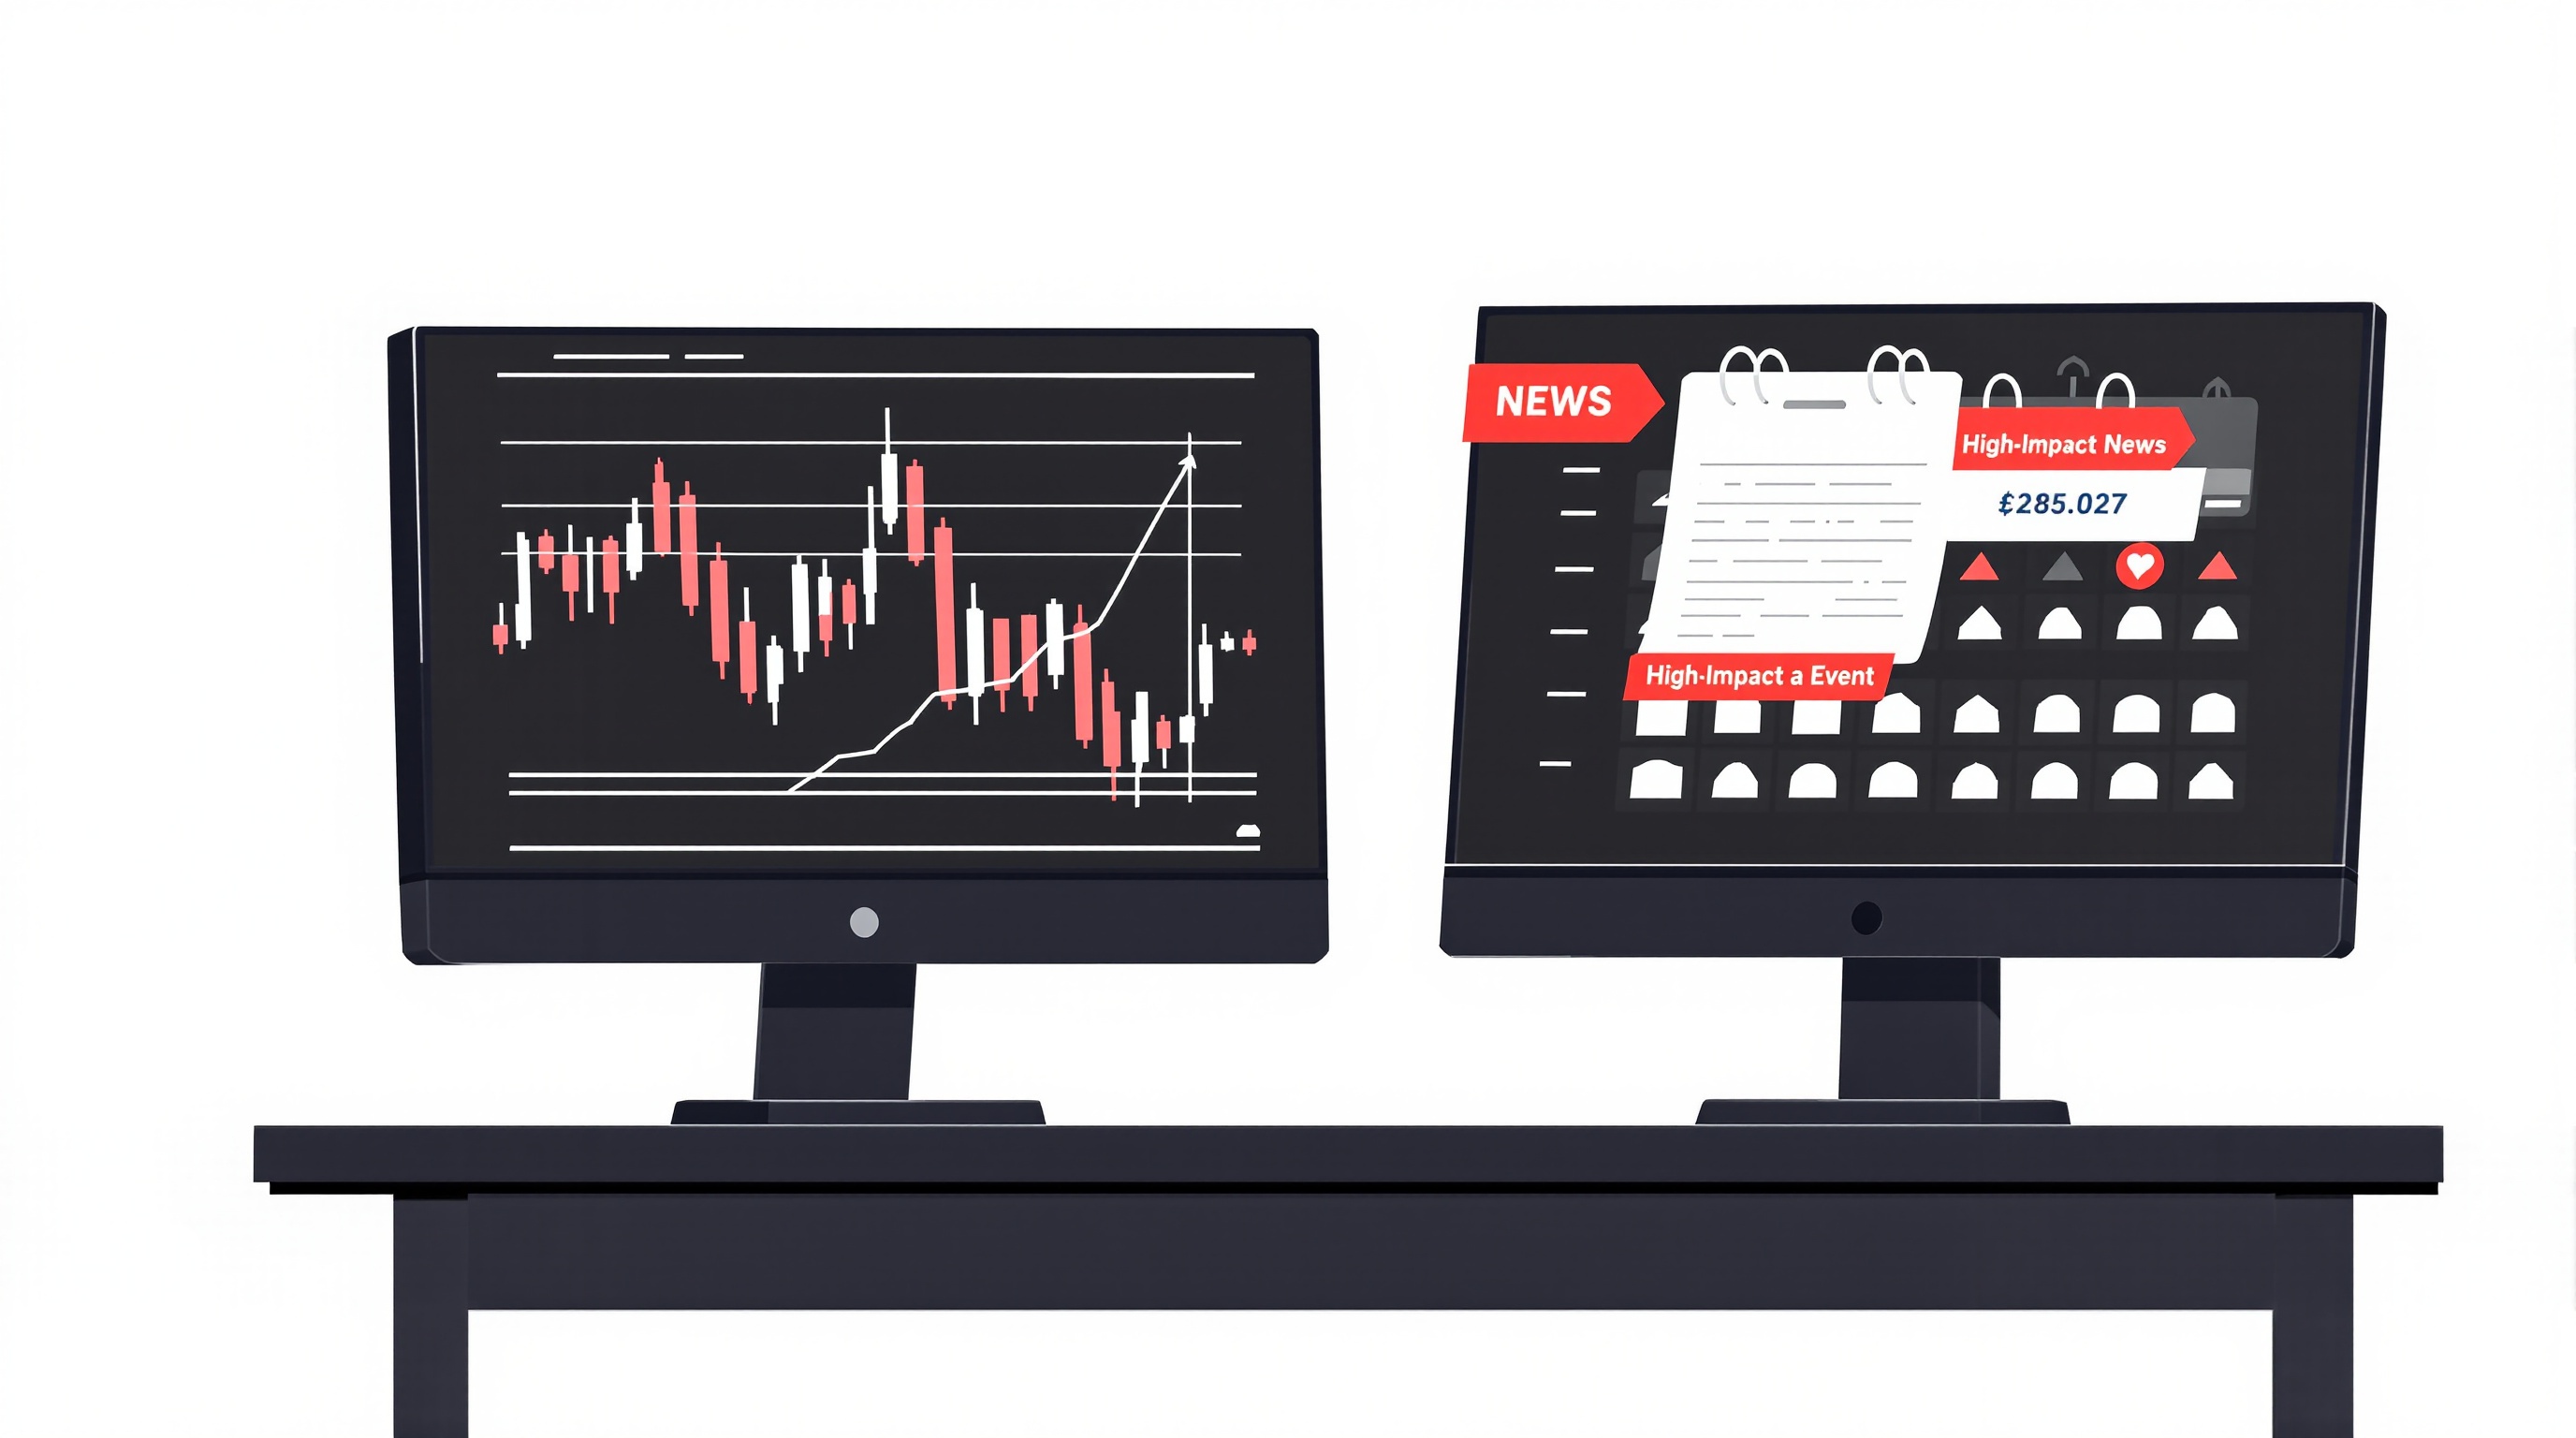
Learn how trading news and NFP safely works in practice — spreads, slippage, order types, and a pre-release checklist for pro execution.
 Pro
ProSlippage & Execution Quality: Pepperstone vs IG
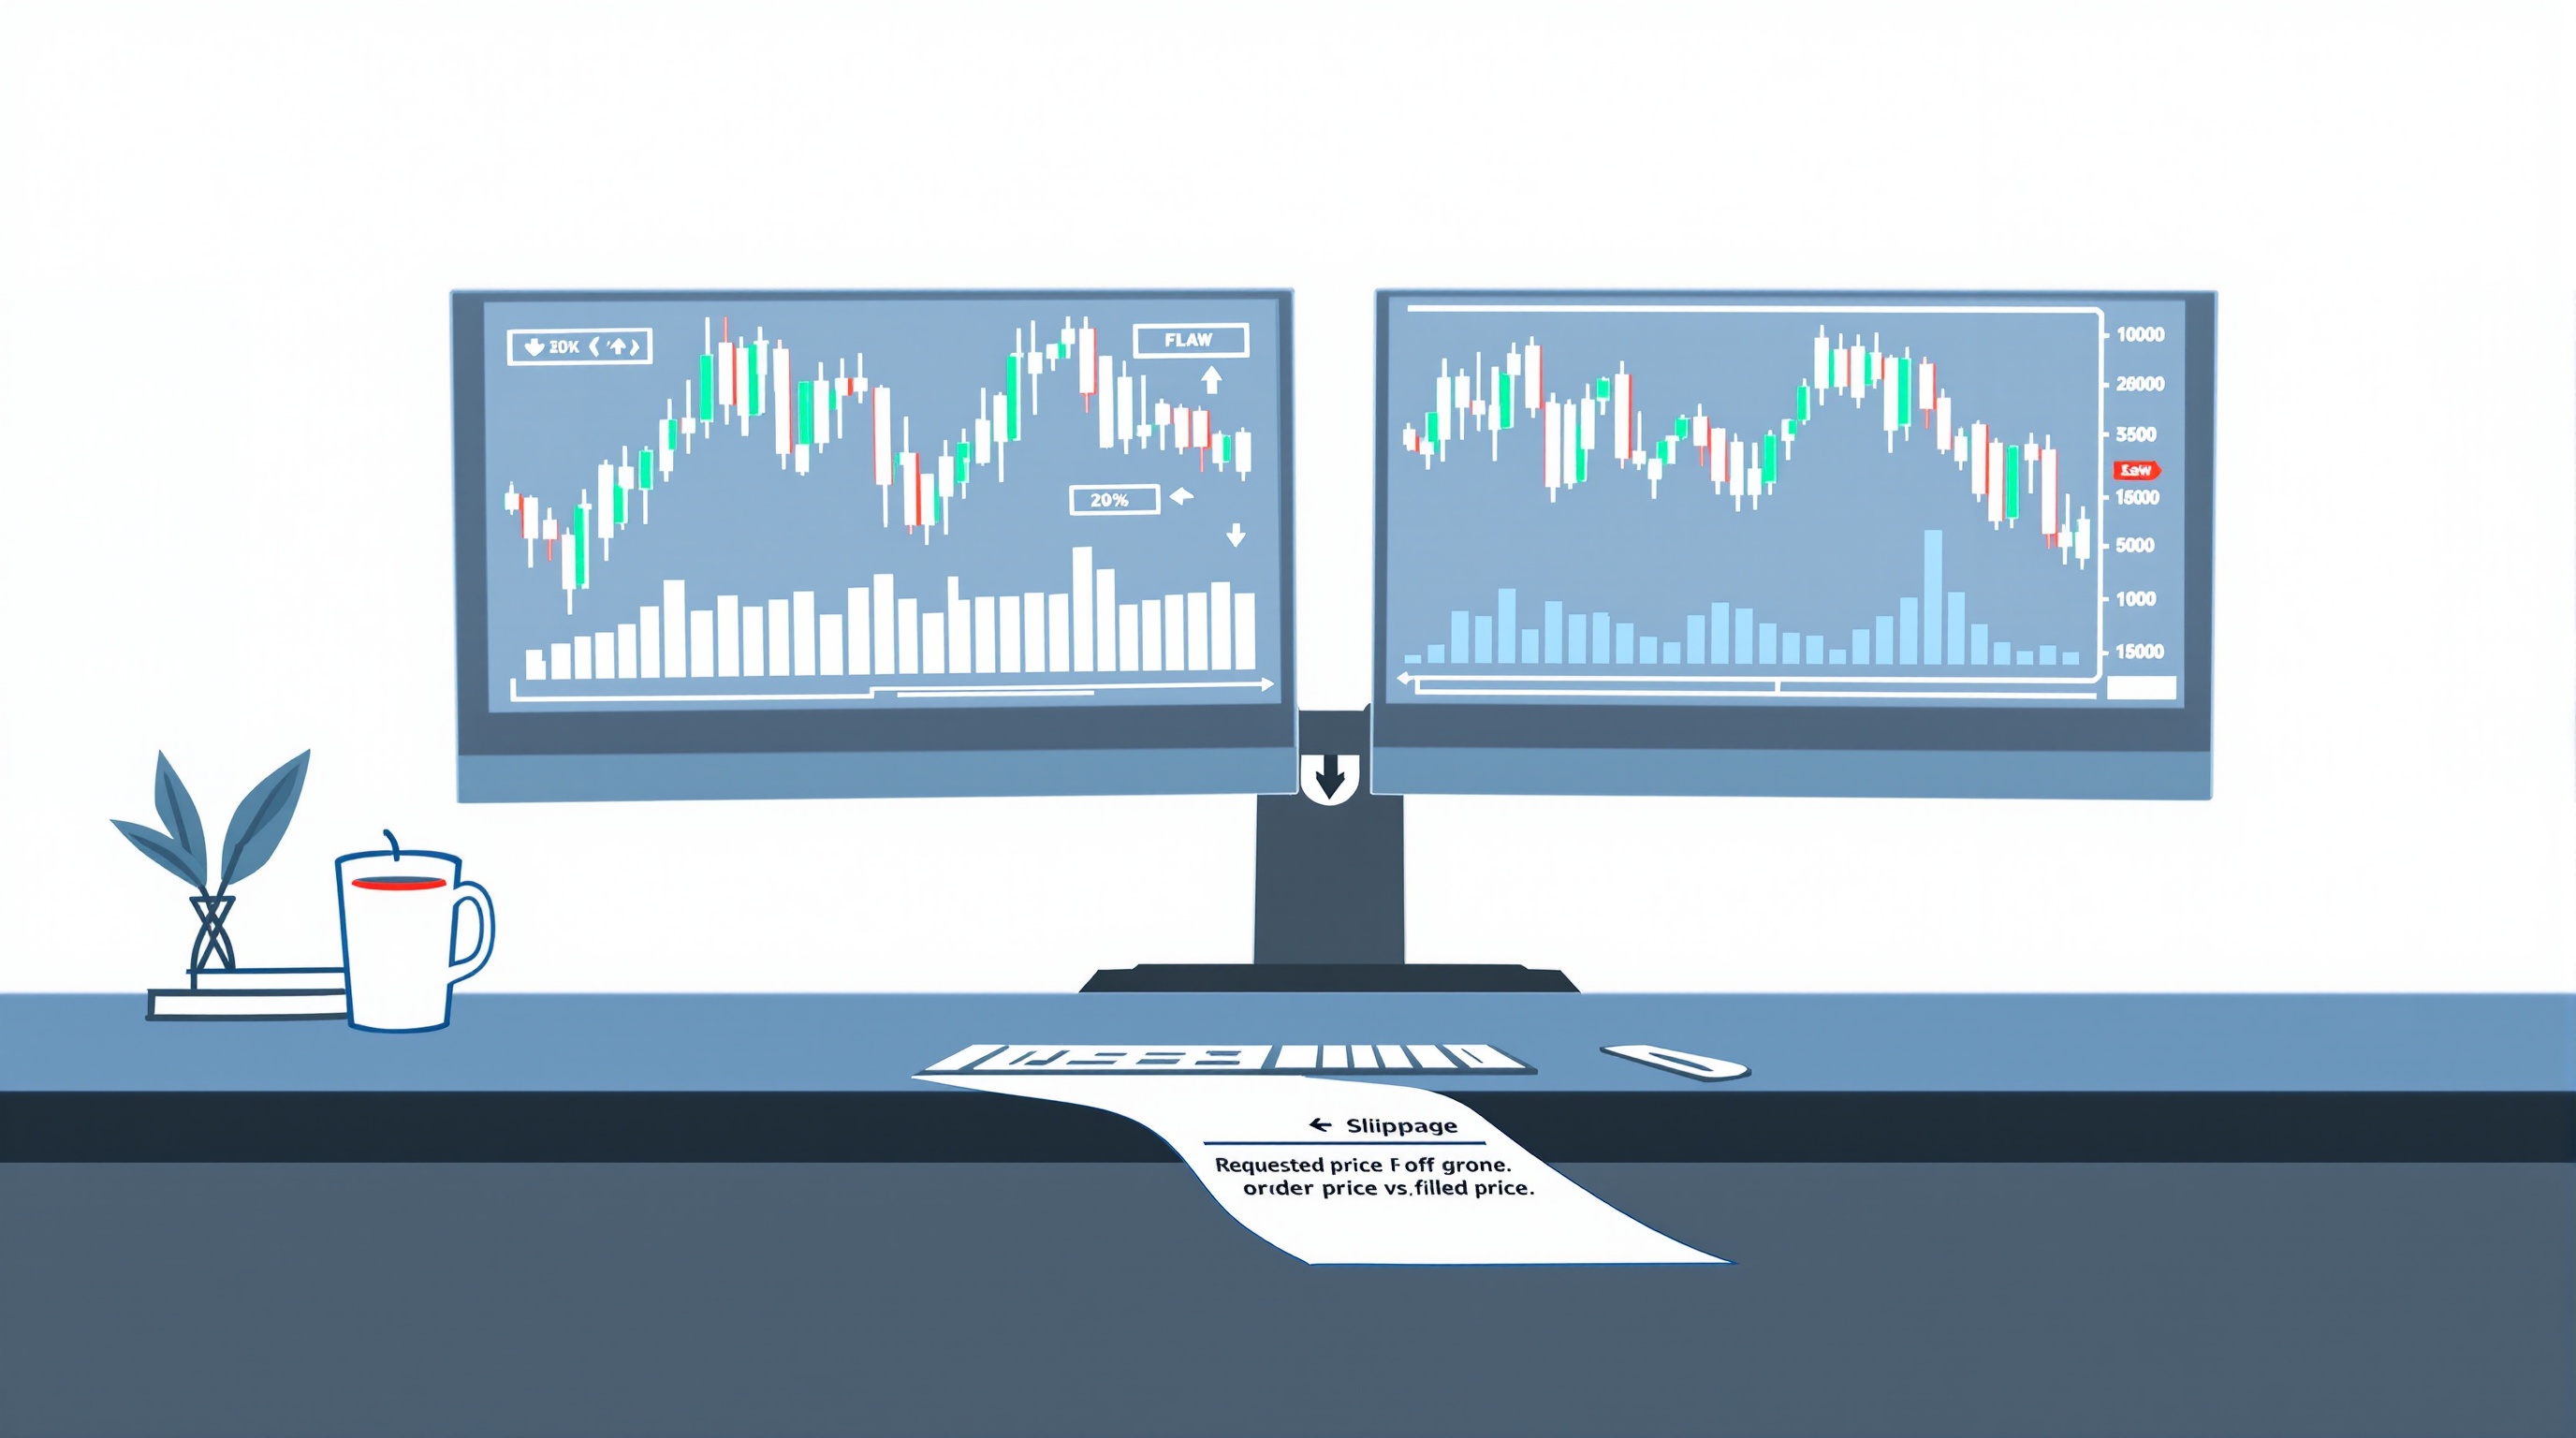
Learn how slippage and execution quality really work, with FCA-regulated examples from Pepperstone and IG, plus a workflow to measure it yourself.
 Pro
ProECN vs Market Maker Execution: Module 12 Guide
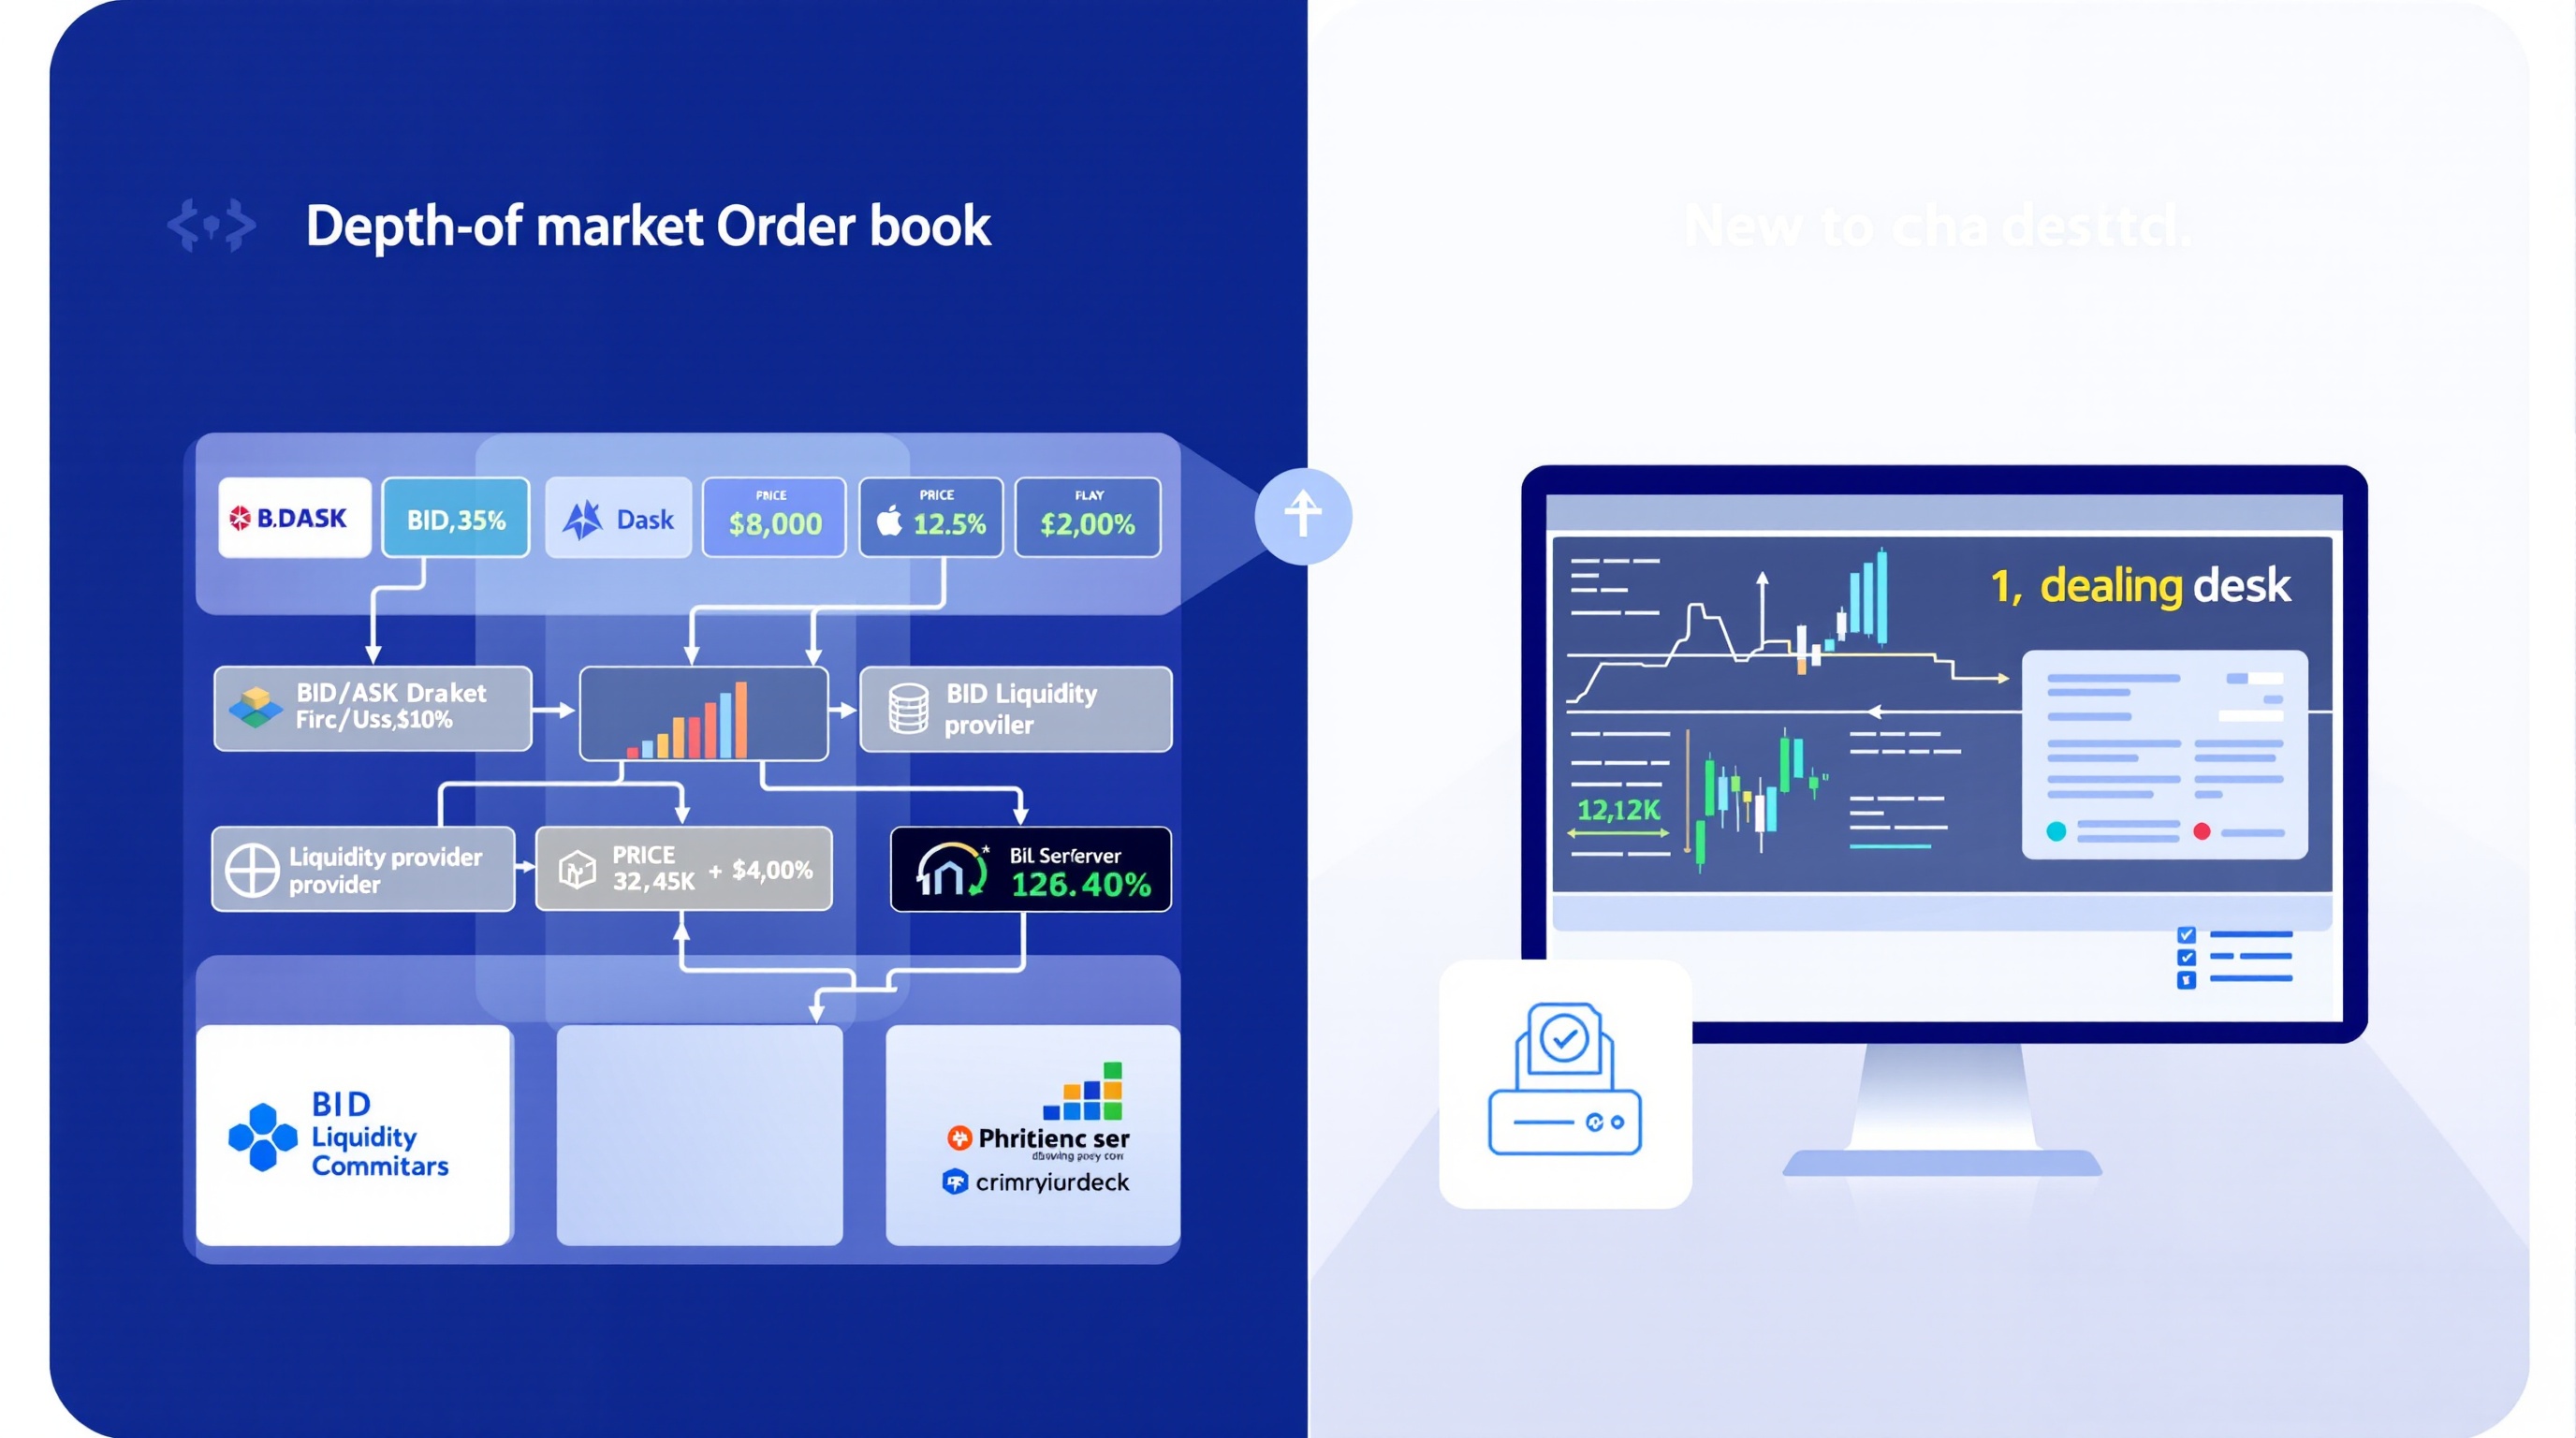
ECN vs market maker execution explained: how each model fills orders, what it means for spreads and slippage, and how to test your own broker.
 Pro
ProWhy Cost Is an Edge: The PipTax Thesis
Why cost is an edge in FX trading: how spreads, commissions and swaps compound, and how to make execution cost part of your strategy.
Module 13 · Systems
 Pro
ProBuilding Your First Expert Advisor: MQL Basics
Learn how to build your first Expert Advisor with this MQL basics guide — a PRO lesson in the PipTax FX Trading School, Module 13.
 Pro
ProBacktesting Properly in the MetaTrader Strategy Tester
A pro-level guide to backtesting in the MetaTrader Strategy Tester — data, costs, curve-fitting and forward testing done properly.
 Pro
ProForward Testing & Out-of-Sample Validation
Forward testing and out-of-sample validation explained: how to prove a strategy before risking real money. Module 13 of the PipTax FX Trading School.
 Pro
ProOptimising a Strategy Without Curve-Fitting
Learn how to optimise a strategy without curve-fitting: robust parameter ranges, walk-forward testing, and out-of-sample checks that hold up live.
 Pro
ProRunning an EA on a VPS for Reliable Execution
Running an EA on a VPS keeps your algo trading online 24/5. Learn how to set it up properly, what to check, and where latency really matters.
Module 14 · Professional risk
 Pro
ProAdvanced Position Sizing: Fixed-Fractional and Beyond
Advanced position sizing for pro traders: fixed-fractional models, volatility scaling and correlation limits. Module 14 of the PipTax FX Trading School.
 Pro
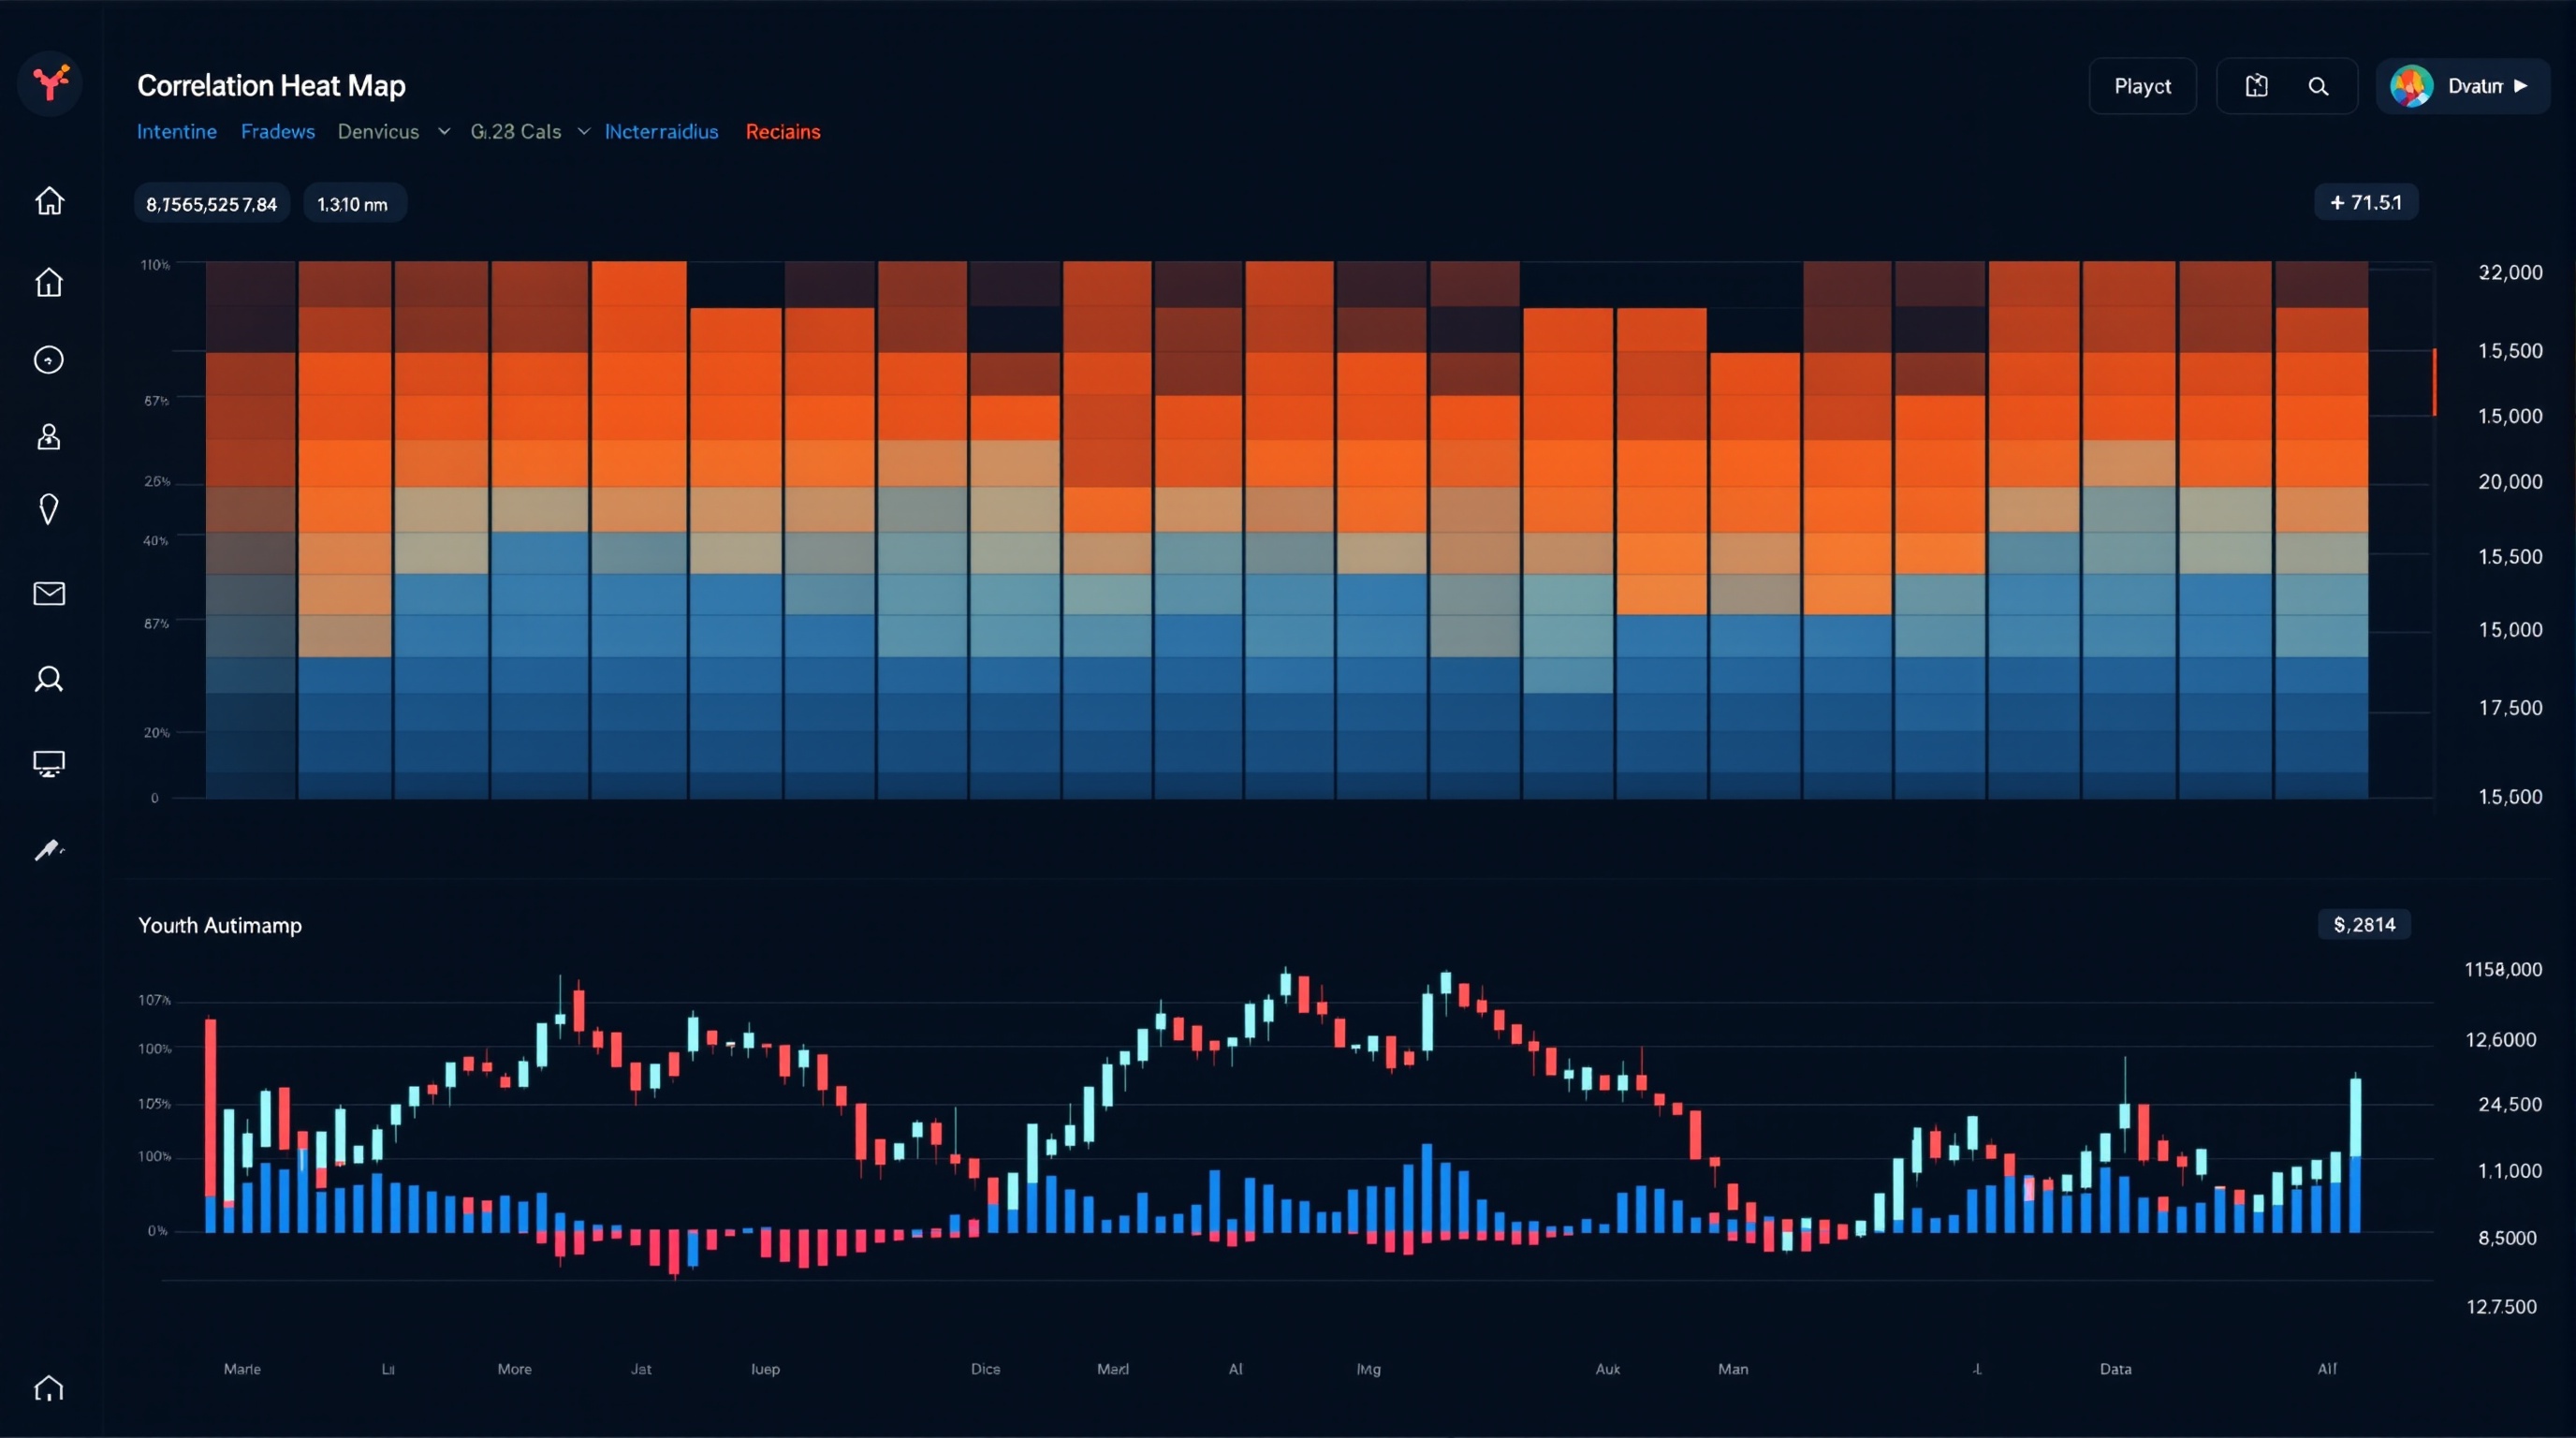
ProPortfolio Heat & Correlated Risk: A Pro Trader's Guide
Learn to measure portfolio heat and control correlated risk across FX pairs, with a practical workflow you can apply to your own trading today.
 Pro
ProExpectancy and Statistical Edge Explained
Trading expectancy explained: the formula, how costs erode edge, and how to calculate it properly. PipTax School Module 14 · Professional risk.
 Pro
ProHedging and Netting Positions: Pro FX Risk Management
Hedging and netting explained for pro traders: how the two accounting models work, when hedging genuinely reduces risk, and the cost trade-offs.
 Pro
ProFCA Elective Professional Accounts and Leverage
FCA elective professional status explained: how pro accounts unlock higher leverage, what you give up, and how to decide if it's right for you.
 Pro
ProManaging Multiple Strategies at Once: Pro Risk Guide
Learn how managing multiple trading strategies works at a professional level: correlation, capital allocation, risk caps and reporting.
Module 15 · Mindset
 Pro
ProTrading Psychology When the Size Is Real
Trading psychology changes once size is real. A PRO-level lesson on managing risk, emotion and execution when money is truly at stake.
 Pro
ProRisk Management Framework: A Pro-Level Approach
A professional risk management framework for FX traders: position sizing, correlation, drawdown rules, and cost control. Module 15 of PipTax FX School.
 Pro
ProThe Professional Trader's Daily Routine (Module 15)
Learn the professional trader's daily routine: a structured, honest workflow for prep, execution and review — Module 15 of the PipTax FX Trading School.
Module 16 · Systematic design
 Advanced
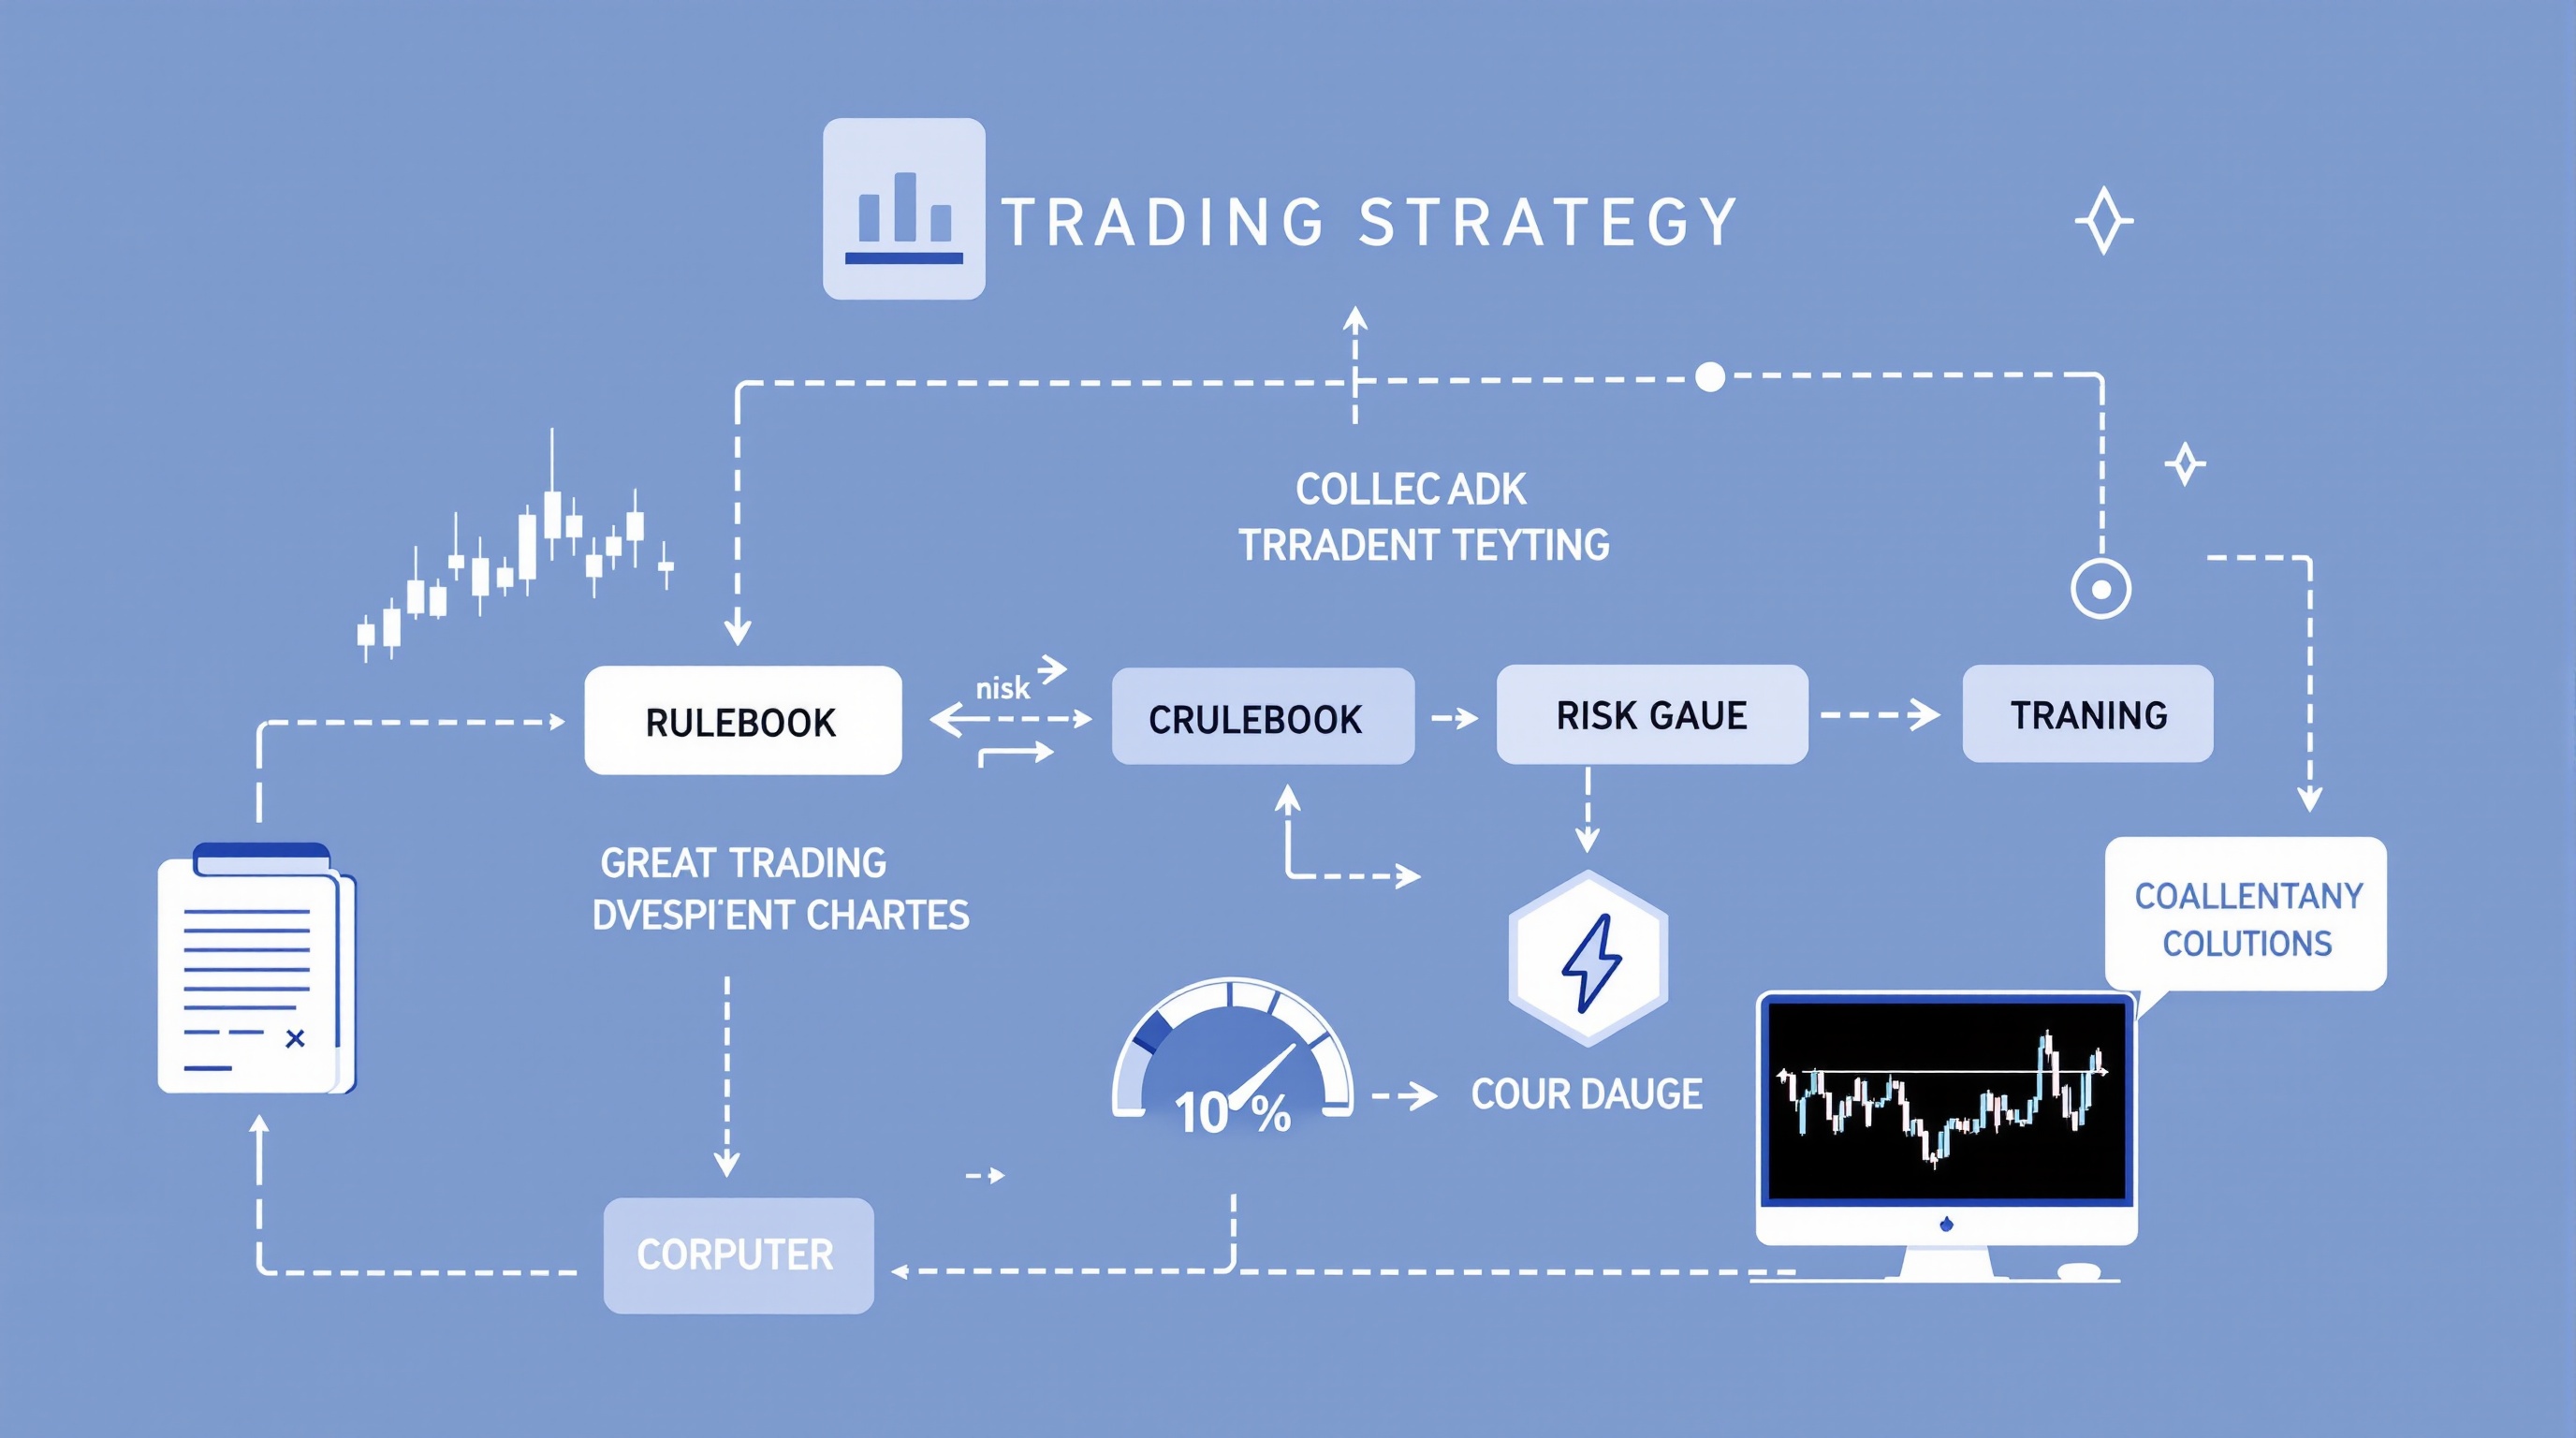
Systematic Trading Strategy Design: A Complete Framework
Learn how to design a systematic trading strategy end to end: rules, testing, risk, and execution costs. Module 16 of the PipTax FX Trading School.
 Advanced
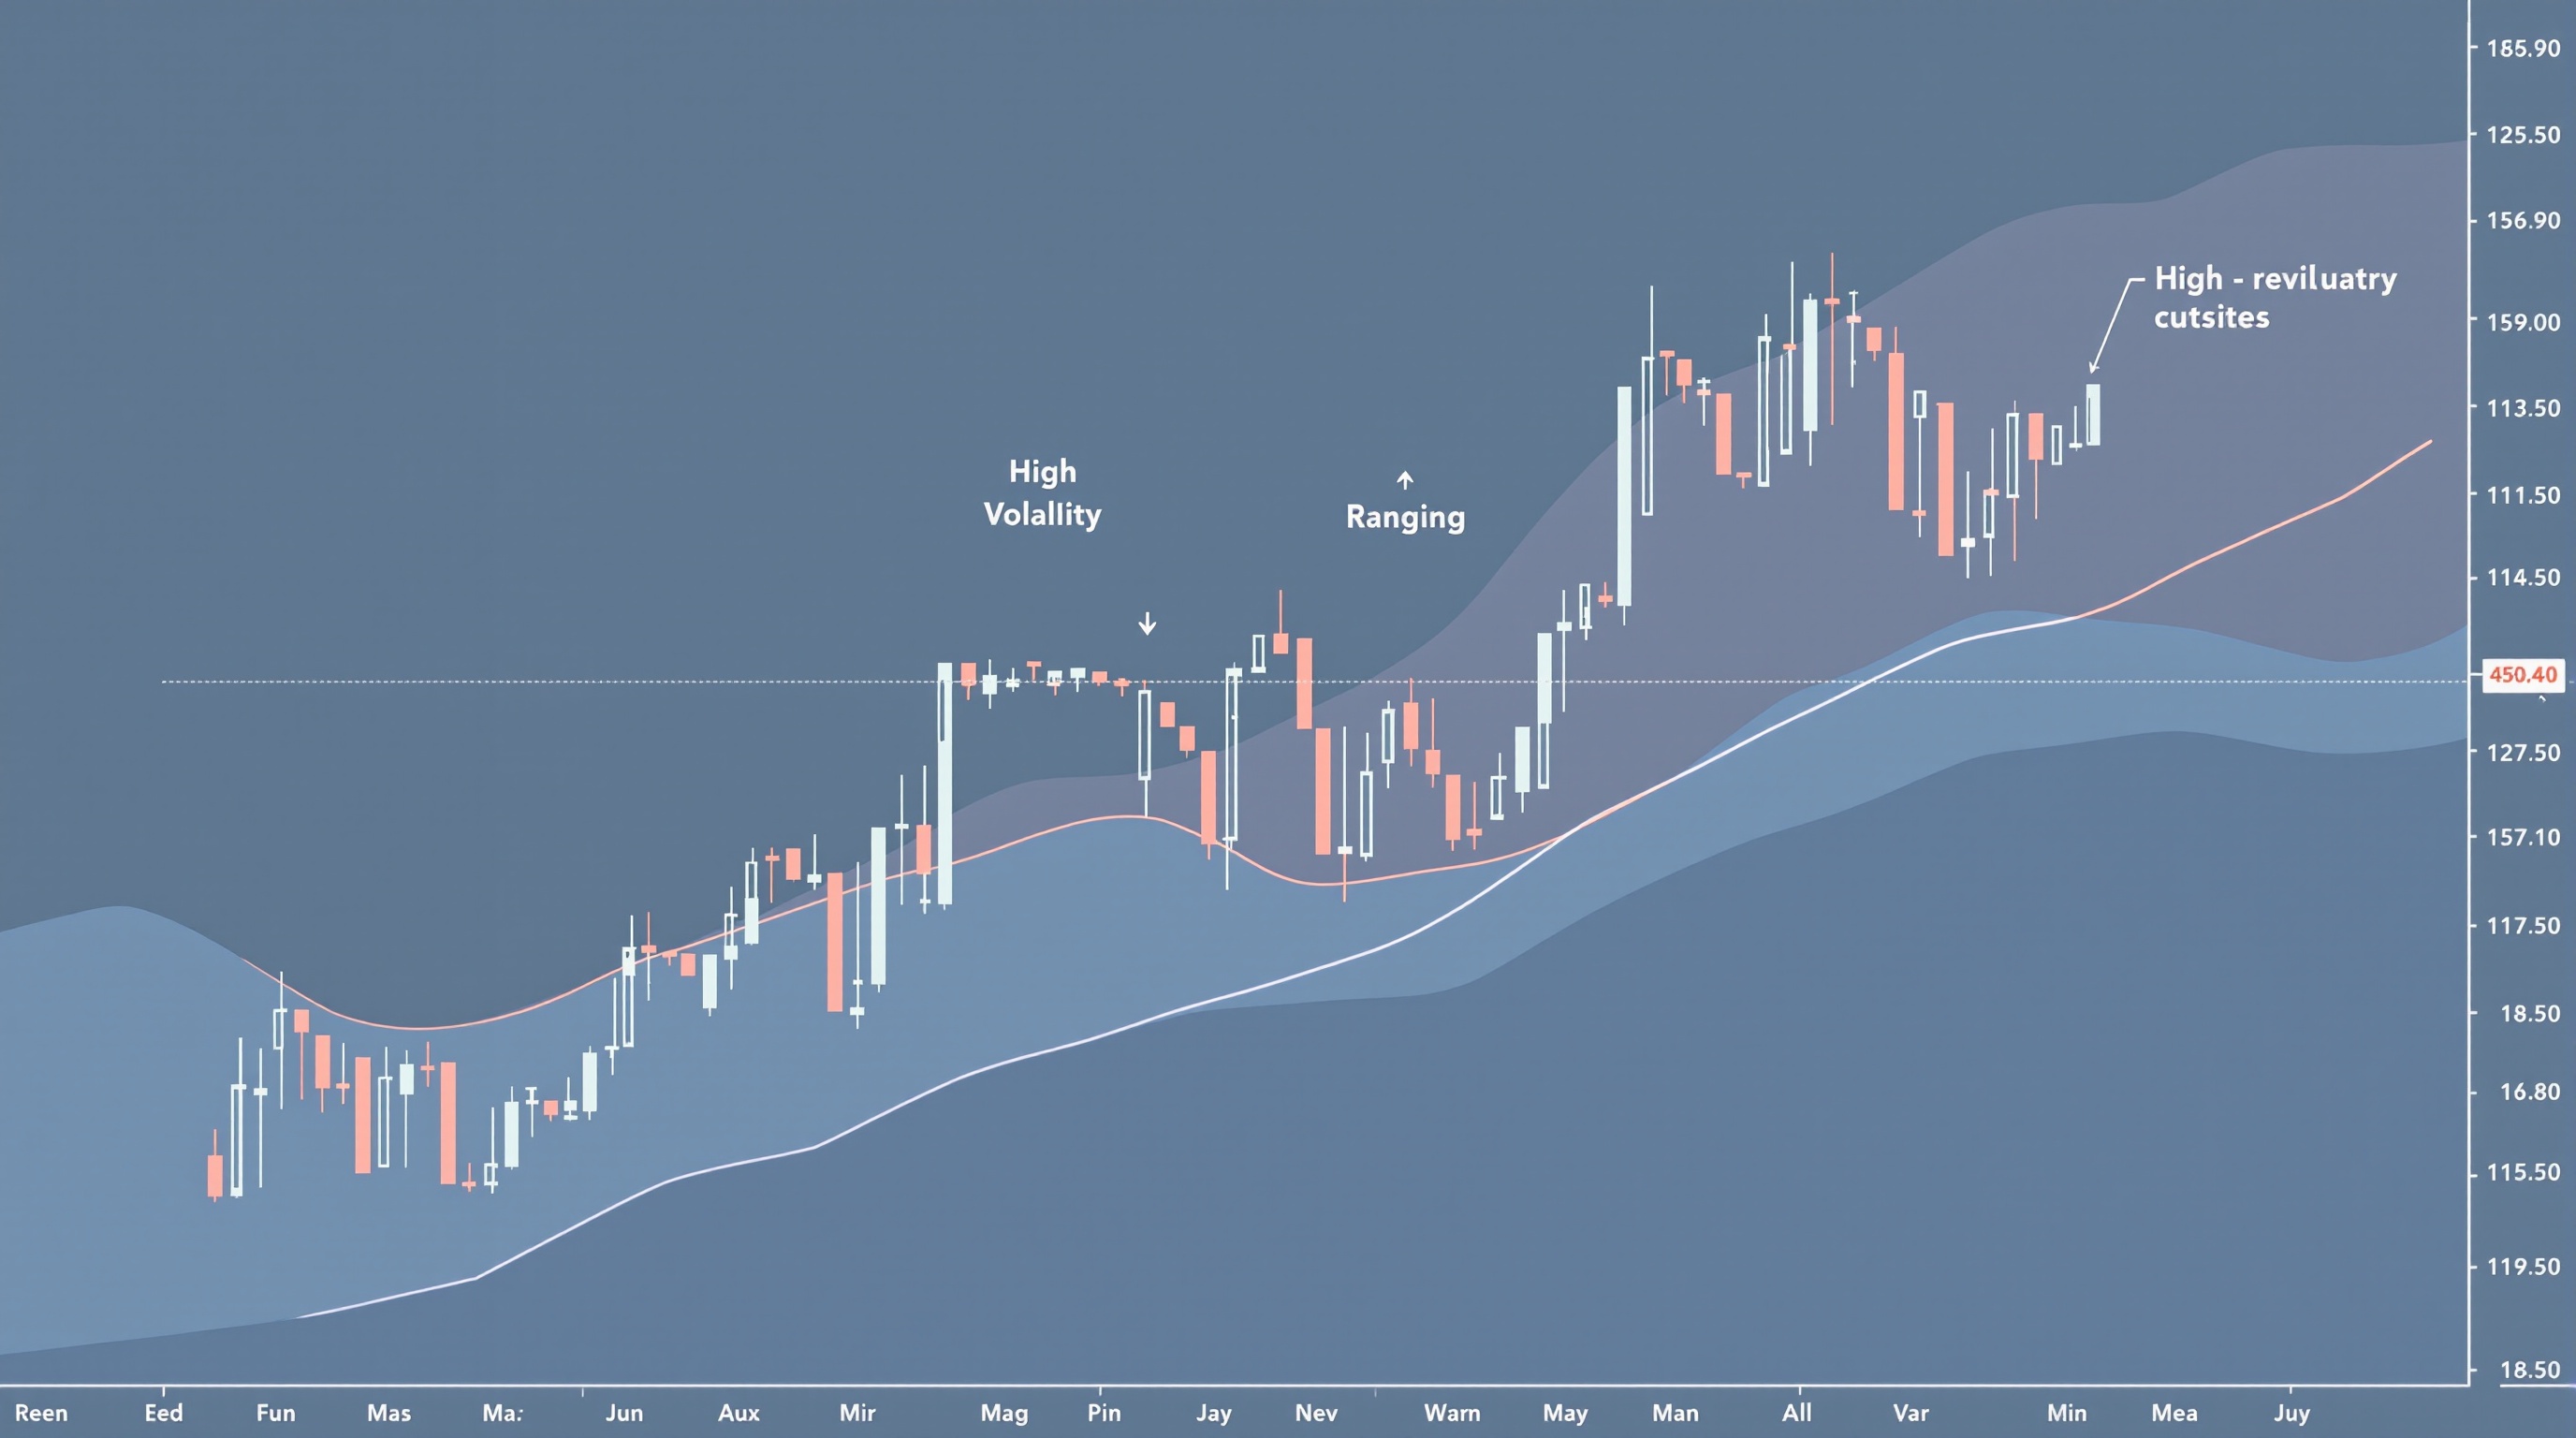
Market-Regime Detection & Adaptive Systems
Market-regime detection explained: how to identify trend, range and volatility shifts, and build adaptive systems that adjust rather than break.
 Advanced
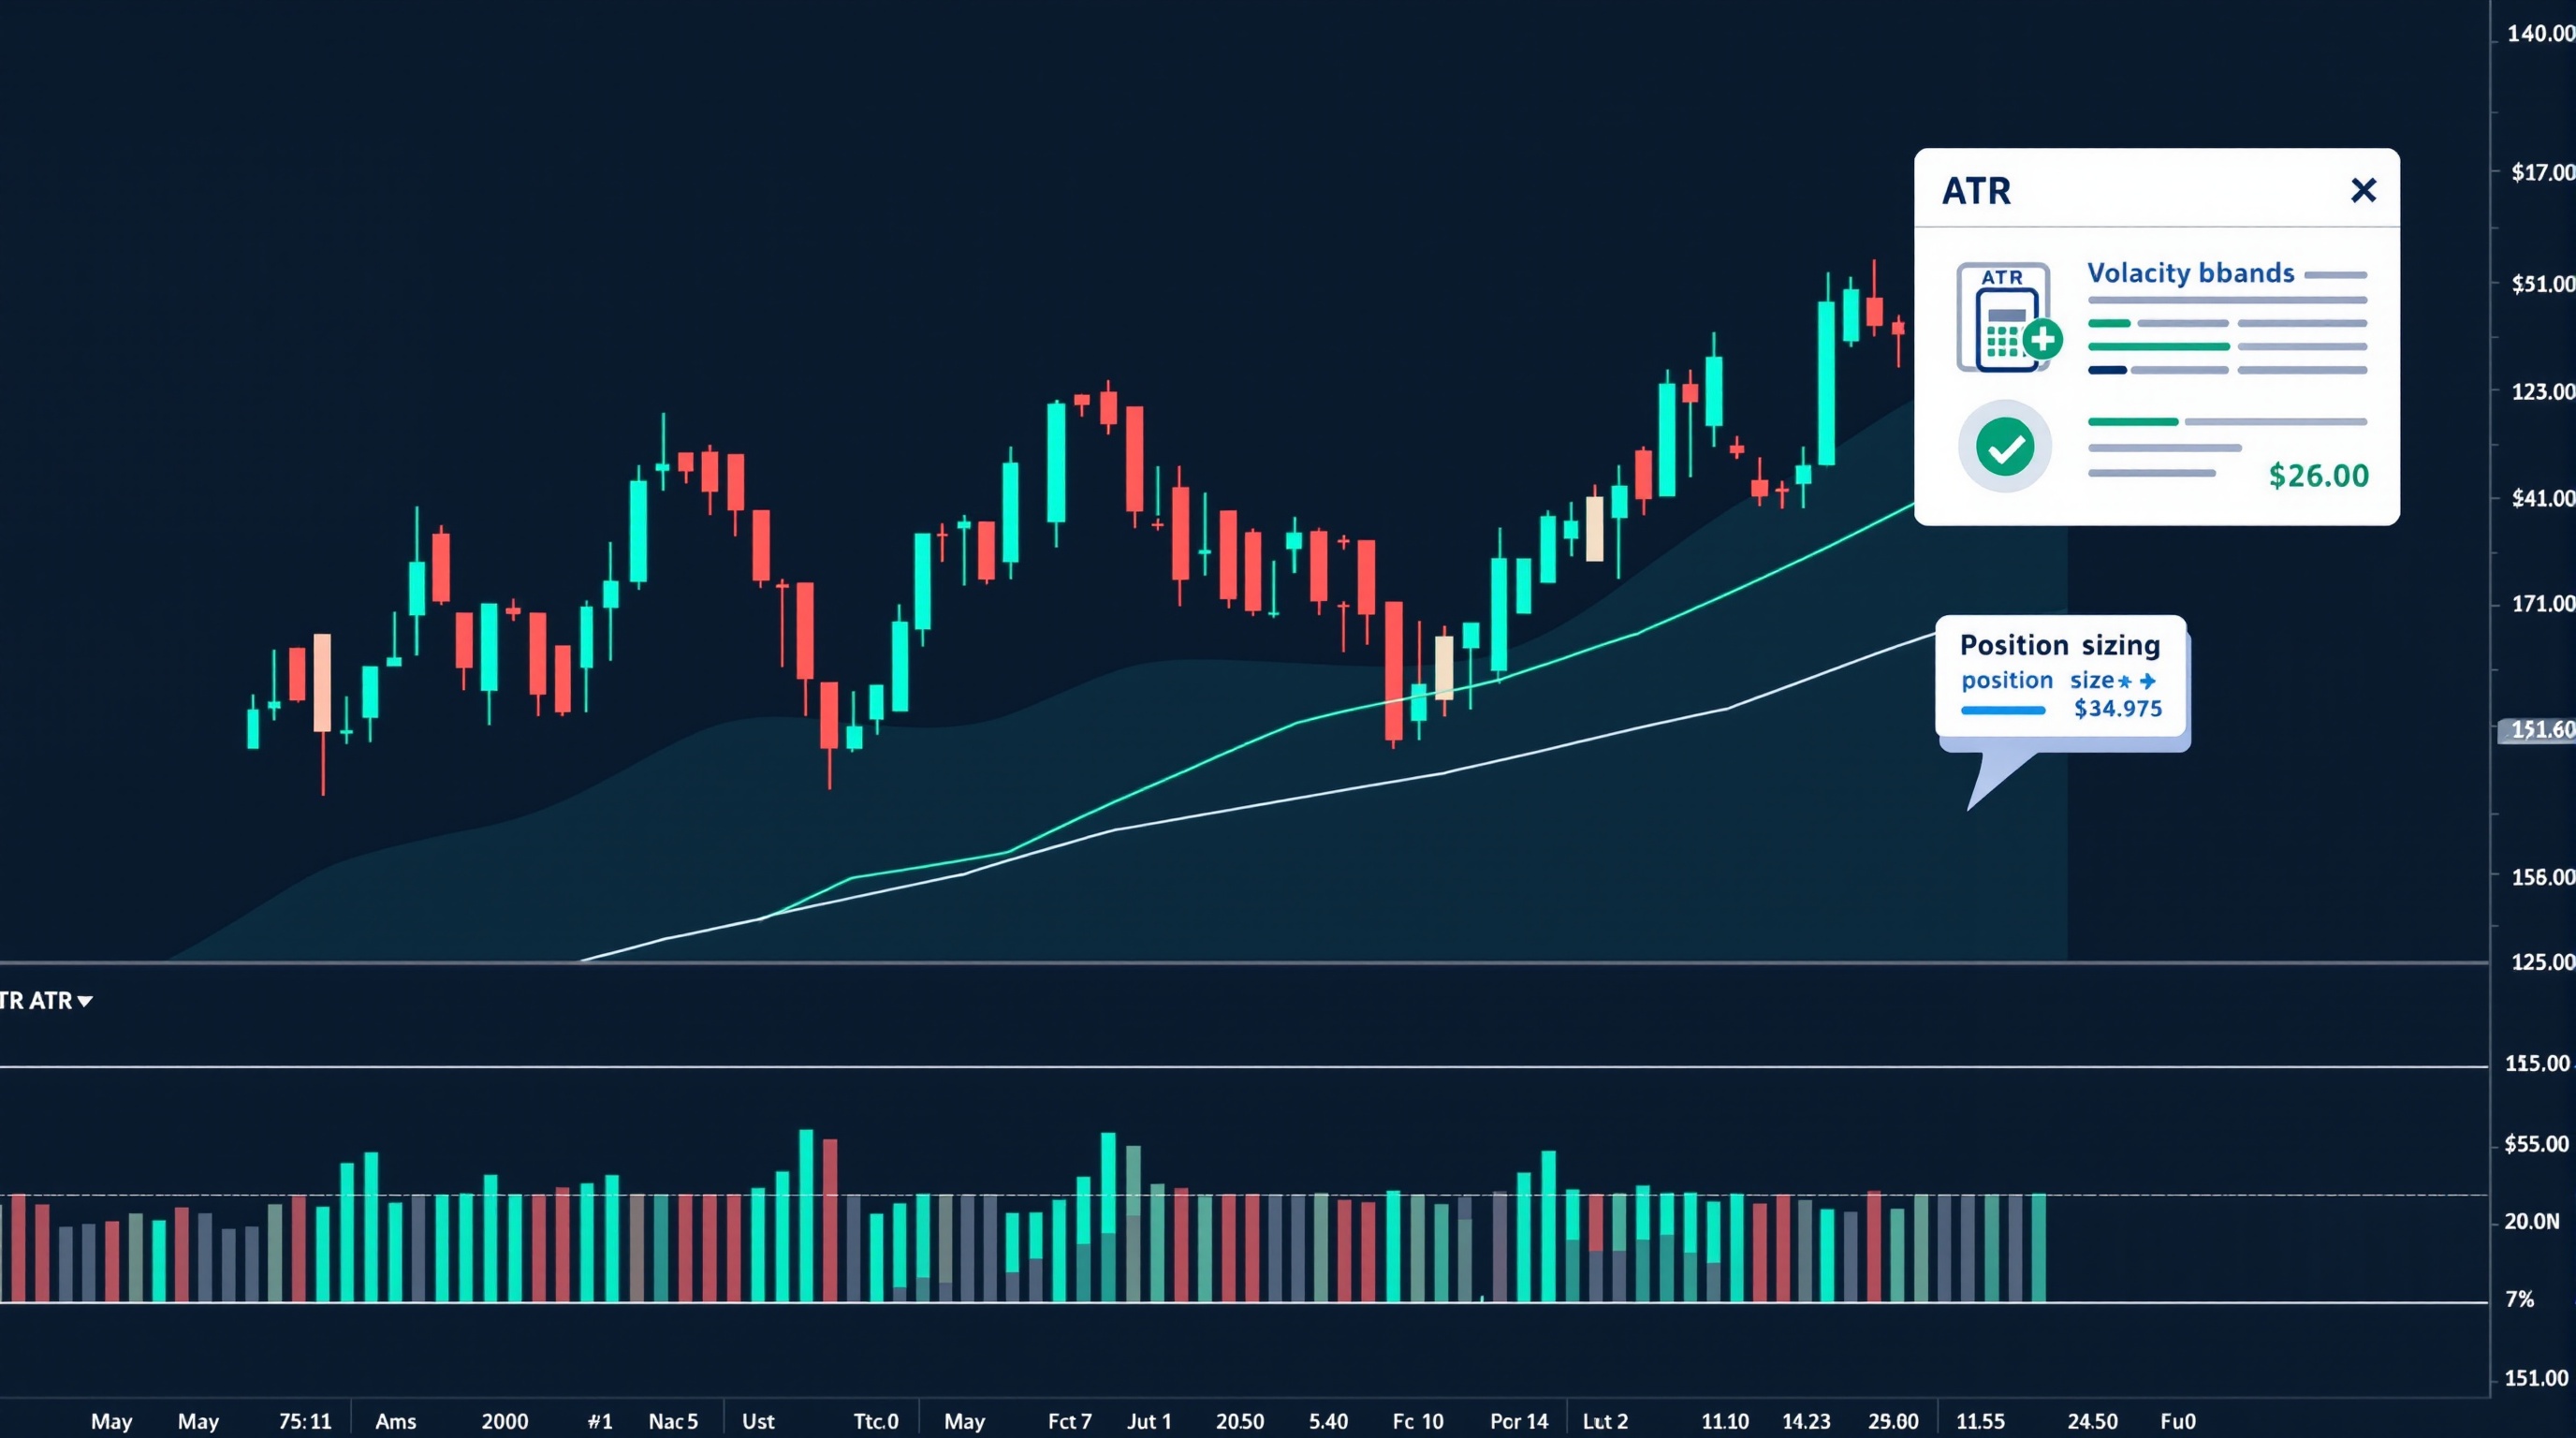
Volatility Modelling for Position Sizing
Learn volatility modelling for position sizing: ATR, standard deviation and regime shifts, with a practical sizing workflow for FX traders.
 Advanced
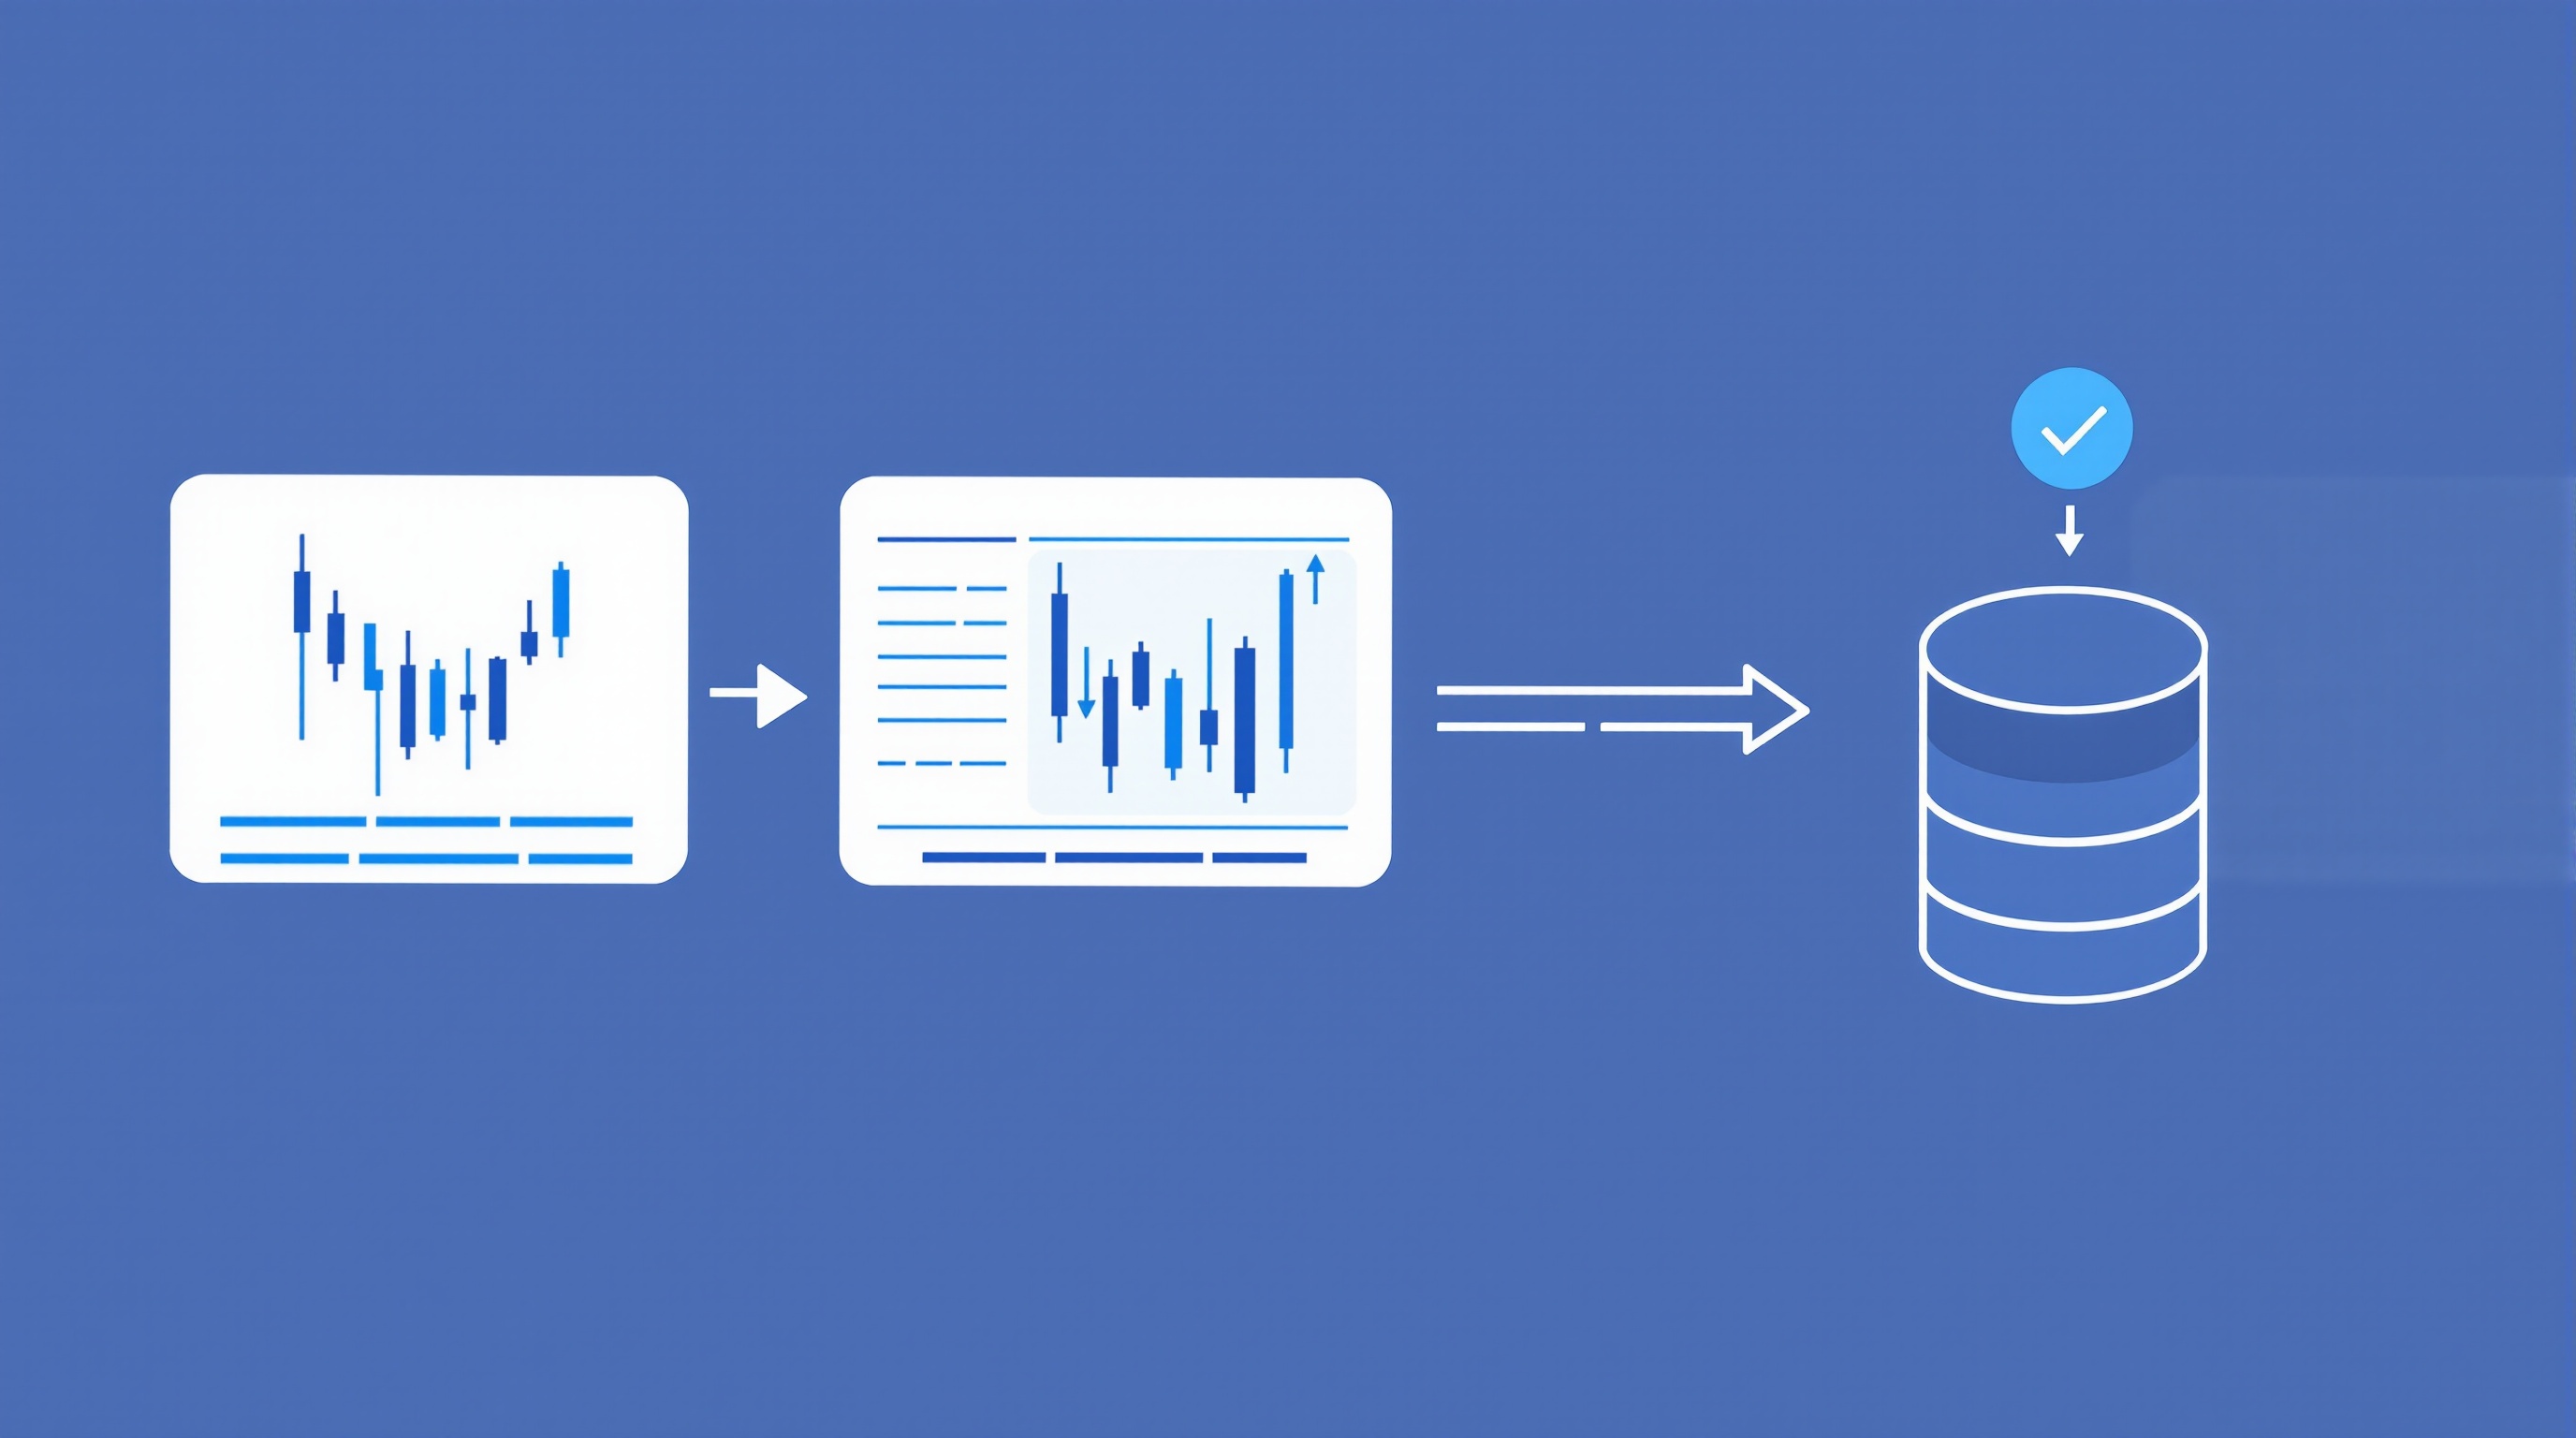
Building a Clean Data Pipeline for Backtests
Learn how to build a clean data pipeline for backtests: sourcing, cleaning, and validating FX data so your systematic results hold up in live trading.
Module 17 · Validation
 Advanced
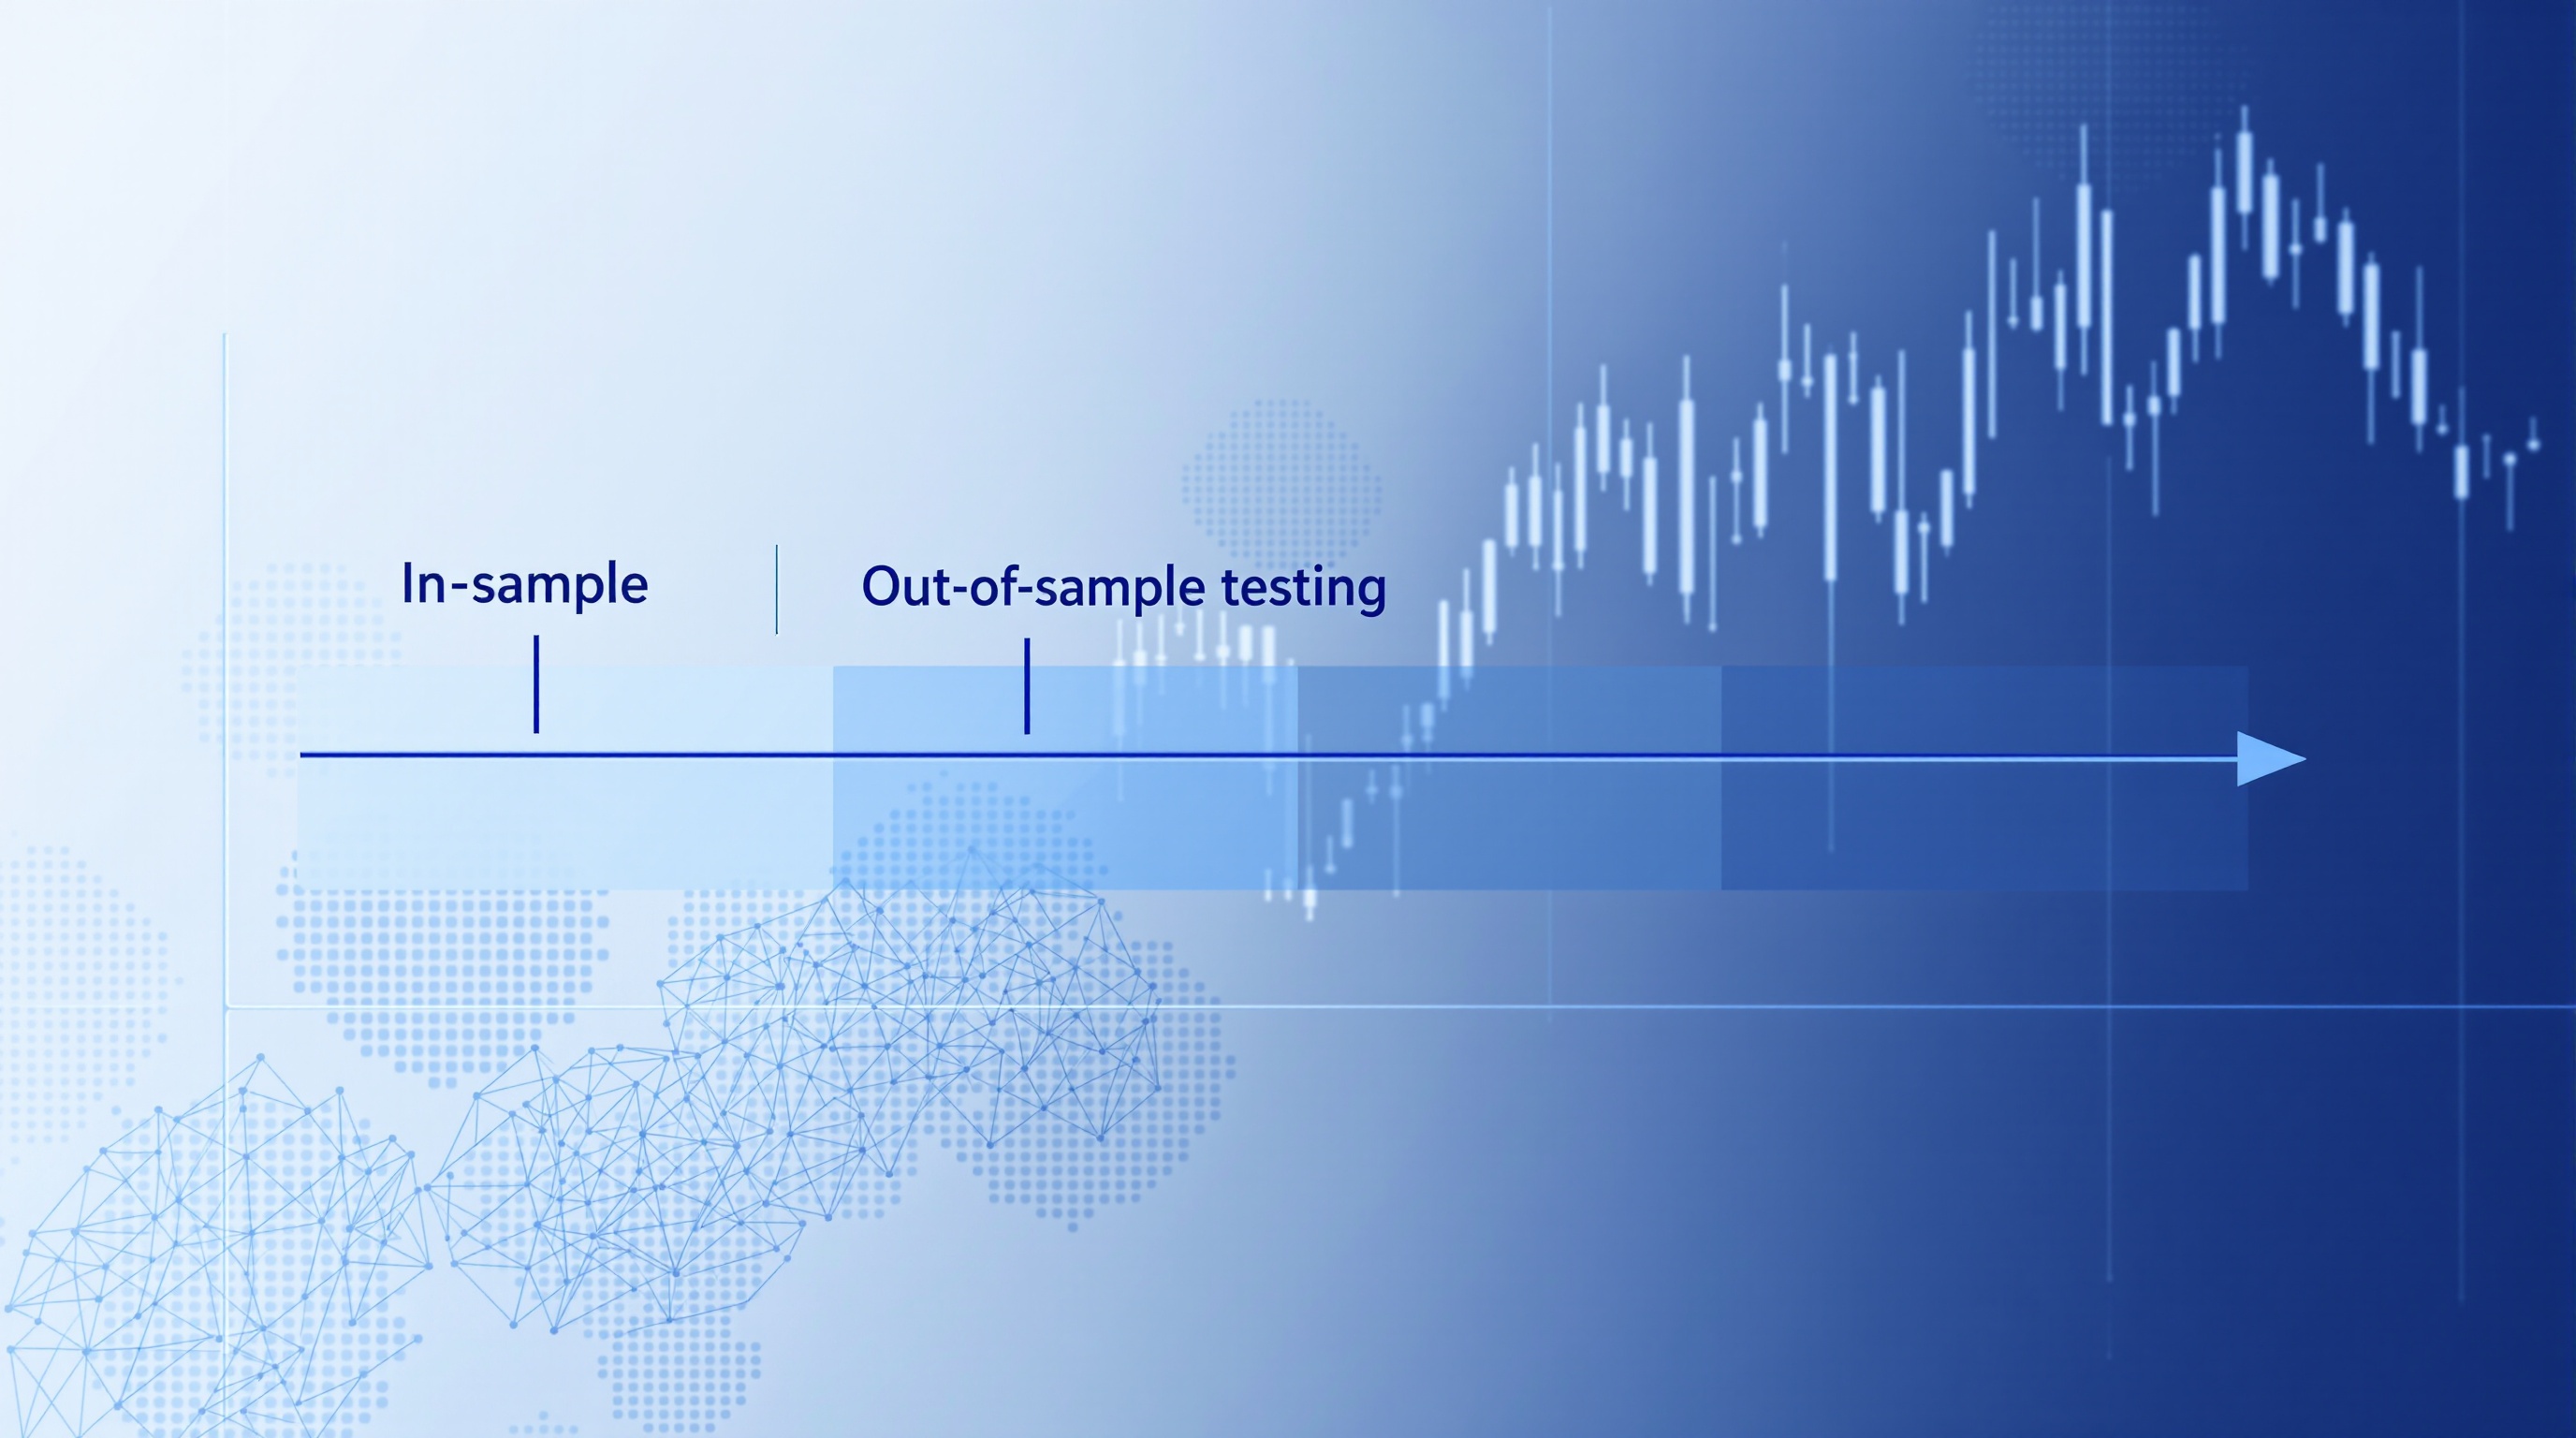
Walk-Forward Analysis Explained (Module 17: Validation)
Walk-forward analysis explained: how to test a strategy's robustness across time, avoid curve-fitting, and interpret results before going live.
 Advanced
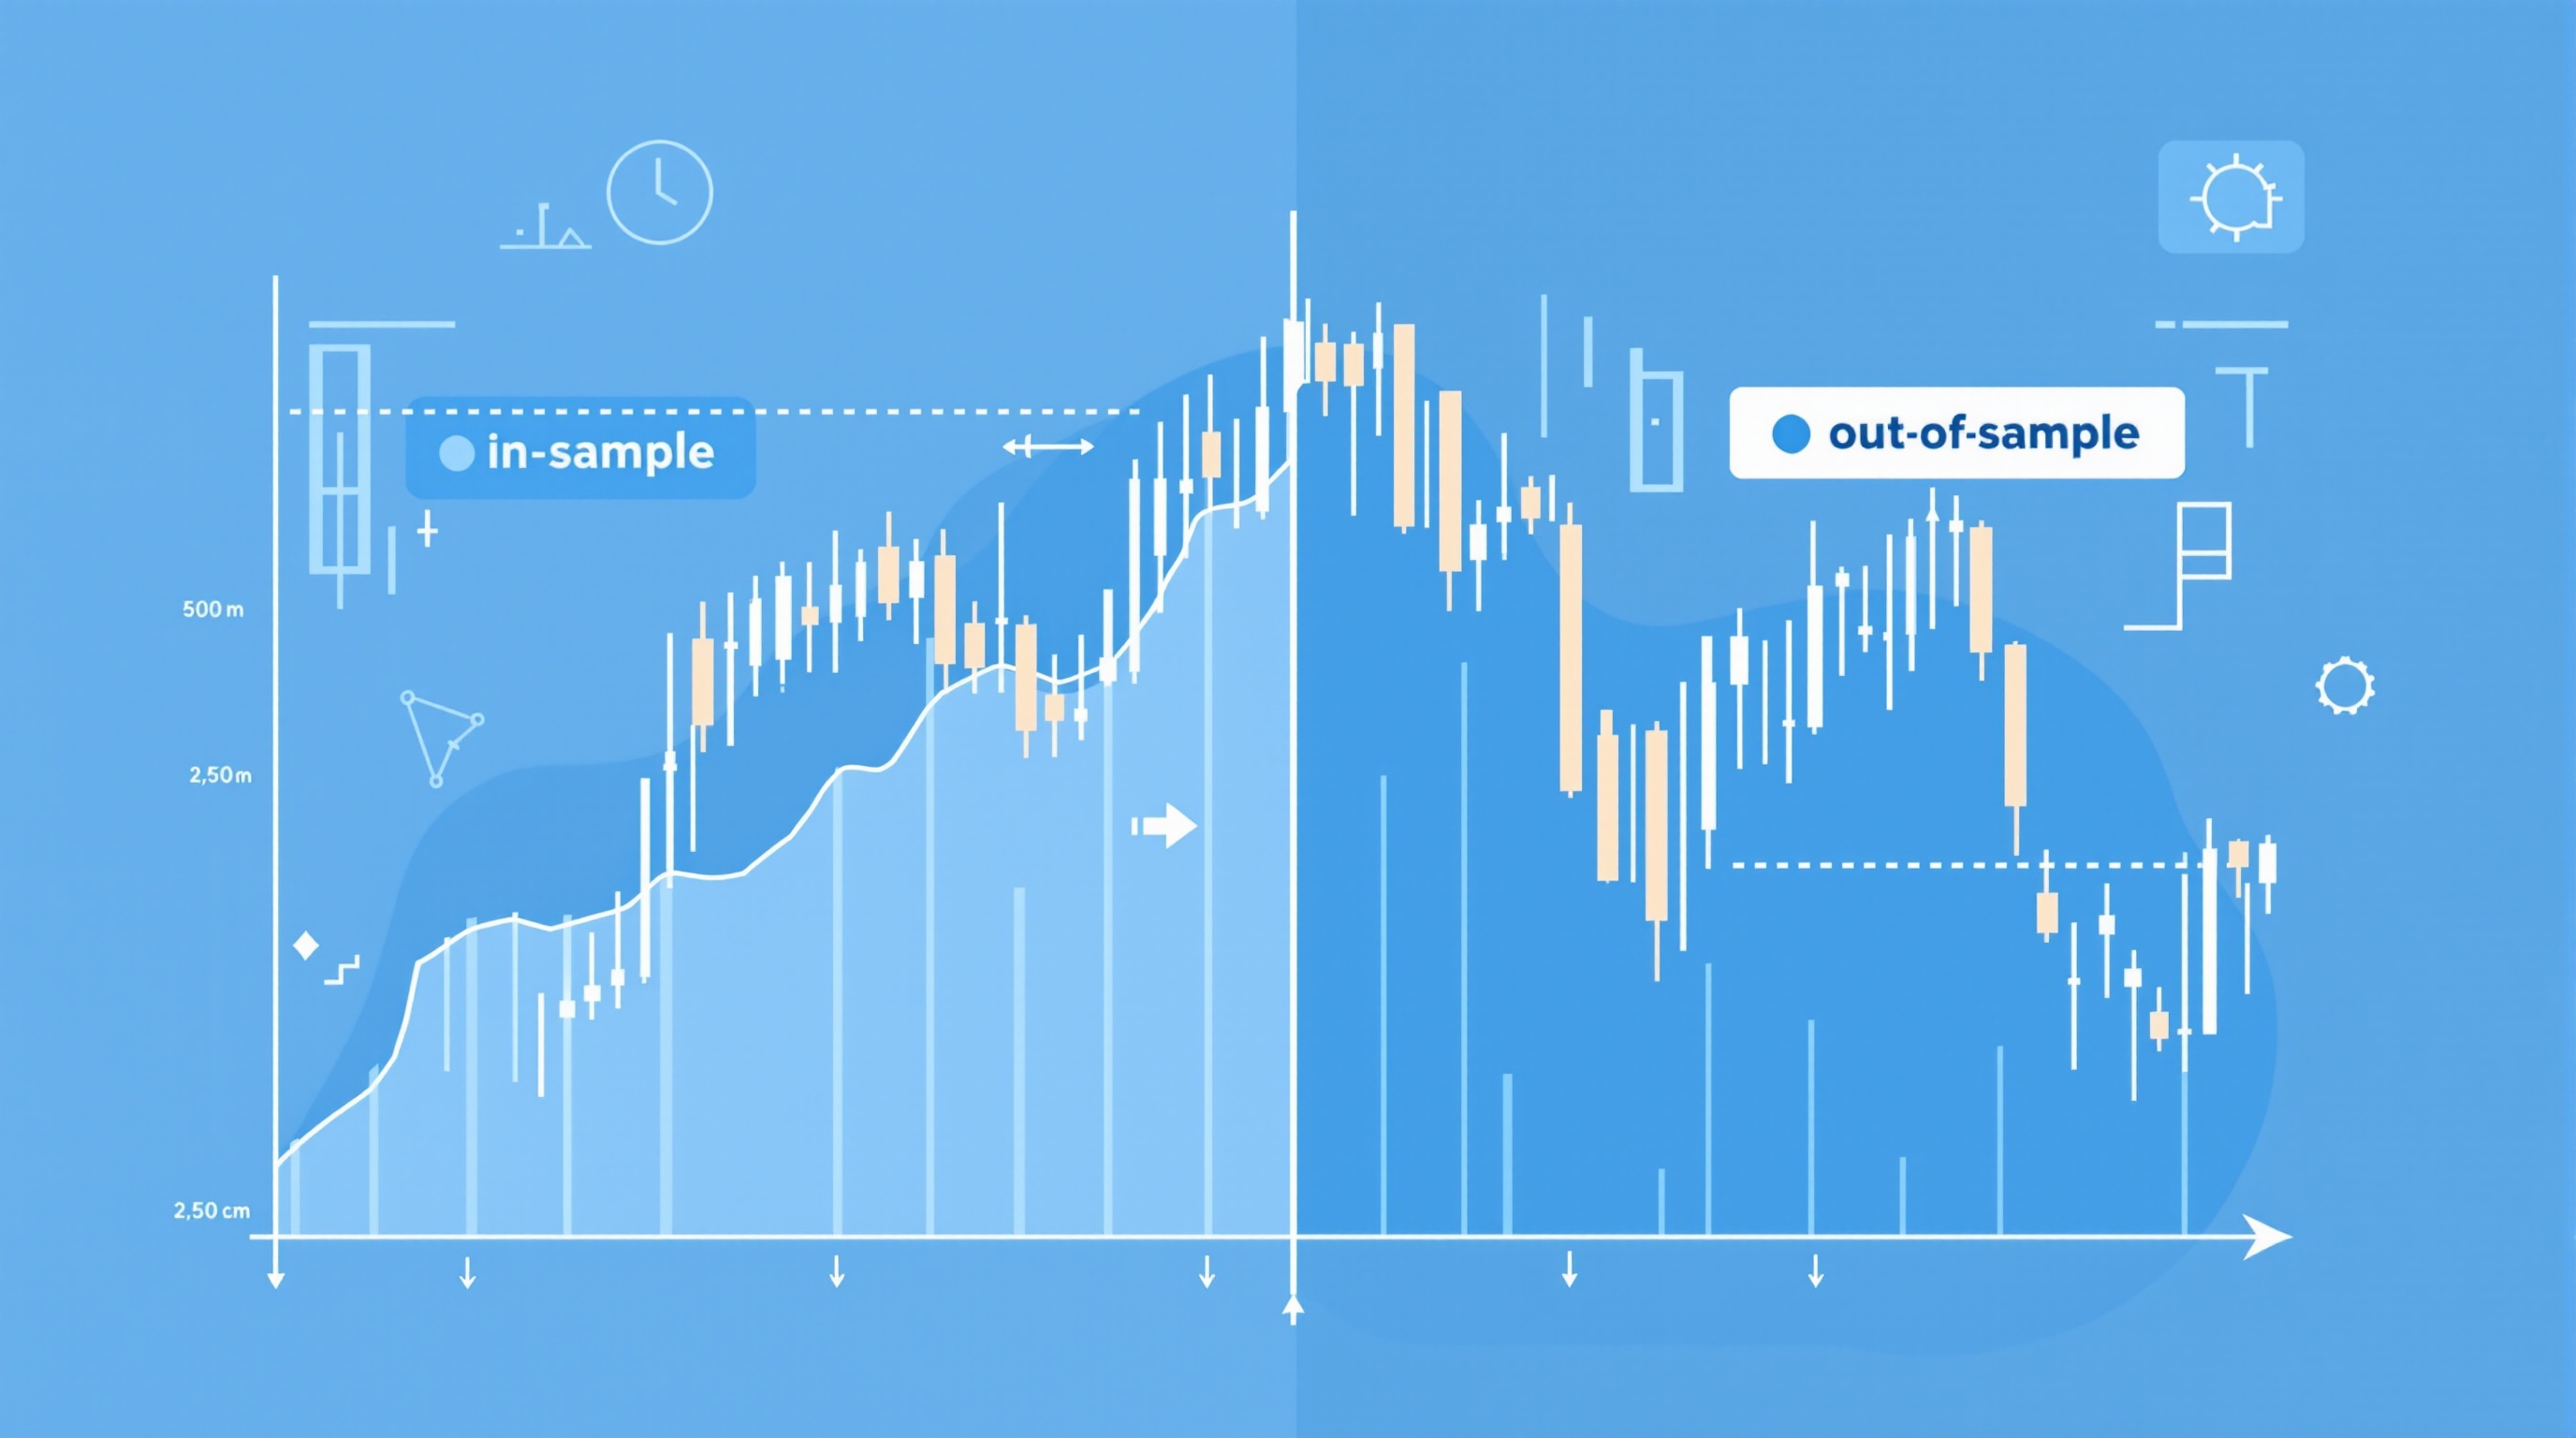
Detecting and Avoiding Overfitting in FX Strategies
Learn to detect overfitting in forex backtests with walk-forward tests, out-of-sample checks and cost-aware validation. Module 17 of PipTax FX School.
 Advanced
Monte Carlo Analysis of Your Equity Curve
Monte Carlo analysis stress-tests your equity curve against luck. Learn the method, how to run it, and what it reveals about drawdown risk.
 Advanced
Strategy Decay: How to Know When to Stop a System
Learn how to spot strategy decay early using statistical checks, not gut feel, and build a rule-based process for retiring a system before it costs you.
Module 18 · Execution science
 Advanced
Execution Algorithms: TWAP and Slicing for Retail Traders
Execution algorithms like TWAP and order slicing explained for retail FX traders — what they do, when they help, and how to test them properly.
 Advanced
Latency Arbitrage for Retail Traders: The Honest Truth
Latency arbitrage explained for retail FX traders: why it rarely works, how brokers detect it, and what execution science lessons you can actually use.
 Advanced
Modelling Broker Execution: Pepperstone vs IG
Learn to model broker execution quality using Pepperstone and IG as case studies. Advanced FX lesson: slippage, latency, and requotes.
 Advanced
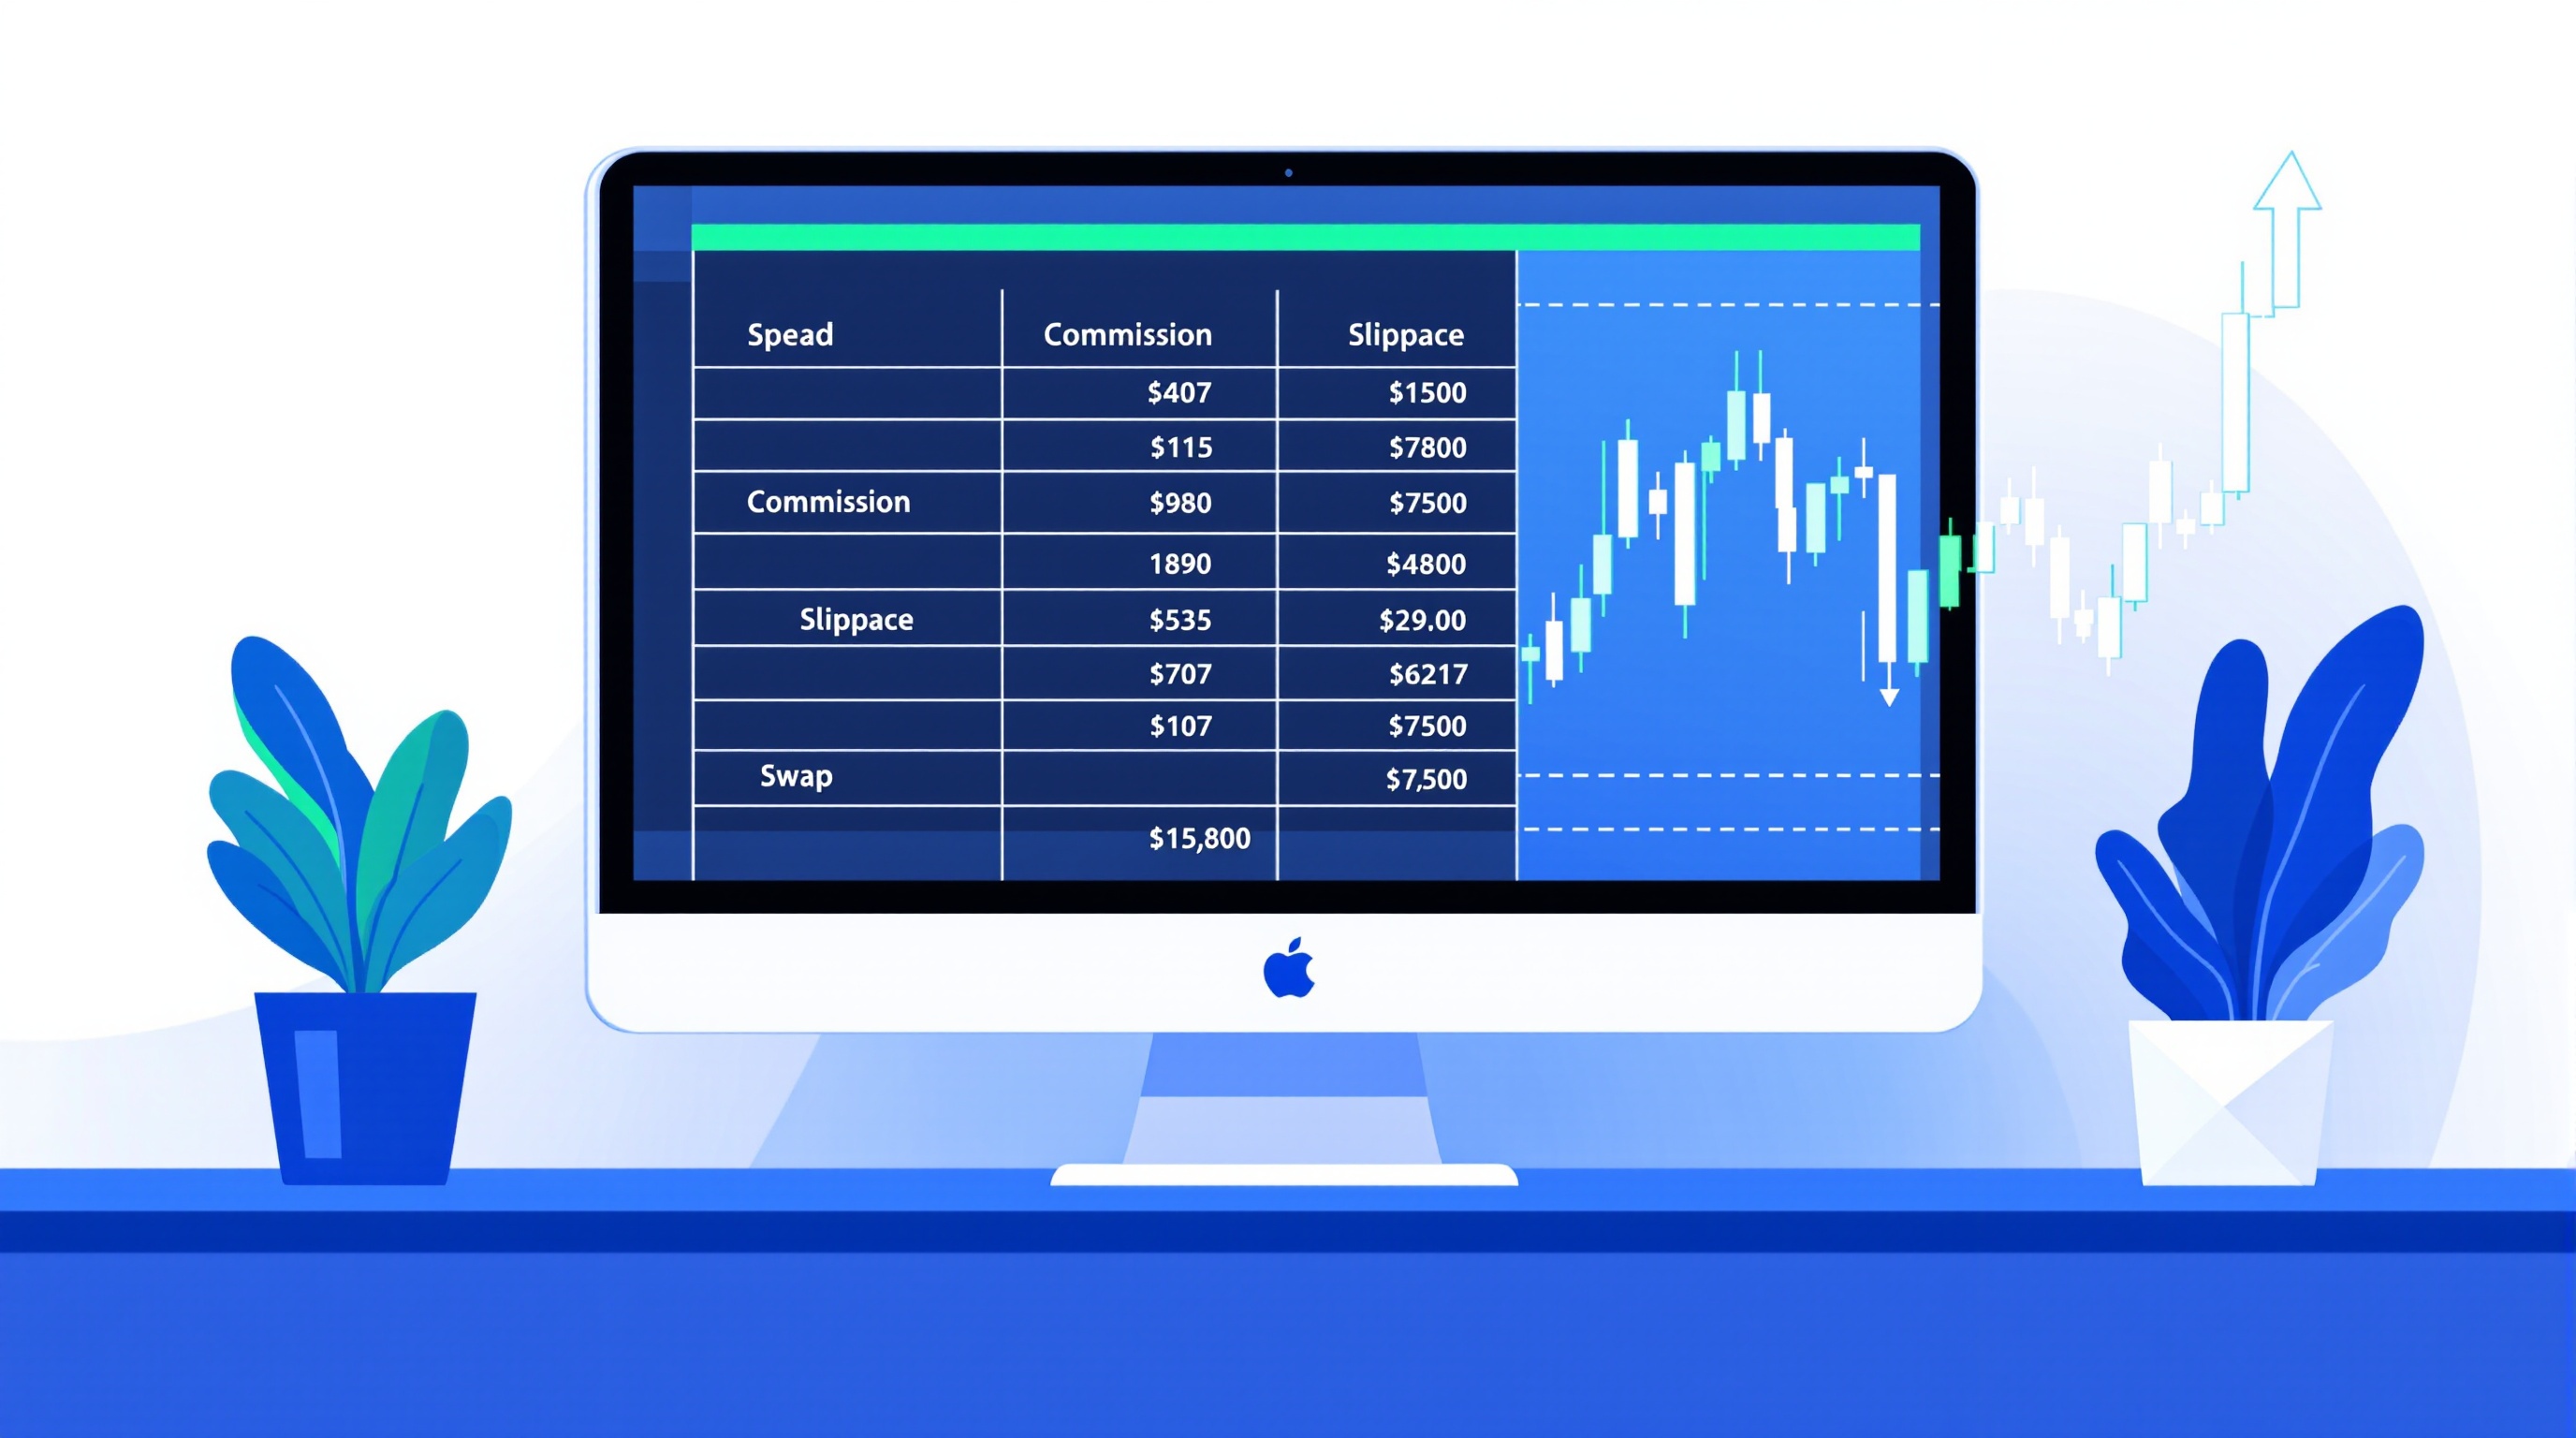
Building a Realistic Trade-Cost Model (Module 18)
Learn to build a realistic trade-cost model for FX trading: spreads, commission, swap, slippage and market impact, worked through properly.
 Advanced
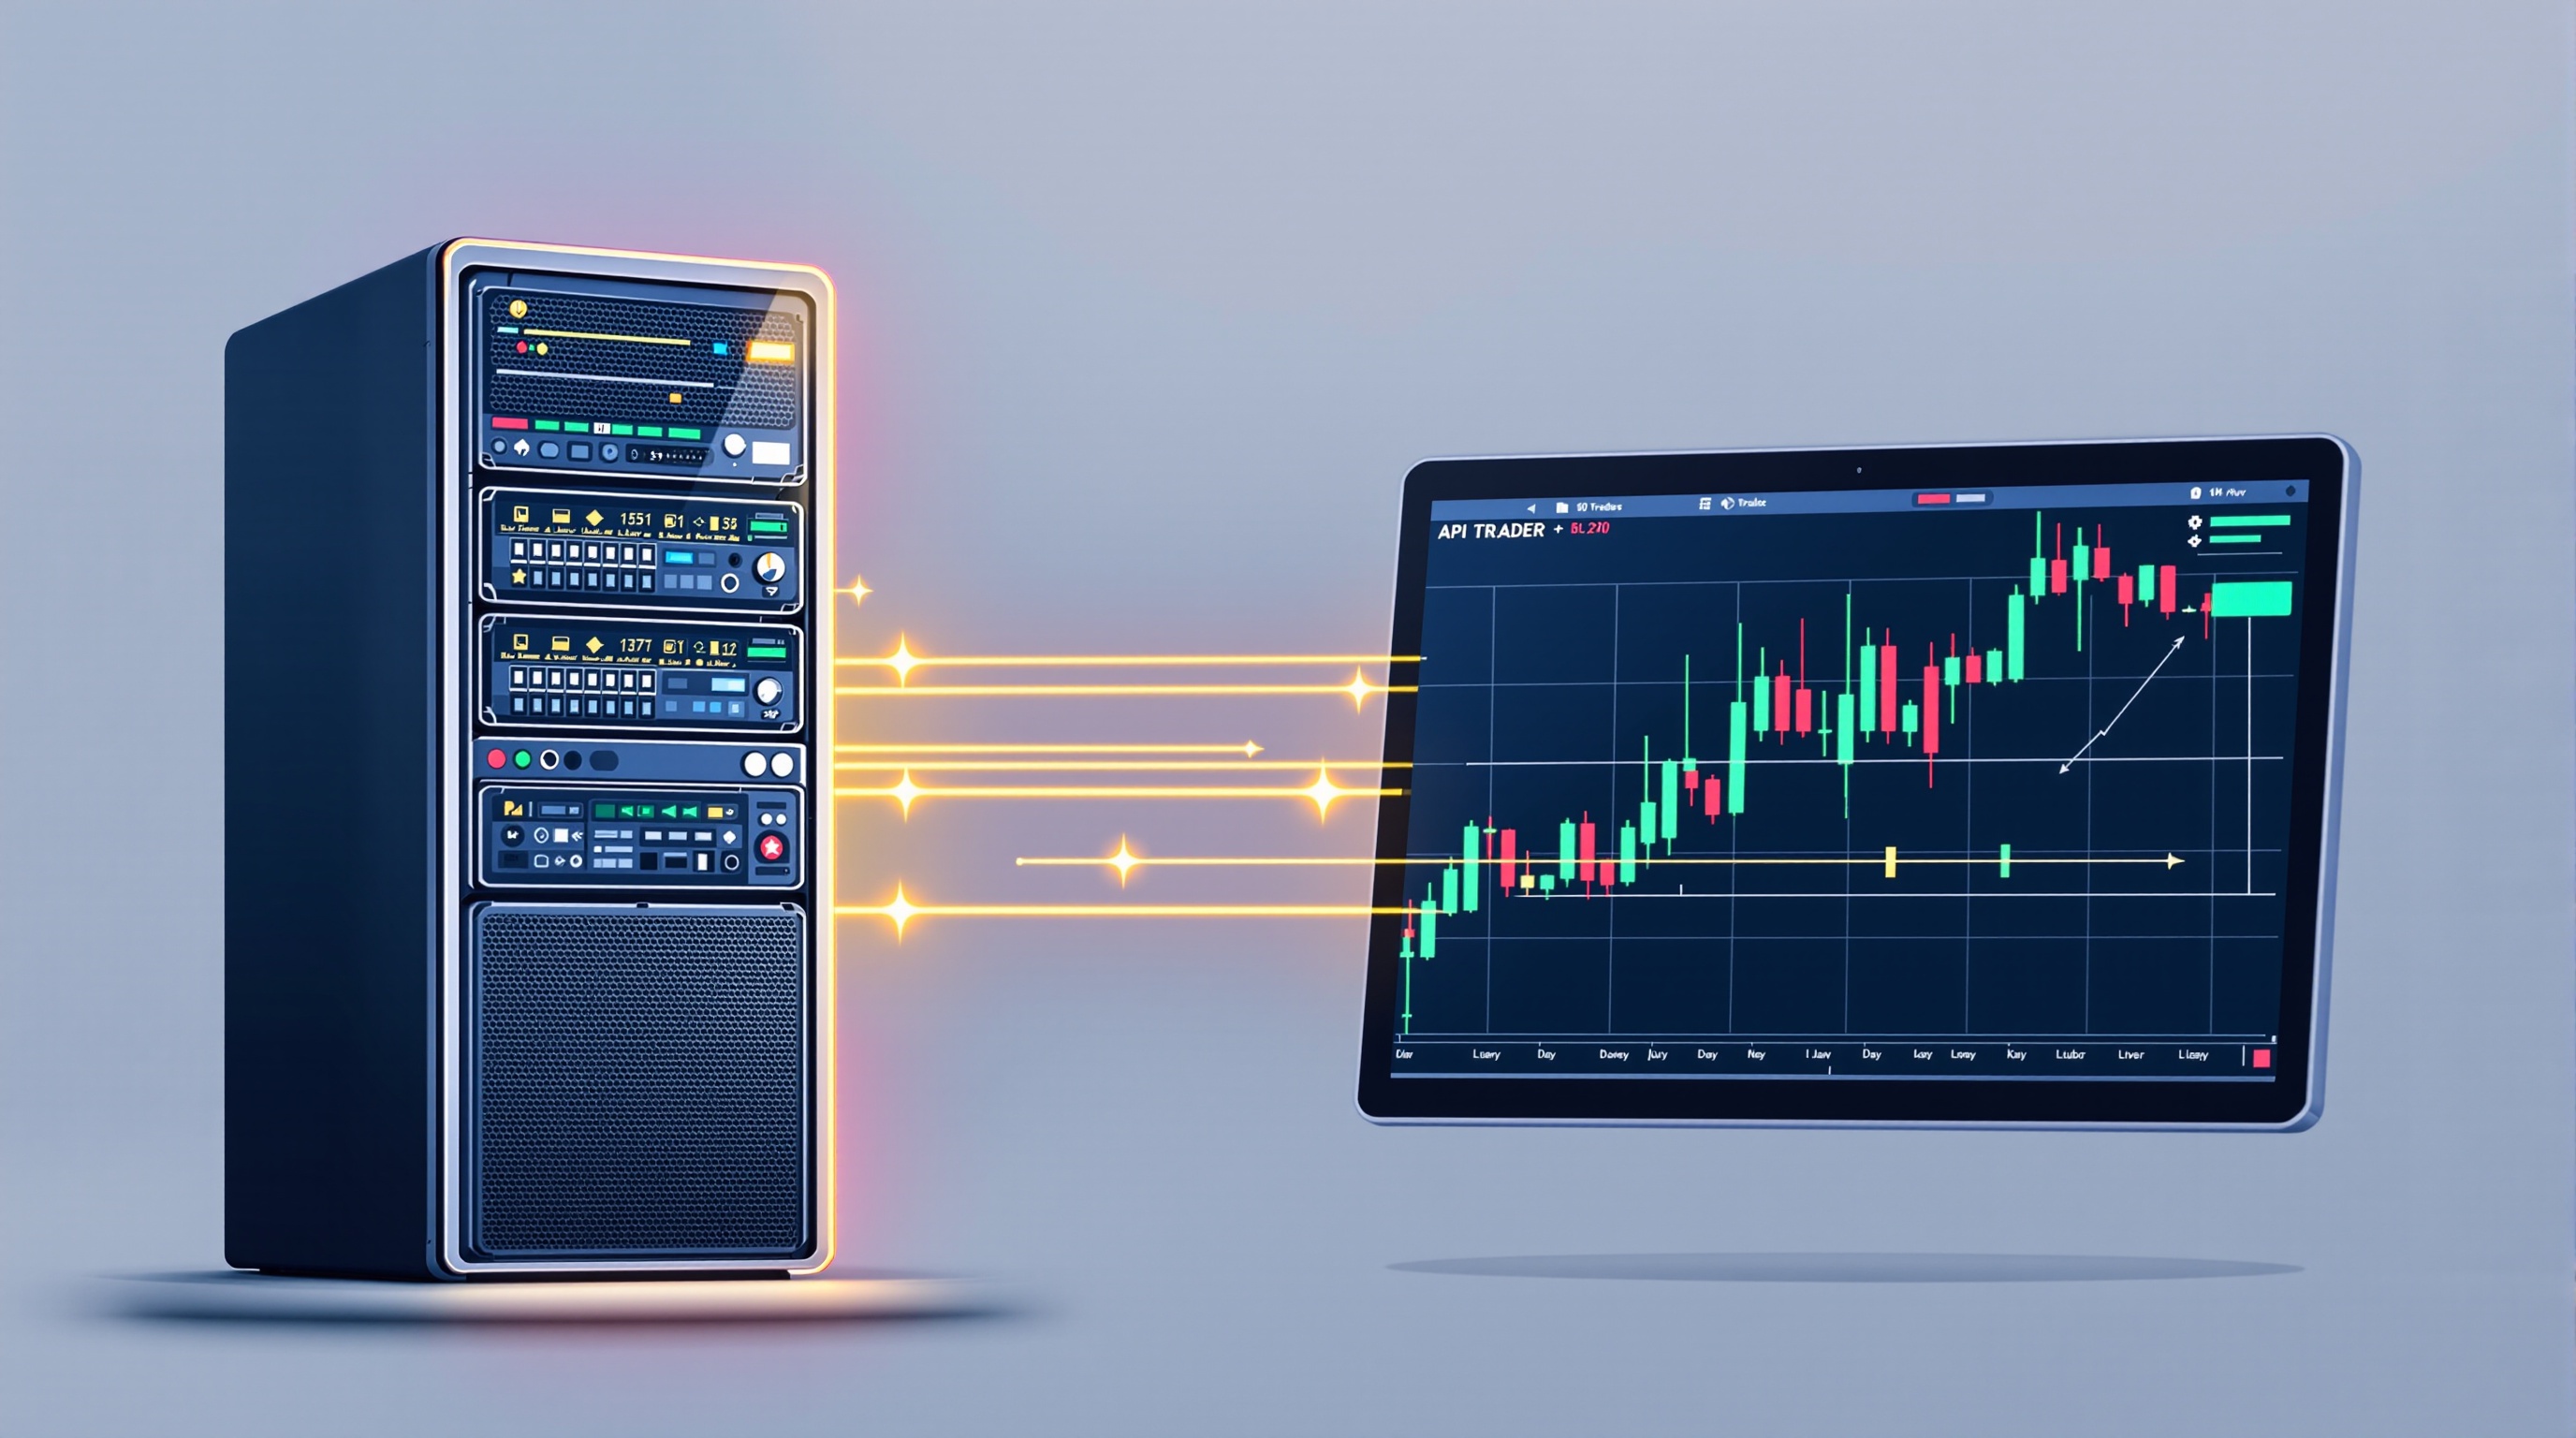
Automating Trading with APIs and MetaTrader Bridges
Automating trading with APIs and MetaTrader bridges: an advanced, honest guide to architecture, latency, risk controls and broker checks.
Module 19 · Portfolio & capital
 Advanced
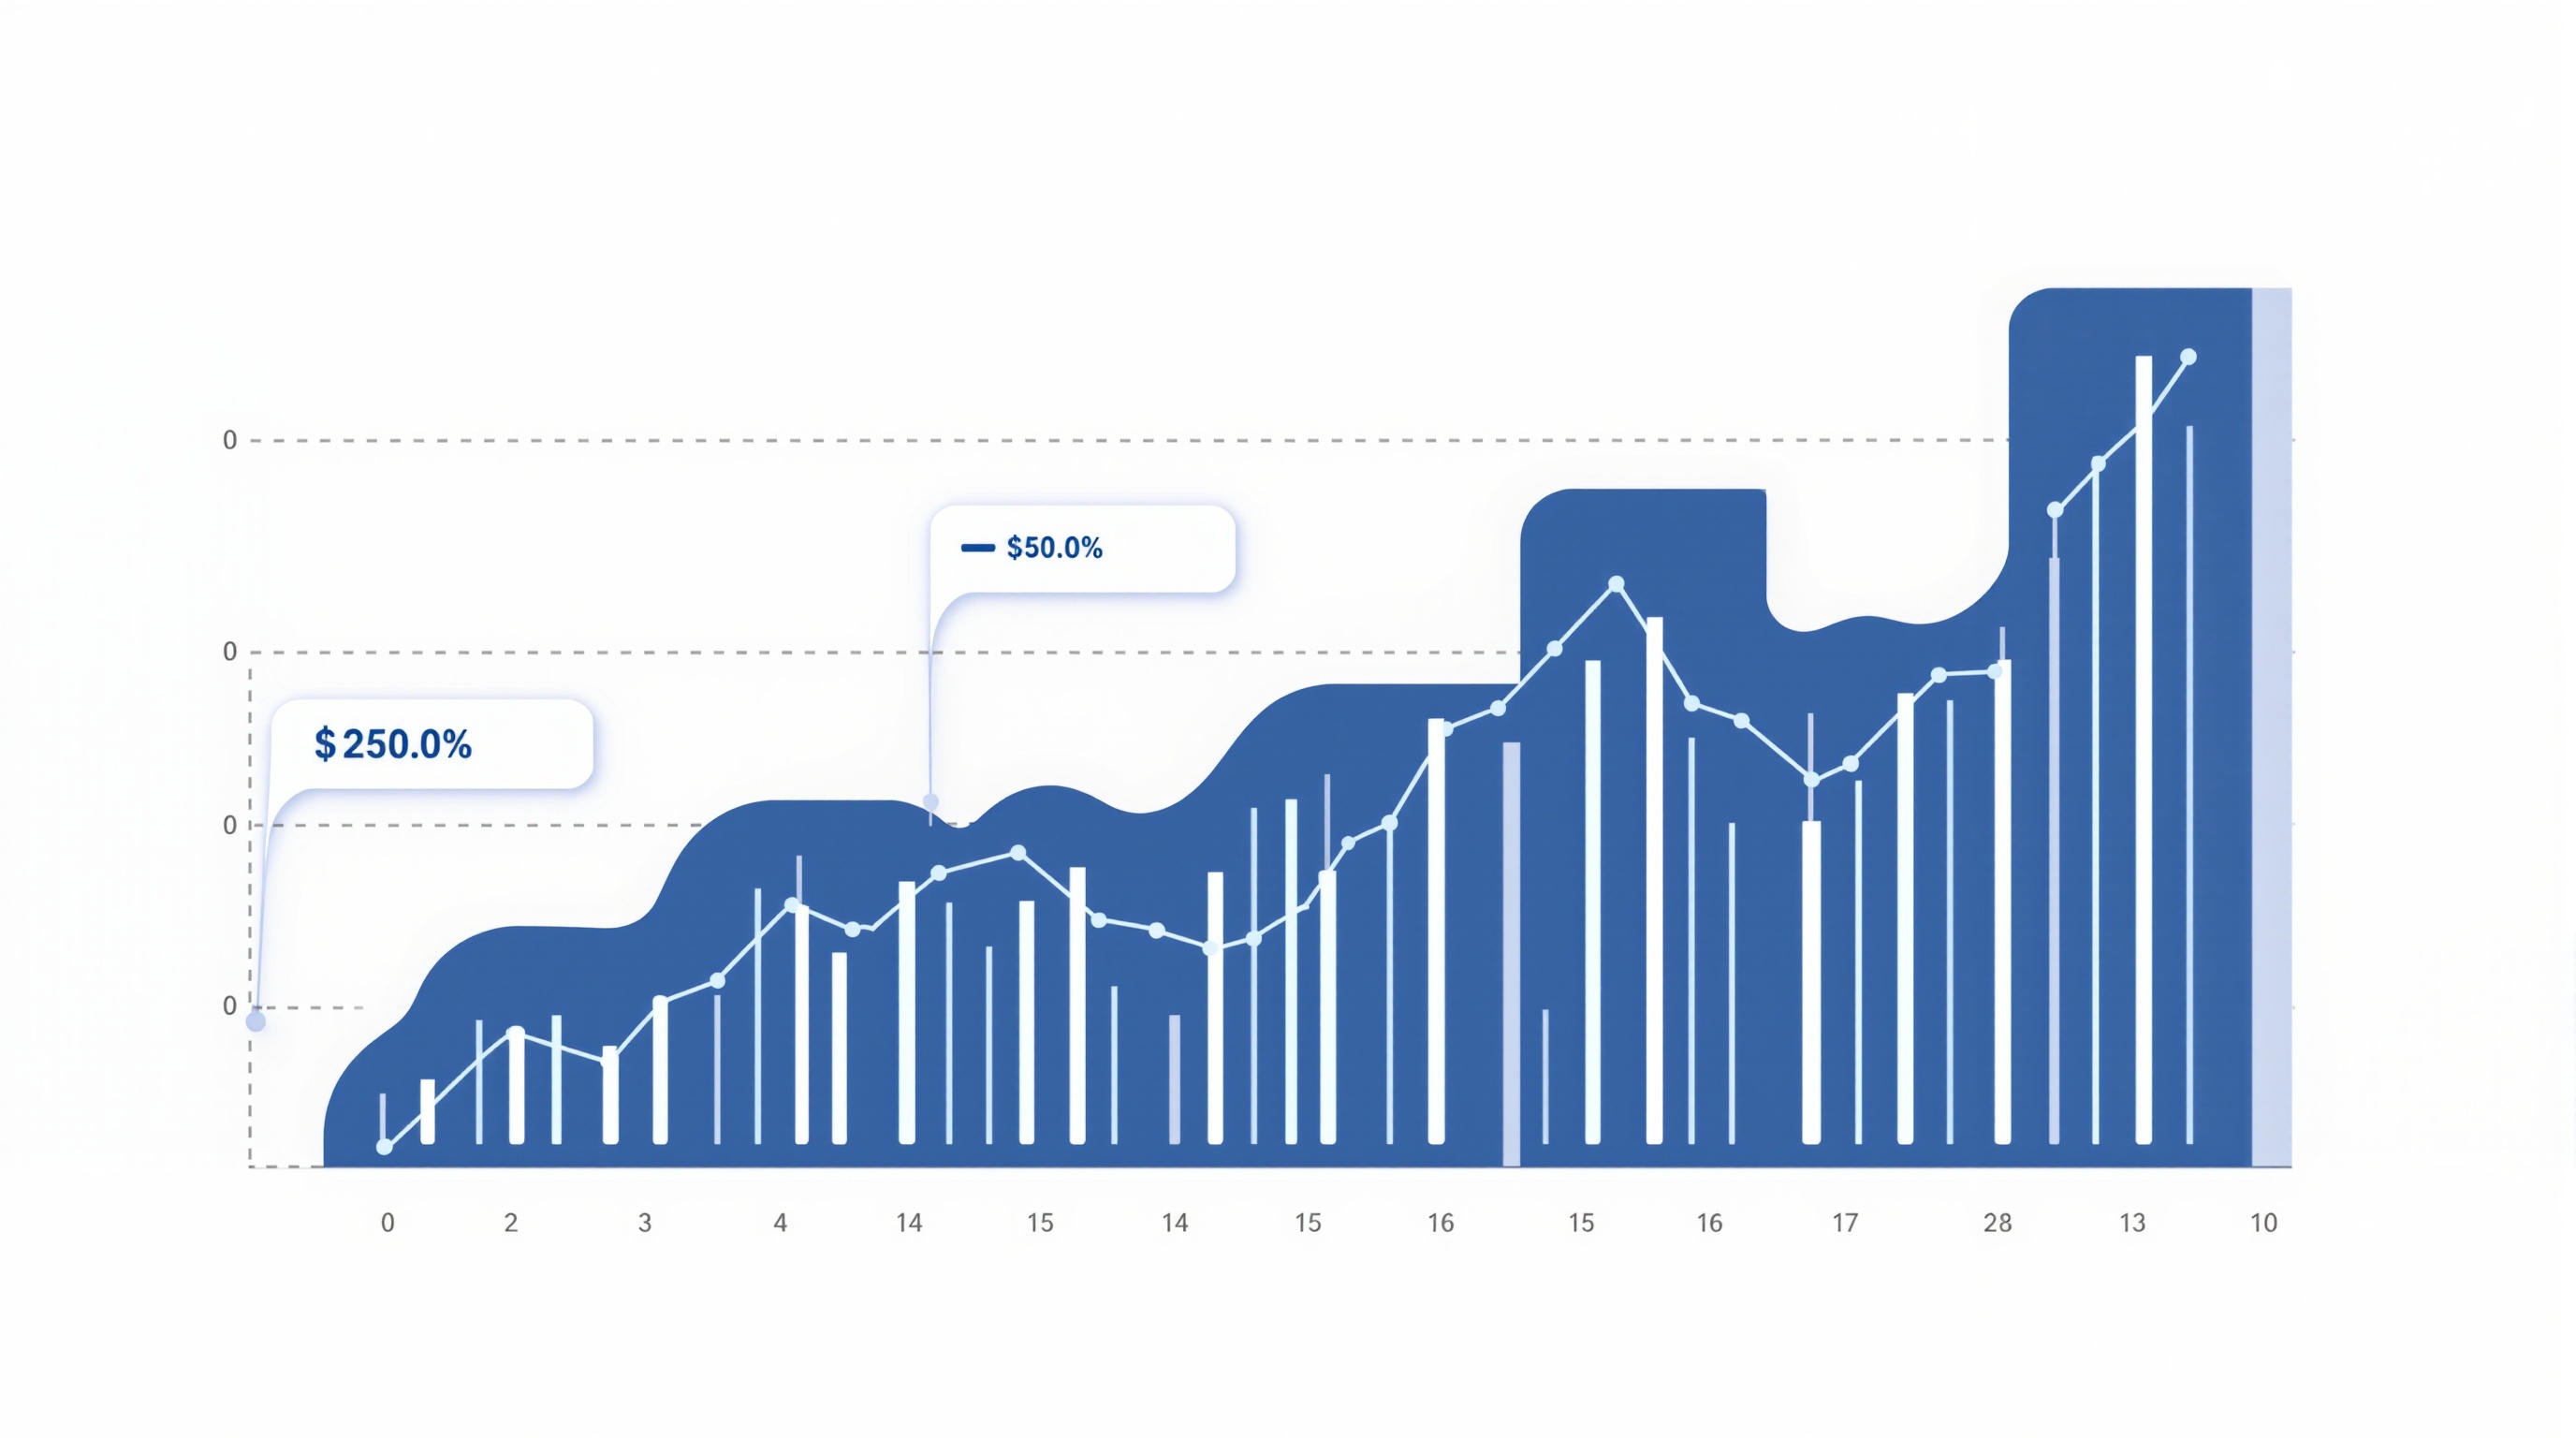
Portfolio Construction Across Multiple Strategies
Learn portfolio construction for multi-strategy FX trading: correlation, capital allocation, drawdown budgeting and rebalancing rules.
 Advanced
The Kelly Criterion in Depth: Sizing Bets Without Blowing Up
The Kelly criterion explained for FX traders: the maths, real position-sizing workflow, and why full Kelly is dangerous for retail accounts.
 Advanced
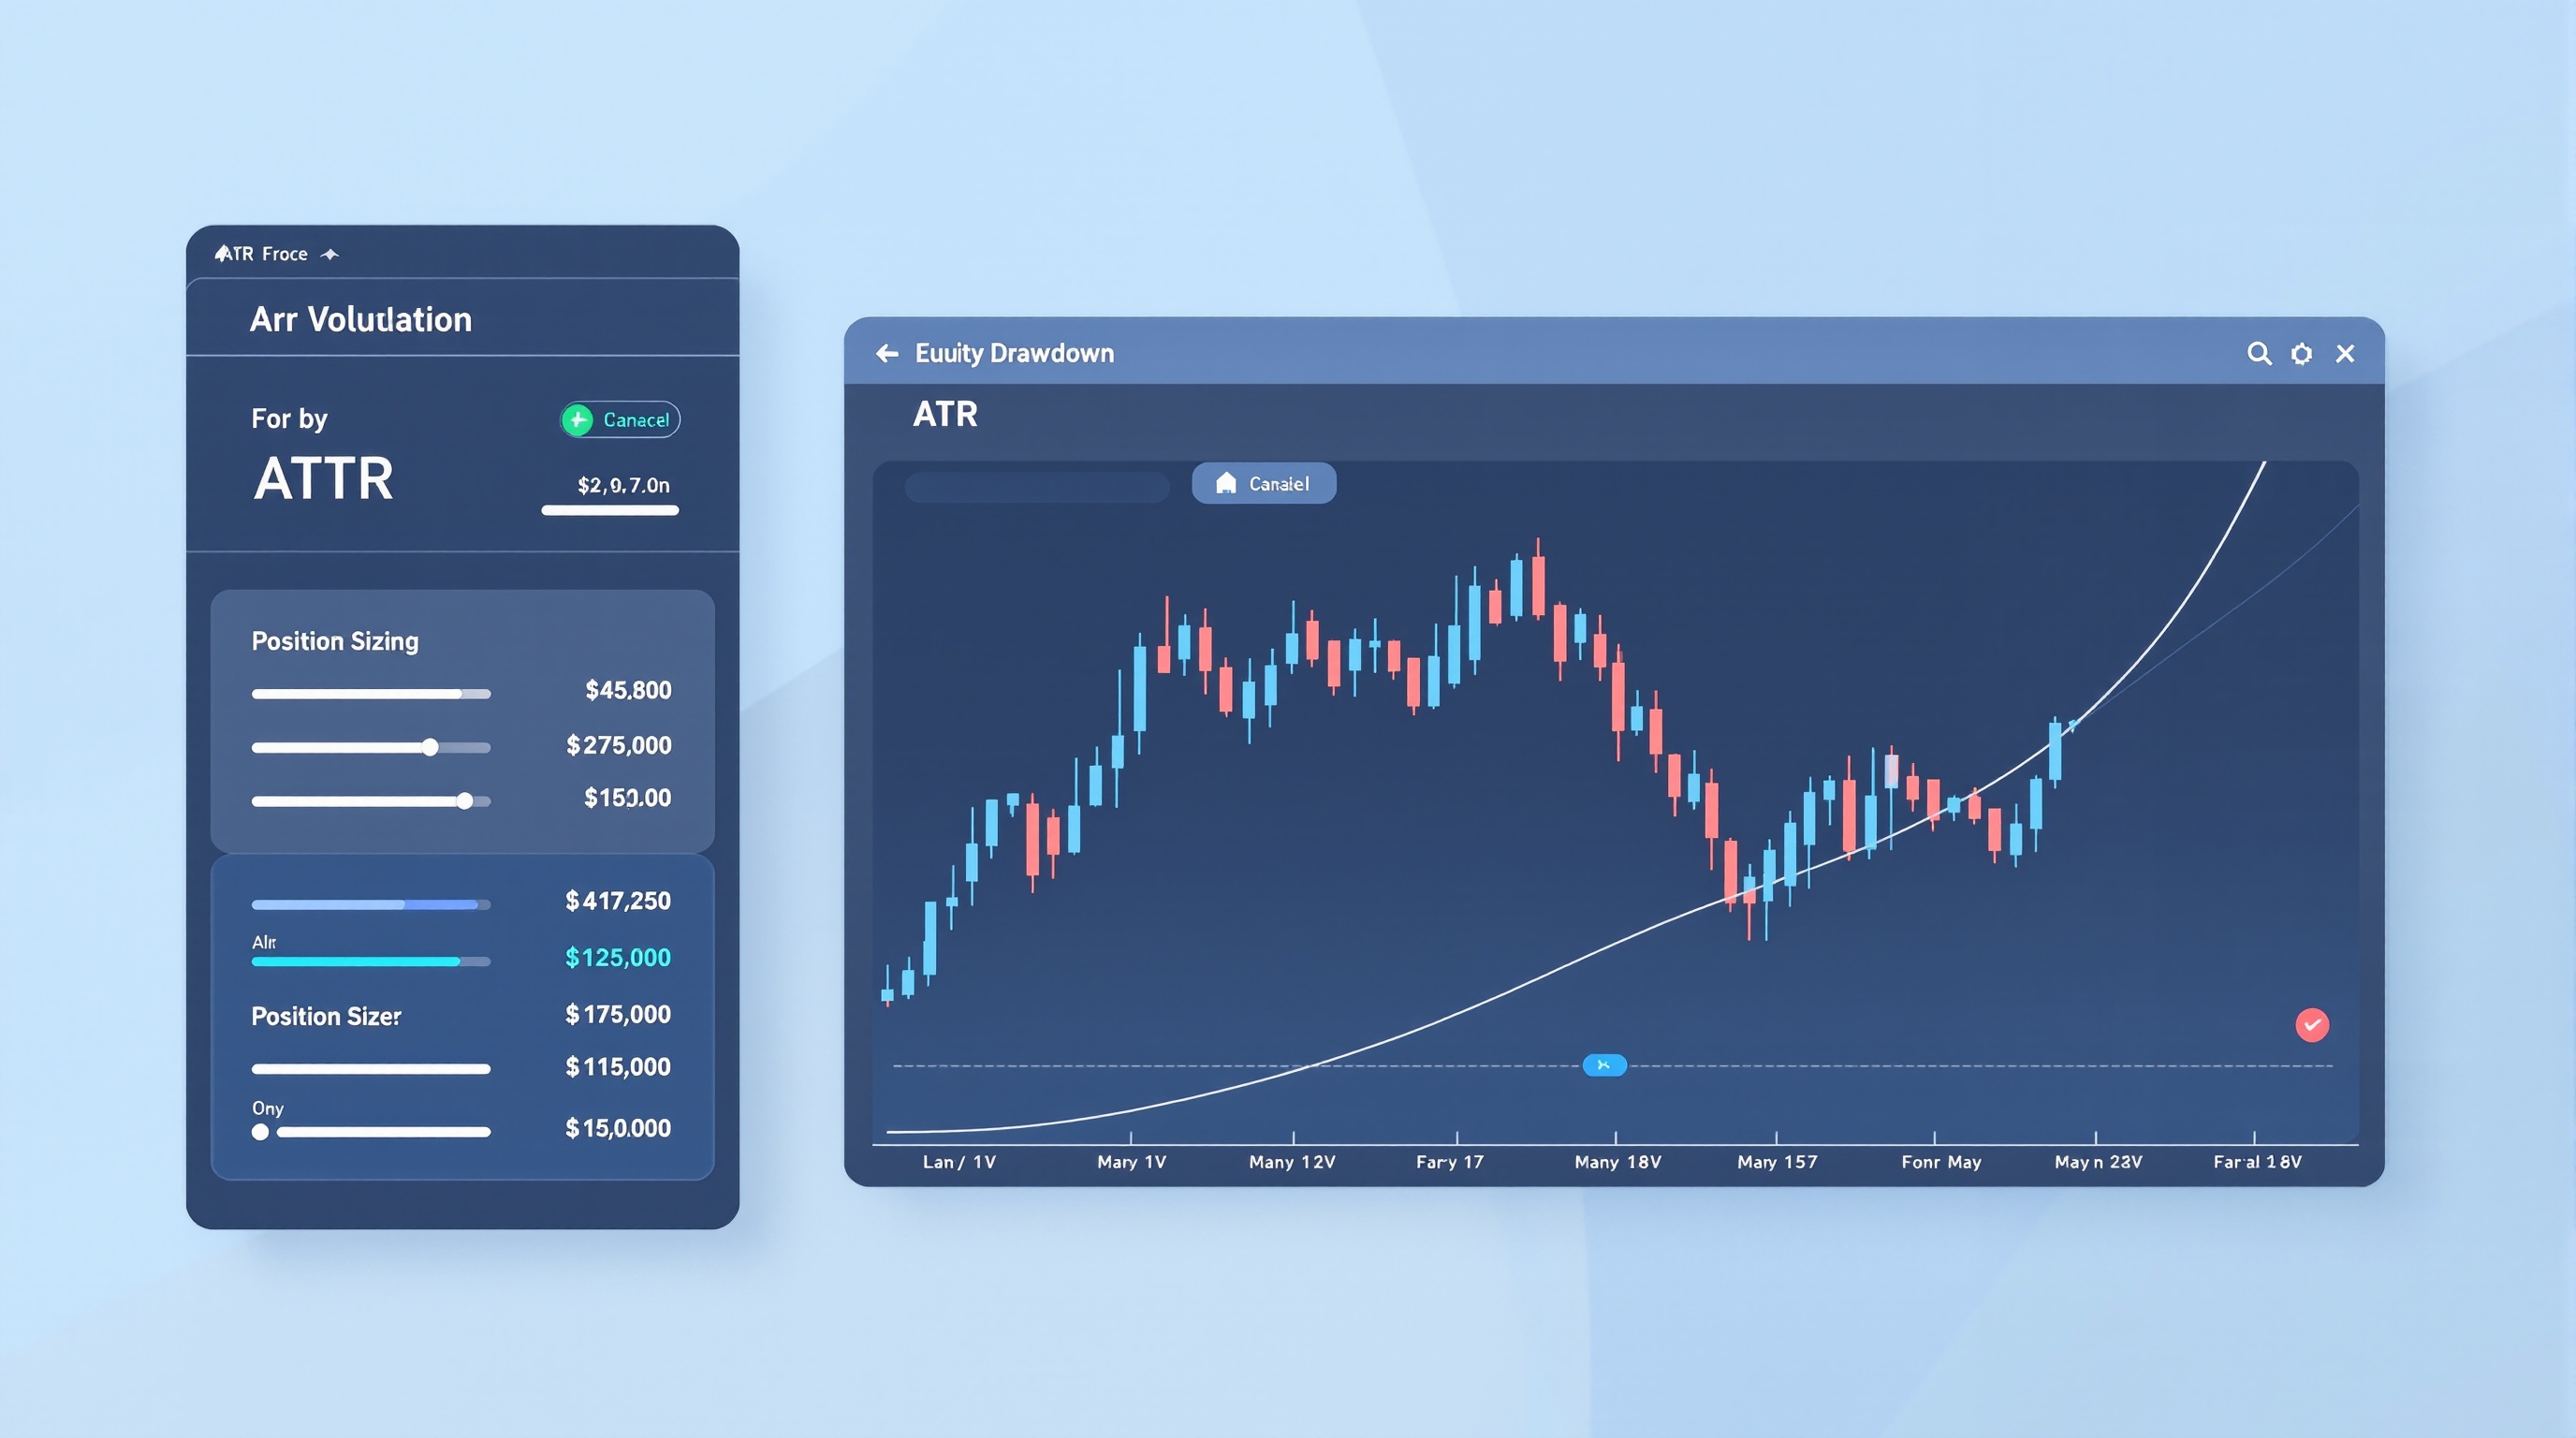
Volatility Targeting and Drawdown Control
Learn volatility targeting and drawdown control: an advanced, practical framework for sizing trades by ATR and capping losses before they compound.
 Advanced
Managing an EA Portfolio on VPS Infrastructure
Learn how to manage an EA portfolio on VPS infrastructure: sizing, monitoring, failover and cost control for multiple expert advisors.
 Advanced
Scaling Capital and the Realities of Prop Firms
Scaling capital through prop firms explained: how funded accounts really work, the maths of payouts, and the risks retail traders overlook.
Module 20 · Mastery
 Advanced
Building Your Own Edge-Research Process
Learn how to build a genuine edge-research process for trading — hypothesis, testing, cost modelling and review, using a repeatable framework.
 Advanced
Systematic Trading: Moving On From Discretionary Calls
A practical guide to systematic trading for advanced traders leaving discretionary habits behind, with rules for building, testing and auditing a system.
 Advanced
Record-Keeping & Tax Awareness for UK Traders
Record-keeping for UK traders explained: what to log, how to reconcile broker statements, and why cost tracking matters. Not tax advice.
 Advanced
The Psychology of Long-Term Trading Consistency
Trading consistency is a psychology problem as much as a strategy one. Module 20 covers the mindset systems that keep professionals disciplined for years.