Home › FX Trading School › Beginner
Stop Loss and Take Profit: Your Safety Rails
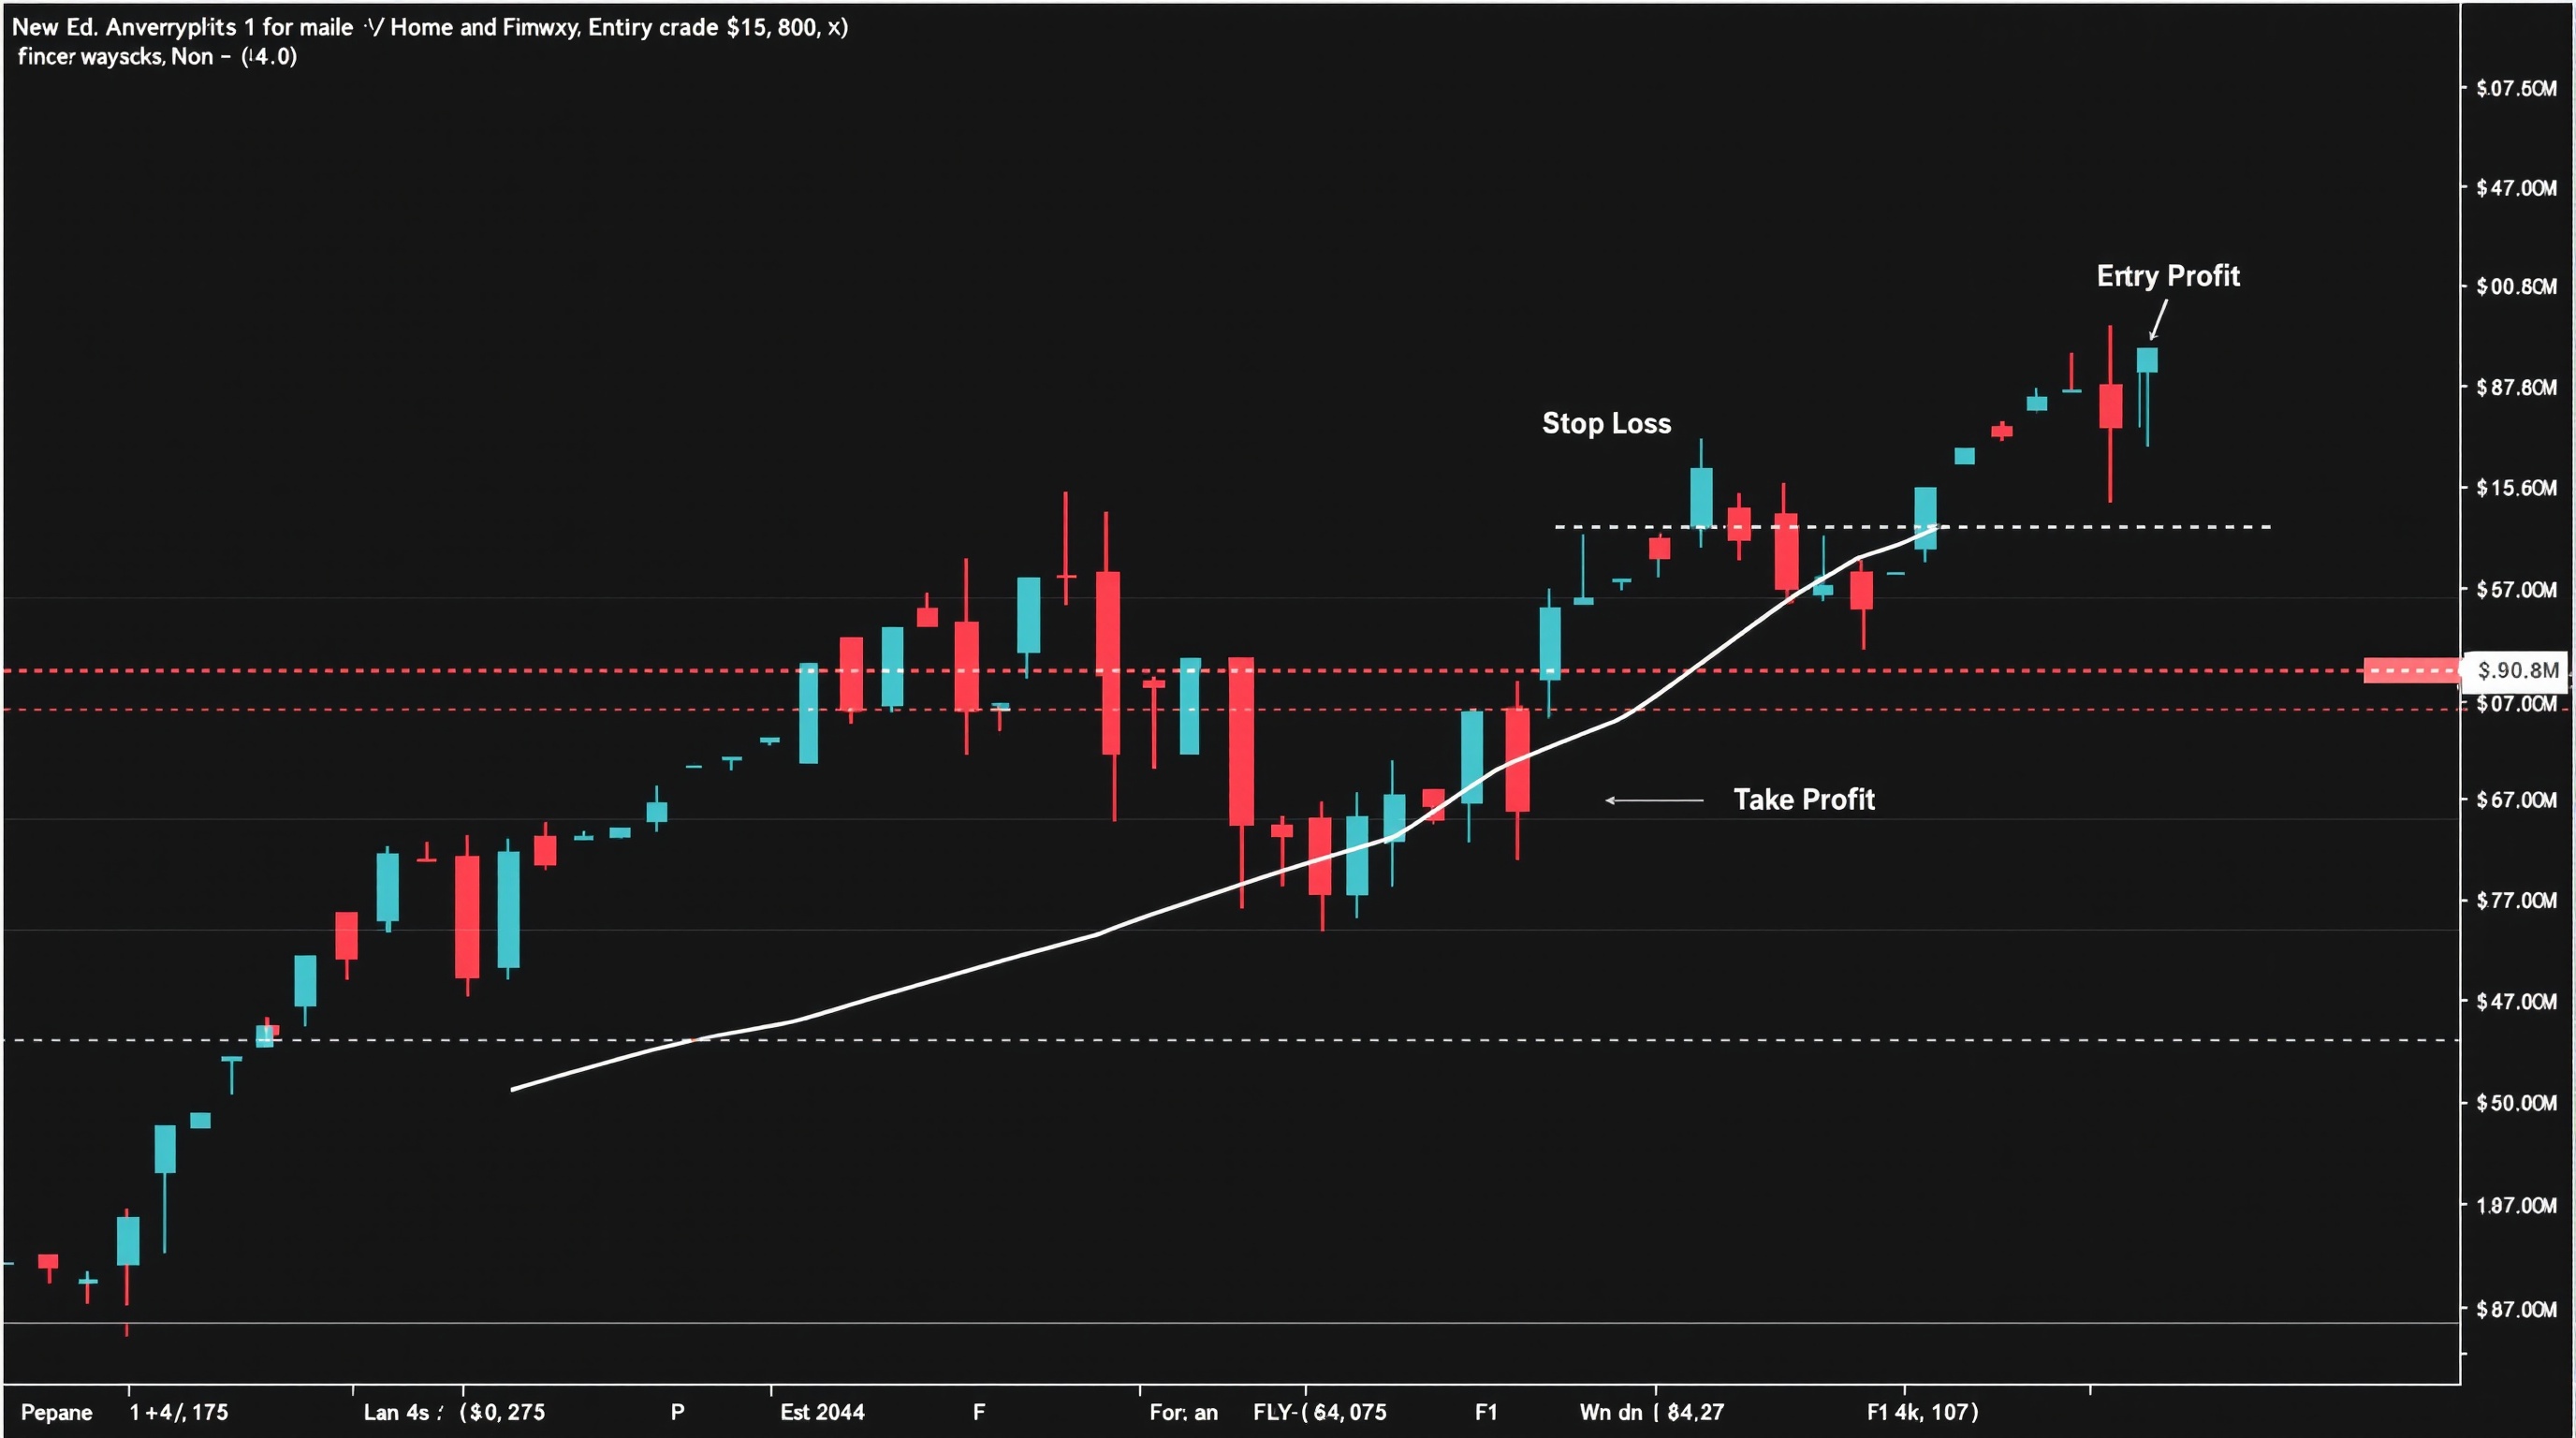
Stop loss and take profit orders are the two settings that decide, in advance, exactly where a trade will end — whether that's a controlled loss or a locked-in gain. If you've worked through the earlier lesson on market and limit orders in this course, this is the natural next step: learning how to put safety rails on every trade so you're not glued to the screen hoping for the best.
What a stop loss actually does
A stop loss is an instruction sitting on your broker's server that says "if price reaches this level, close my trade." It's not a suggestion — once triggered, it becomes a market order and closes at the next available price.
Why it matters:
- It caps your loss on a trade before you even know the outcome.
- It removes emotion from the exit decision — you decided the level calmly, before the trade was live.
- It lets you walk away from the screen without leaving your account exposed to an unlimited move against you.
A common beginner mistake is placing the stop loss based on how much money feels comfortable to lose (e.g. "I'll risk £20") rather than where the market structure says the trade idea is wrong. Both Pepperstone and IG allow you to attach a stop loss in pips or in price terms when you place the order, so there's no excuse for skipping it — the tools are right there on the deal ticket.
What a take profit does
A take profit is the mirror image: an instruction to close the trade automatically once price reaches a level in your favour. It locks in gains without you needing to make a rushed decision in the moment, and it stops a winning trade quietly turning back into a loser while you're not watching.
Setting a take profit forces you to answer a useful question before you even enter: *what does a realistic, structure-based target actually look like on this chart?* That might be a previous swing high, a round number, or a support/resistance zone rather than an arbitrary pip count.
Placing stops and targets based on the chart, not the account
The single most useful habit in this lesson is placing both levels using chart structure, then working backwards to position size — not the other way round.
A simple process:
1. Identify the nearest swing high or low that would invalidate your trade idea. 2. Place your stop loss just beyond that level, allowing a small buffer for normal noise. 3. Measure the distance in pips from entry to stop. 4. Use that distance, along with your risk-per-trade rule, to calculate position size (covered in the risk management lesson). 5. Set your take profit at a logical level further away — ideally at least 1.5 times the stop distance.
| Element | Based on | Common beginner mistake | |---|---|---| | Stop loss | Chart structure (swing high/low) | Setting it based on money, not price | | Take profit | Next resistance/support zone | Ignoring realistic price action | | Position size | Stop distance + risk rule | Fixing lot size first, stop second |
Risk-to-reward: why the gap between the two matters
The distance between your entry and stop loss versus your entry and take profit is your risk-to-reward ratio. If your stop is 20 pips away and your target is 40 pips away, that's a 1:2 ratio — you're risking one unit to potentially make two.
This matters because it changes how often you need to be "right" to be profitable overall:
- At 1:1, you need to win more than half your trades just to break even after costs.
- At 1:2, you can be wrong more often than right and still come out ahead over a long run of trades.
- At poor ratios (risking more than you stand to gain), even a decent win rate can lose money once spreads and any commission are factored in.
This is exactly why PipTax's cost tool exists — a small spread or commission difference eats into that ratio on every single trade, and over hundreds of trades it adds up. Run your typical stop and target distances through the cost impact calculator to see how much of your edge survives after real trading costs.
Slippage, gaps, and why "guaranteed" isn't always guaranteed
A standard stop loss and take profit will usually fill at or very near your chosen level — but not always. Two things can move the actual fill price:
- Slippage: during fast-moving news or thin liquidity, price can jump past your stop level before it's filled, so you close at a worse price than requested.
- Weekend gaps: if the market reopens Monday at a different price than Friday's close, a stop loss can trigger well beyond where you set it.
Some brokers, including options on platforms like IG, offer a guaranteed stop loss for an extra fee — this fills at the exact price no matter what happens in between. It's worth knowing this exists, especially if you trade around high-impact news, but check the current terms and fees directly with the broker rather than assuming a standard stop behaves the same way.
Setting stops and targets on Pepperstone and IG
The mechanics are similar across most FCA-regulated brokers, though the interface differs:
- On a MetaTrader server (common with Pepperstone): open the order ticket, enter your stop loss and take profit prices (or pip distances) before confirming, or right-click an open position afterwards to add or edit them.
- On IG's own platform: the deal ticket includes stop and limit fields at the point of placing the trade, with the option to adjust an open position's levels from the positions screen.
Neither broker's specific spread or commission numbers should be assumed — always confirm current costs and order-type options directly via the brokers comparison page before committing real money.
Bringing it together
Stop loss and take profit orders are not optional extras — they're the basic safety rails that turn an open-ended bet into a defined, manageable trade. Set your stop based on where the chart tells you the idea is wrong, set your take profit at a realistic structural level, and check that the risk-to-reward relationship between the two makes sense before you ever click confirm. Trading remains risky and most retail accounts lose money, so no combination of stop loss and take profit settings removes that risk — they simply make each individual trade's outcome known in advance rather than open-ended. Once this feels routine, head back to the FX Trading School index to continue with the next module on position sizing and risk per trade.
Key takeaways
- A stop loss and take profit are pre-set exit orders that close your trade automatically at a chosen price, removing the need to watch the screen constantly
- Always set your stop loss based on chart structure (support, resistance, recent swing points), not on how much money you're comfortable losing
- A sensible risk-to-reward ratio (commonly 1:1.5 or higher) means your take profit target should typically sit further from entry than your stop loss
- Spreads, slippage and weekend gaps can all affect where your stop loss actually fills, especially with market orders during volatile news
- Both Pepperstone and IG let you attach stop loss and take profit levels directly when placing an order, or add them afterwards from your open positions list
- This lesson builds on order types from Module 2 — make sure you understand market and limit orders before relying on stops and targets
Frequently asked questions
- What is the difference between a stop loss and a take profit?
- A stop loss closes your trade automatically once price moves against you to a set level, capping your loss. A take profit closes your trade once price moves in your favour to a set level, locking in a gain. You can set both on the same trade at the same time.
- Can a stop loss fail to protect me?
- A standard stop loss can suffer slippage, meaning it fills at a worse price than requested, especially during fast news moves or weekend gaps. Some brokers offer a guaranteed stop loss for an extra fee, which fills at the exact level regardless of market conditions. Check your broker's order types on their platform or via the brokers comparison page.
- How do I decide where to place my stop loss?
- Use the chart, not your account balance. Look for the nearest logical level that would prove your trade idea wrong — below a recent swing low for a long trade, or above a recent swing high for a short trade — then size your position so that distance matches the amount you're willing to risk.
- Should my take profit always be bigger than my stop loss?
- Not always, but it's a good habit for beginners. Aiming for a reward that's at least 1.5 times your risk means you can be wrong more often than you're right and still come out ahead over a long series of trades.
- Do stop loss and take profit orders cost extra?
- Standard stop loss and take profit orders are usually free to place with FCA-regulated brokers like Pepperstone and IG, but guaranteed stops often carry a small premium. Always check the specific broker's fee schedule and confirm current costs using the cost audit tool before trading.